Workload Management (Tanzu)
It has been a while since I created a new post, mostly due to the fact that I started working at VMware on March 1st this year. The ride has been phenomenal and I love my new (TAM) job, but the consequence is that I had very little time to do technical research on new and existing products.
I have been following (internal and external) training on several products, so my interests are very much triggered to do stuff on my own with these new products. One of them has been Tanzu. I have wanted to learn more of this for some time now and have followed the training (https://mylearn.vmware.com/mgrReg/courses.cfm?ui=www_edu&a=one&id_subject=93247) which I can definitely recommend.
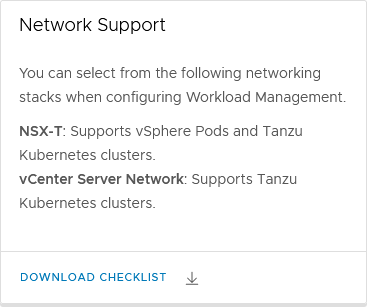
First off, we need to make sure that the environment is ready for Tanzu. Checking the requirements for both the networking and the system configuration. So download the checklist and make sure you are prepared:
I walked through the checklist and validated that I have everyting in place.
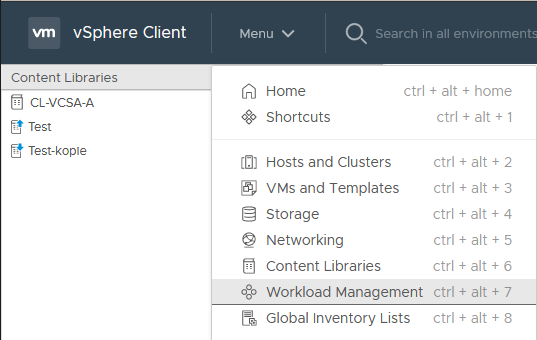
With that knowledge, I am going to deploy Tanzu in my home lab. And I choose the fully integrated solution. Since I already have NSX-T deployed in this environment ánd I have a Content Library (which is a prerequisite), I can start by trying to configure Workload Management:
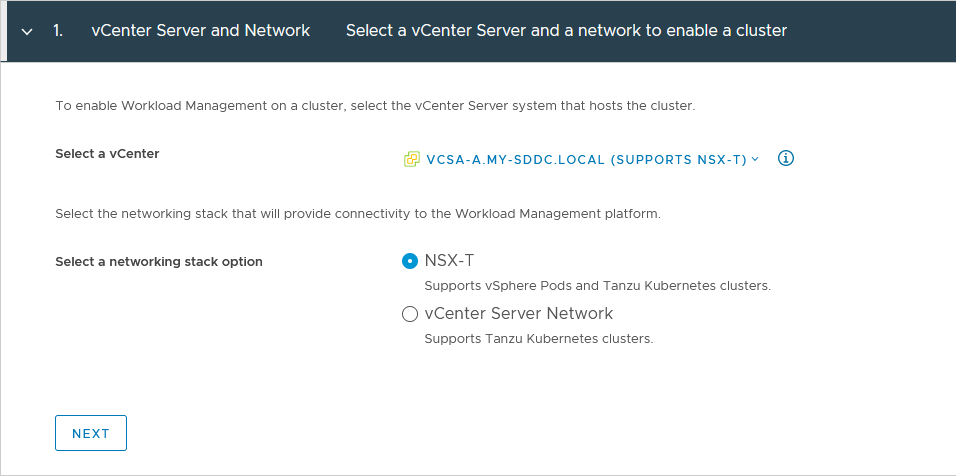
Once I select this, I can start by selecting the relevant vCenter Server (vcsa-a):
And start looking at which cluster is a valid candidate for Tanzu: It starts with no compatible clusters, due to a couple of issues:
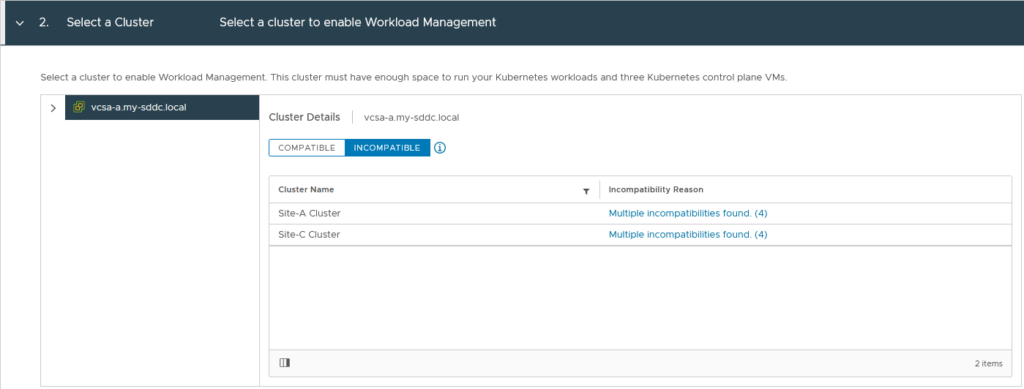
So we first need to solve a couple of incompatibilities:
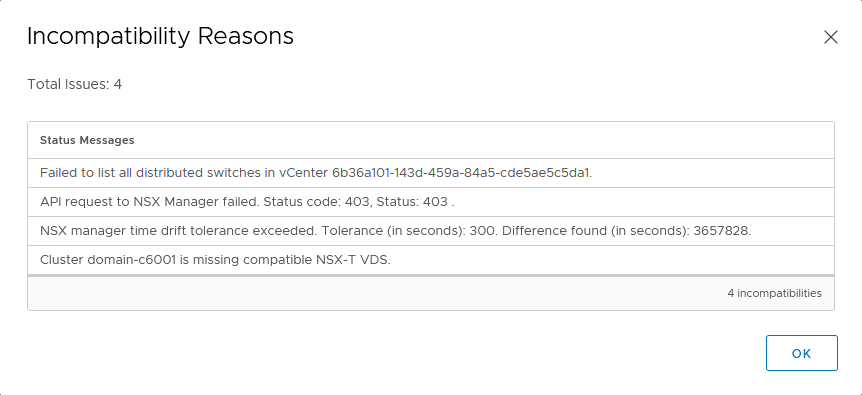
NSX manager time drift tolerance exceeded.
The third issue was the time drift. This is probably the easiest to solve. Make sure we use the same NTP servers for all NSX Managers in the environment. Apparently in my environment, the time servers from the internet were not working correctly, so I changed to an internal NTP server and after that, the incompatibility was gone.
And not just that, but all issues were gone, since they were all related to the time issue. I think this was caused by “pausing” the NSX managers when I shut down my lab (for a quick start ;)), but giving the NTP service a quick kick in the hiney, solved the issue and the rest as well…
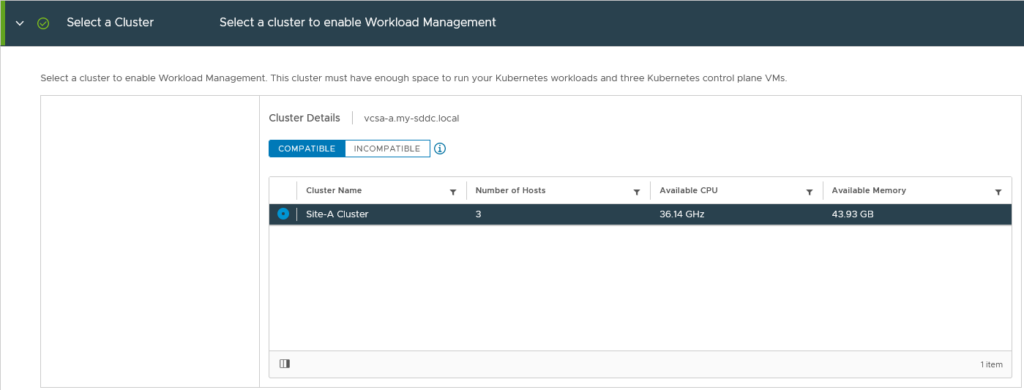
Next step: Select the (now compatible) cluster:
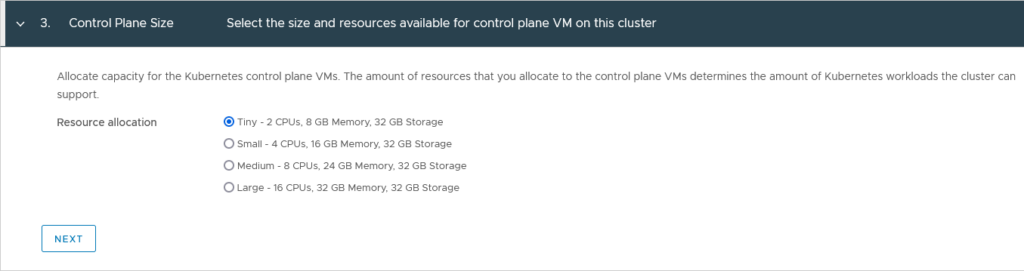
and select the size of the Control Plane. For my environment a Tiny CP will suffice:
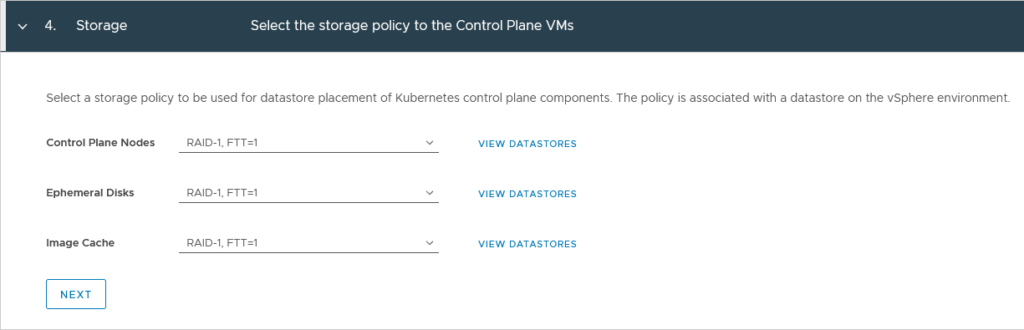
After that, we select the storage. This is vSAN based (obviously) and we select a vSAN Policy that Tanzu will be using for the objects that it will create:
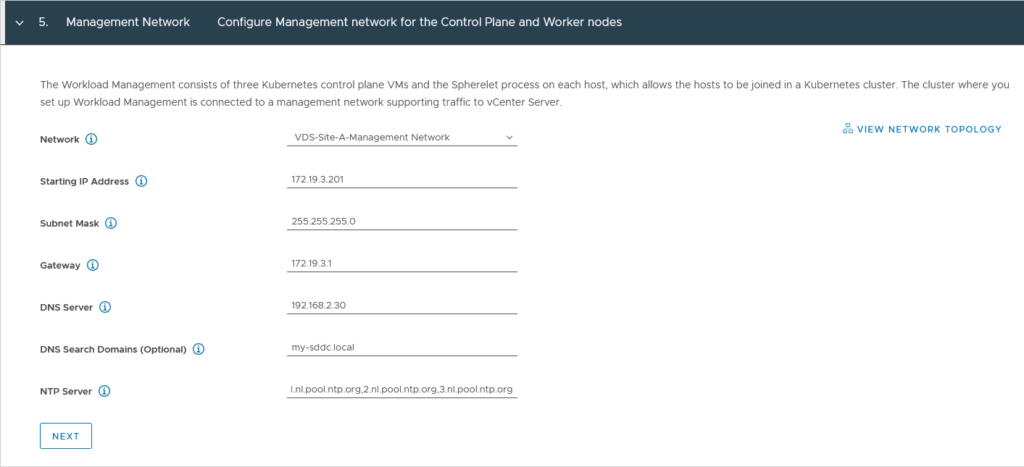
Now comes the configuration of the Management Network. Here we need a network, for which I will use the same network that my other management components are on. This may not be the ideal situation for a production environment, but for me that works just fine:
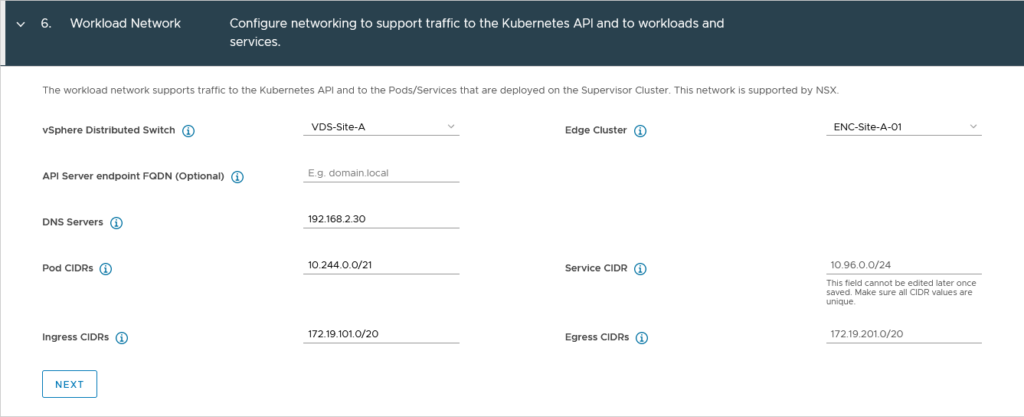
Next up is the Workload Network. This needs to be able to dynamically create networks and assign CIDRs to them. This will leverage NSX-T (what we selected during the first step). The Pod and Service CIDRs that are available by default will work for me. For the Ingress and Egress CIDRs I need to use addresses that can are available in my “external” network.
I can select an existing Edge Cluster, to be used for the creation of Load Balancing services. It is important to note that the DNS Server in here is reachable from the Ingress and Egress CIDRs. So if you (like me) have some complicated network, with some static routes on different appliances, make sure you have a route to and from the DNS server.
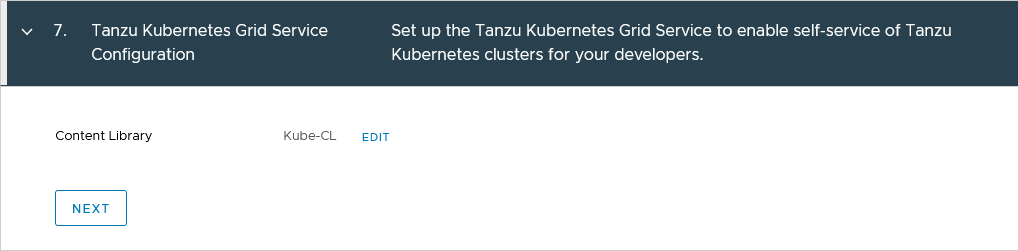
Final step is the Content Library to be used by Tanzu:
And after all this is configured, we can go ahead and start the deployment:
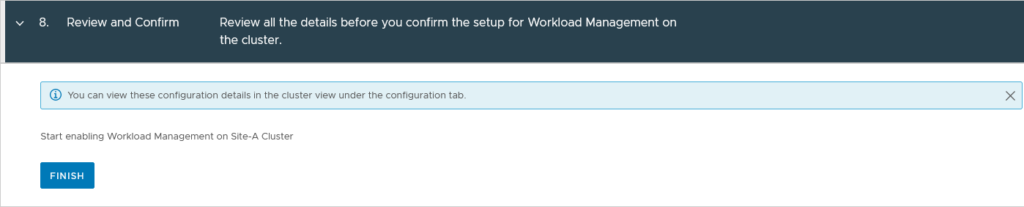
And it starts the deployment:

This will take some time. We can see some of the progress:
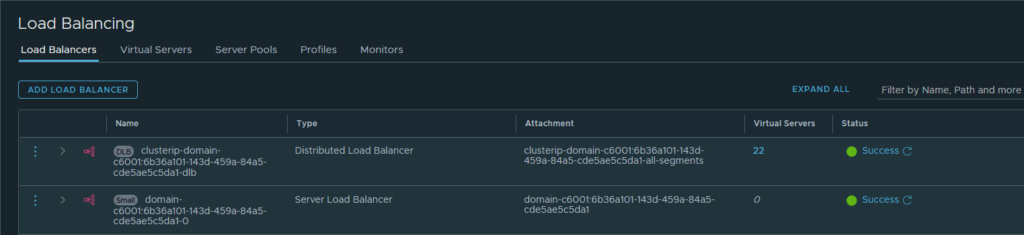
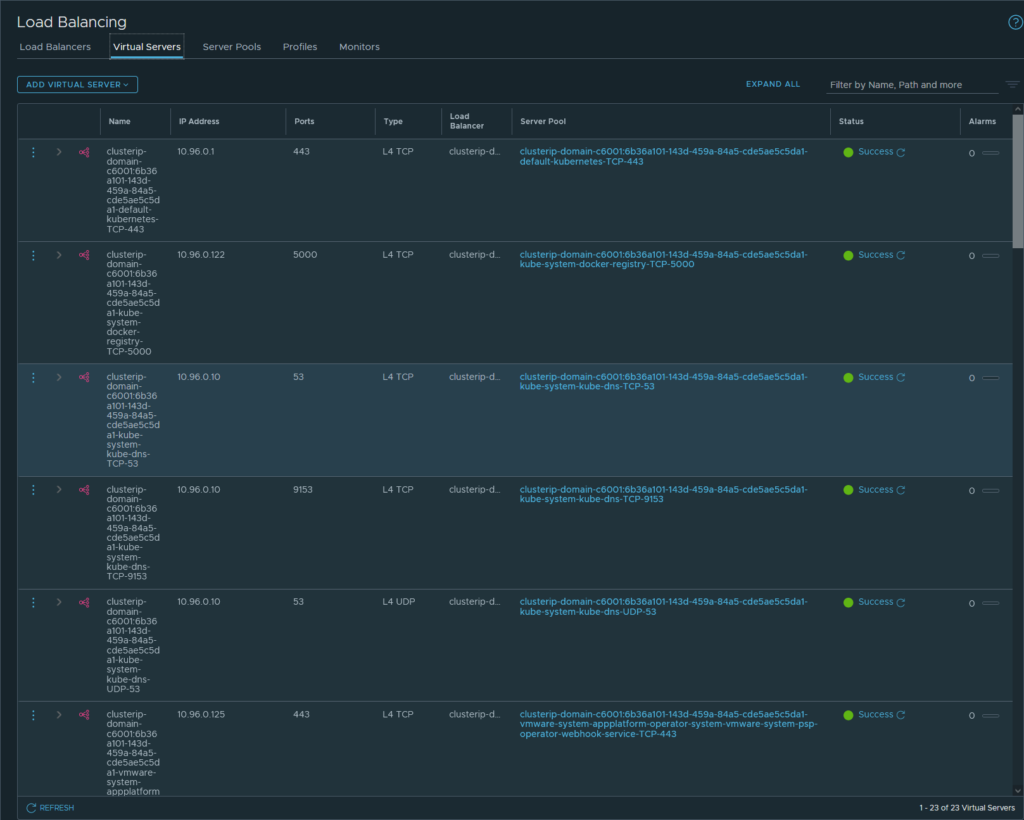
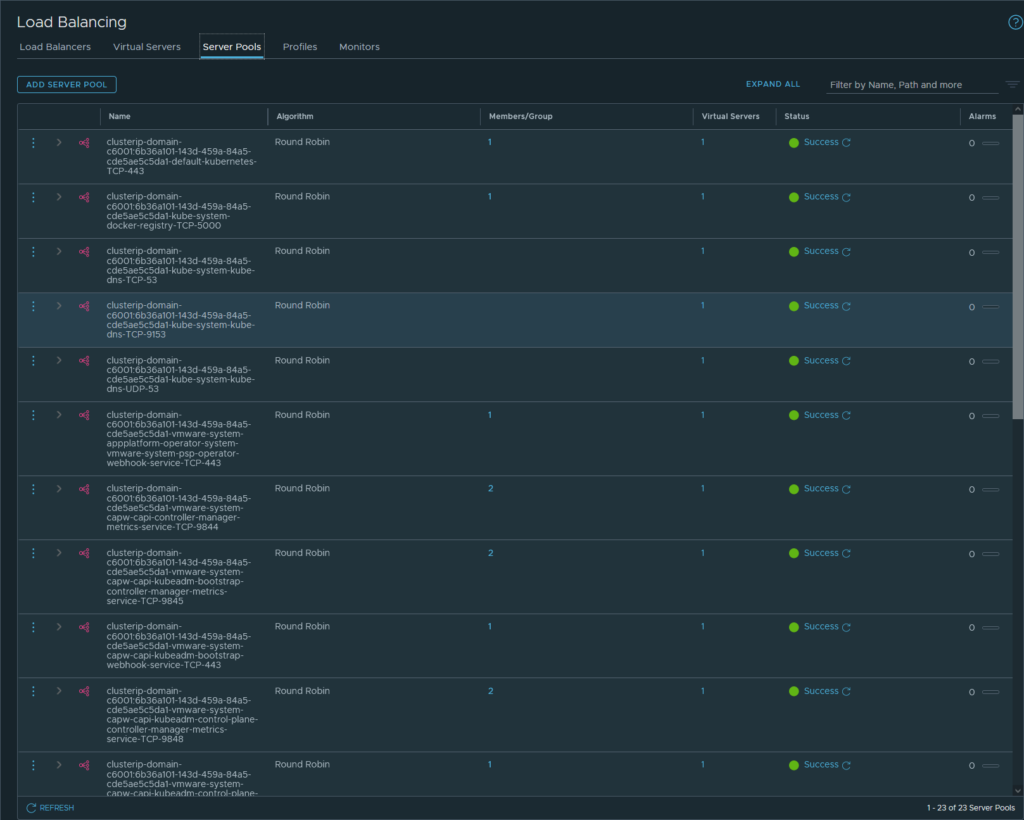
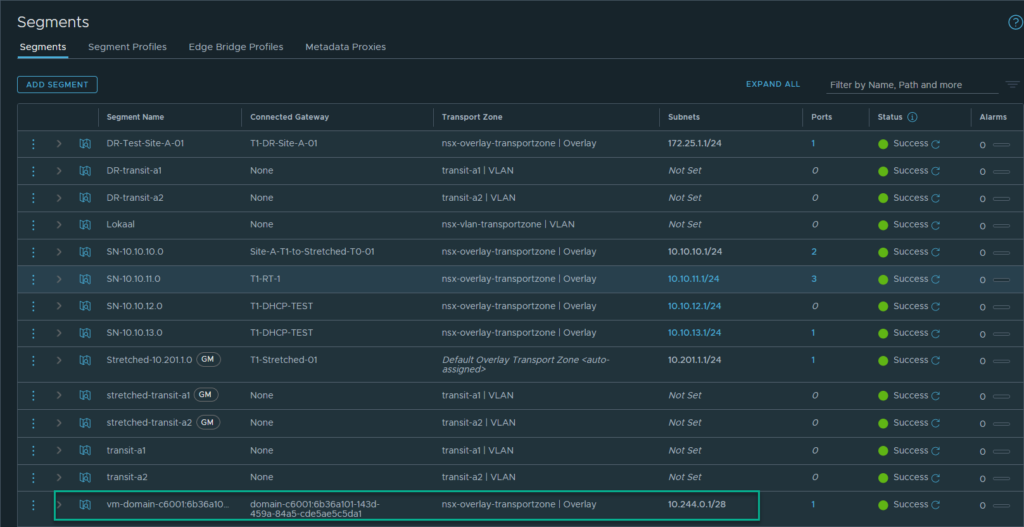
There are some Load Balancing items created within NSX-T:
And some networking components:

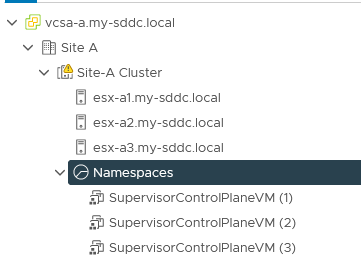
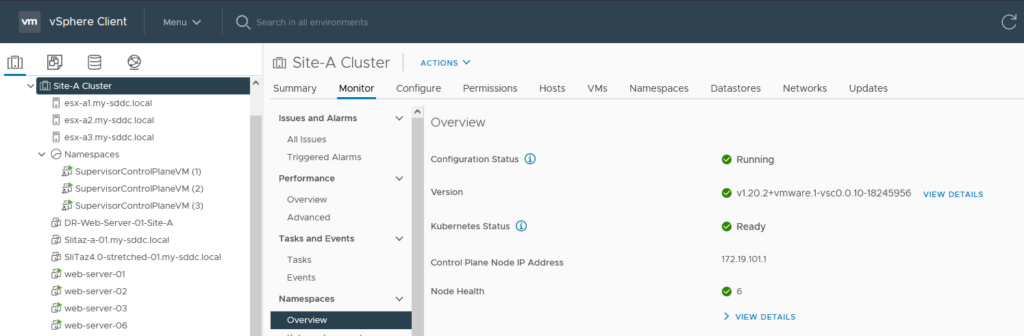
and after all this is done, it should look something like this:

From the Host & Clusters view, we can also see everyting is okay:
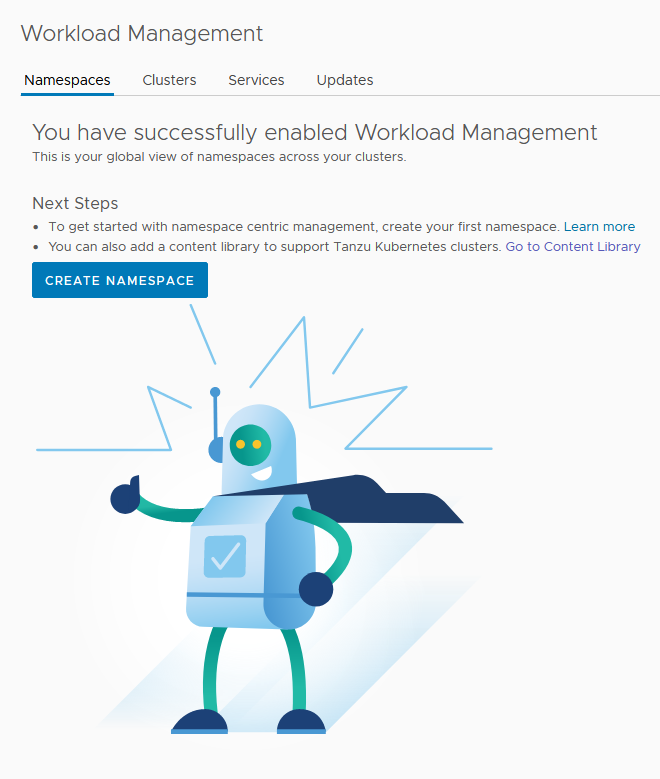
And we can start creating Namespaces and more:
And of course, we can connect to the cluster, through the kubectl command:
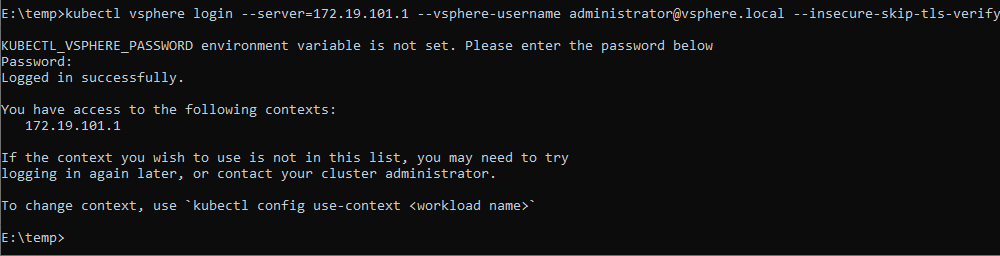
(the –insecure-skip-tls-verify is needed because of a self-signed certificate, I will look into getting that corrected in a follow-up post).
So, with this setup complete, I can start my journey into Modern Applications! Stay tuned for more :).