NSX-T Global Manager installation and initial setup
In my new lab environment, I will be working with two locations (Site A and Site B) and a Global NSX-T Manager to centrally manage the environment. For this, I installed a Global Manager after I deployed both Local Managers. Since I am not made of resources, all sites and the global environment will consist of one appliance, but in a production environment you would definitely need three per function.
The installation of the Global Manager is almost identical to that of a “normal” NSX Manager. Just two things are different:

For a global manager, the Small deployment suffices. It doesn’t do any control plane actions (for a lab environment small is just fine for the local managers as well, but in a production environment they should be “medium” of “large”).
In the “Customize template” we can select the role of the appliance:

After this has deployed, I wanted to give the environment a VIP, so I did that as well.
It is important to have VIP’s configured on the locations as well, even if you are only running one NSX Manager.
After this is done, it is time to add a location and with that the Local Manager to the configuration:

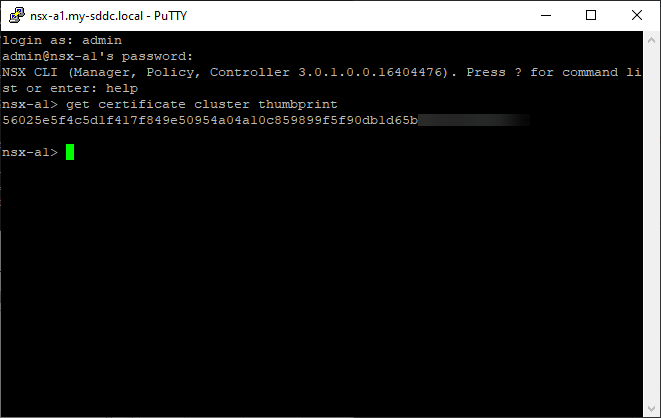
But before we click the big blue button, we need the SHA-0256 thumbprint from the NSX Manager we are adding, so to get that, we use good old putty:
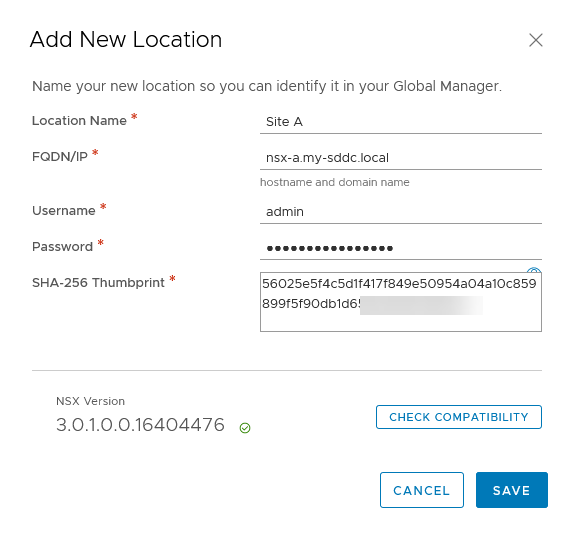
So, with that information gathered, we can add a Location (and click on “Check Compatibility”):
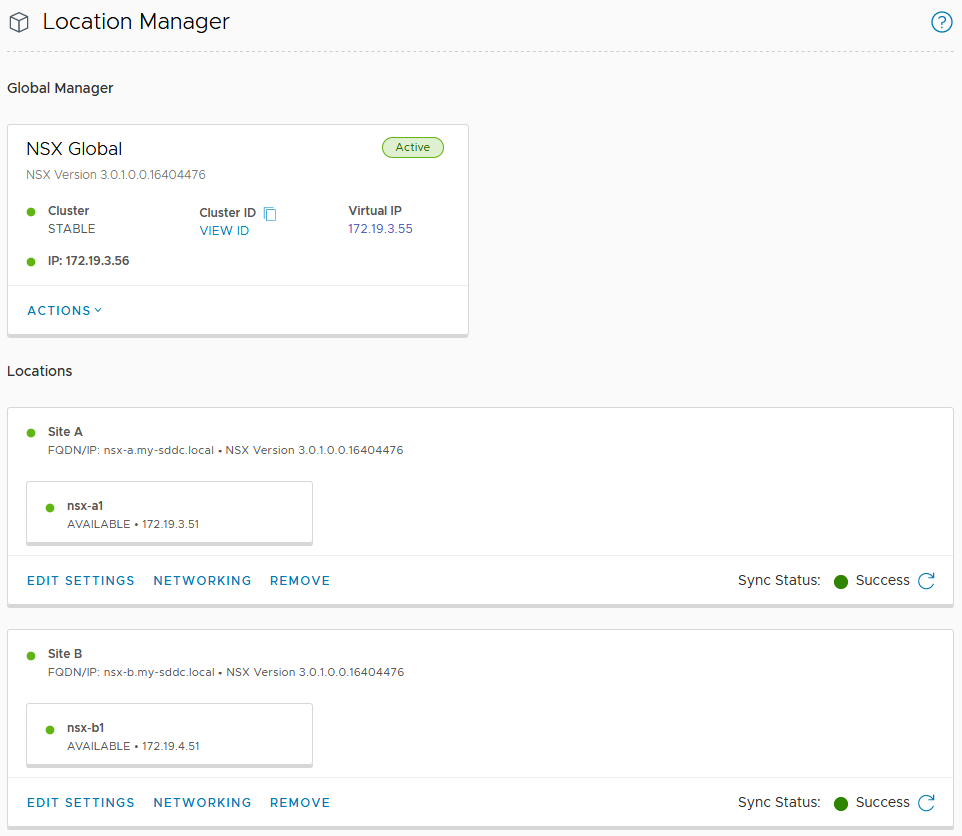
And save the location. After doing the same for Site B (and waiting a while for both to be synced, we see the following:
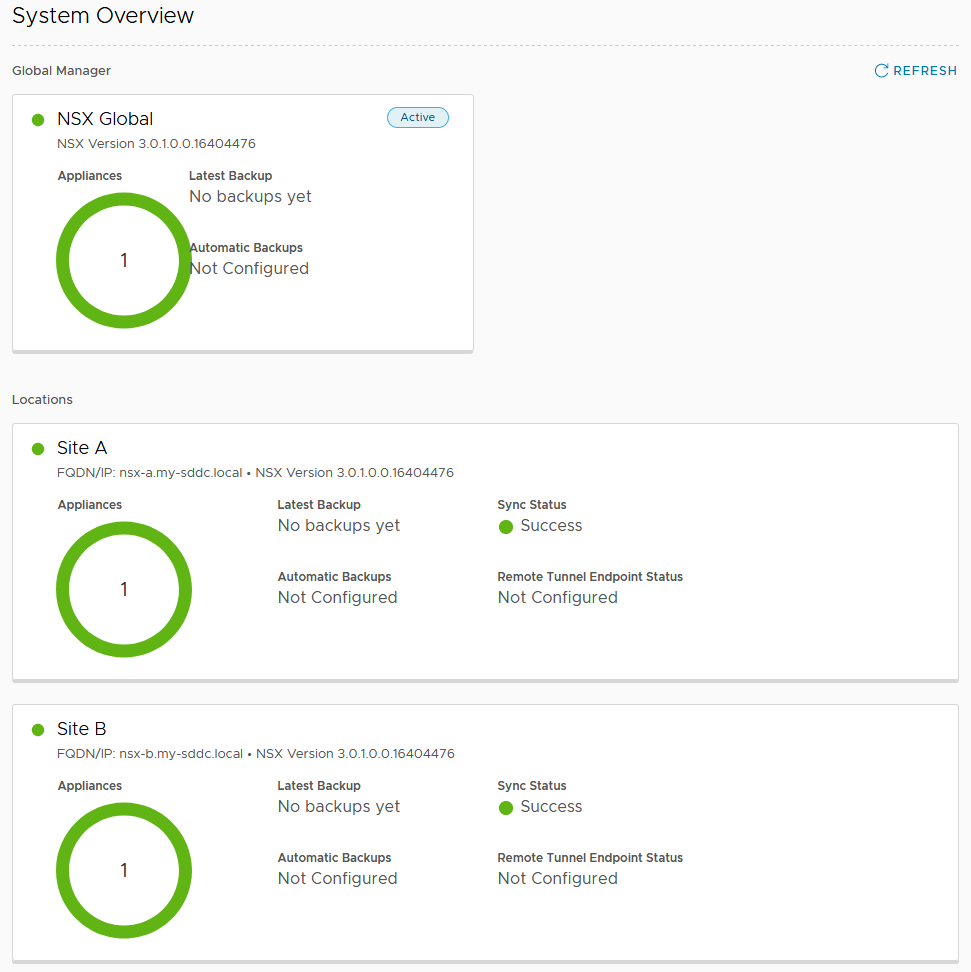
And on the System Overview page:
So we are all set for creating some networks. First deploy some nested hosts. Stay tuned for the next steps.
6 thoughts on “NSX-T Global Manager installation and initial setup”