Integrating NSX-T with Active Directory for RBAC (through VMware Identity Manager)
So after using NSX-T for a while, with the built-in admin account, it is time to look into using RBAC for some granular control over who is allowed to do what, within NSX.
So with NSX-T it isn’t as straight forward as it was in NSX-V. Integrating logins with AD requires a bit more work. With NSX-T it becomes necessary to work with the VMware Identity Manager.
When looking at the ever-important Interoperability Matrix, we can see that the following version are supported:
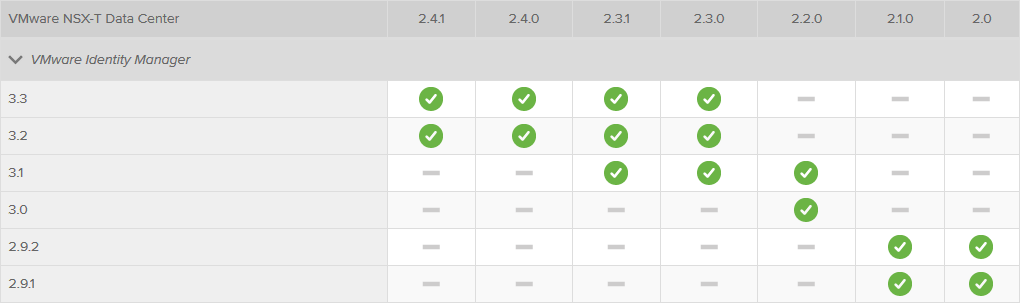
So for NSX-T 2.4.1 (which we are running) I will go for version 3.3.
Downloading this version from VMware and deploying the appliance (OVA-based) is pretty straight forward. After deployment is complete and the initial configuration steps have been taken (defining the passwords), it is time to look at the vIDM configuration for integrating with NSX-T.
I am looking at integrating NSX-T with AD and vIDM is an intermediate in that respect. So the first step is to create a connection between vIDM and AD. When we log in to the vIDM appliance, we get the opportunity to add a directory for authentication.
When connecting to a directory it is important to have the right connectivity. So if there is a firewall inbetween the vIDM and the AD-Domain Controllers, make sure the right ports are open. From the 3.3 Install Guide, we see the following requirements:


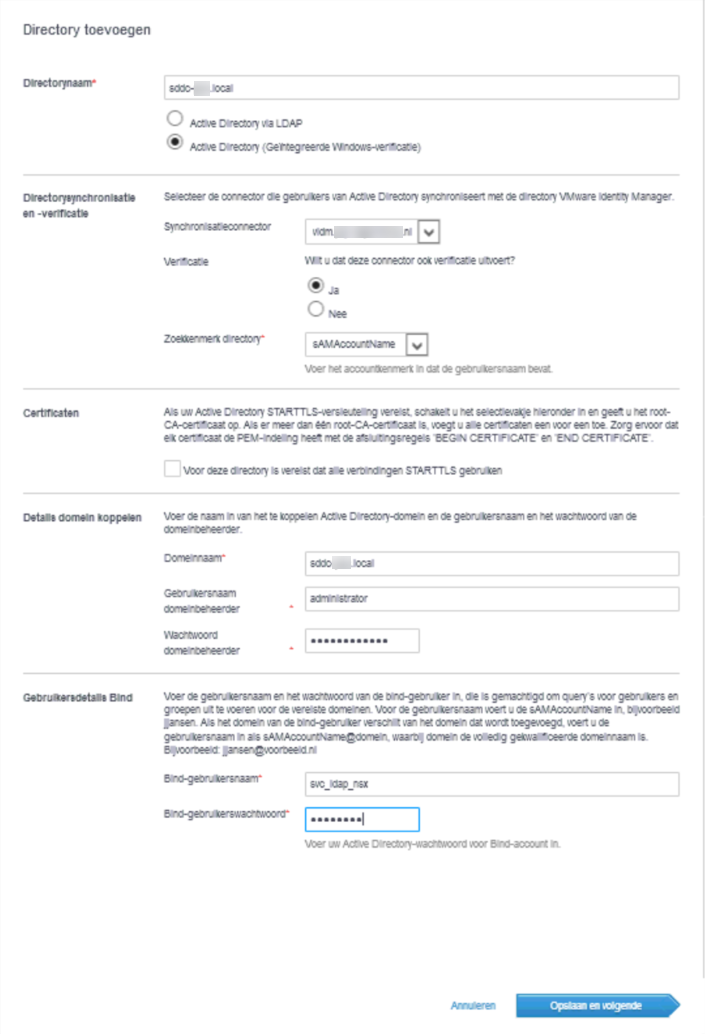
When configuring the connection to the domain, we have to fill in the following screen:
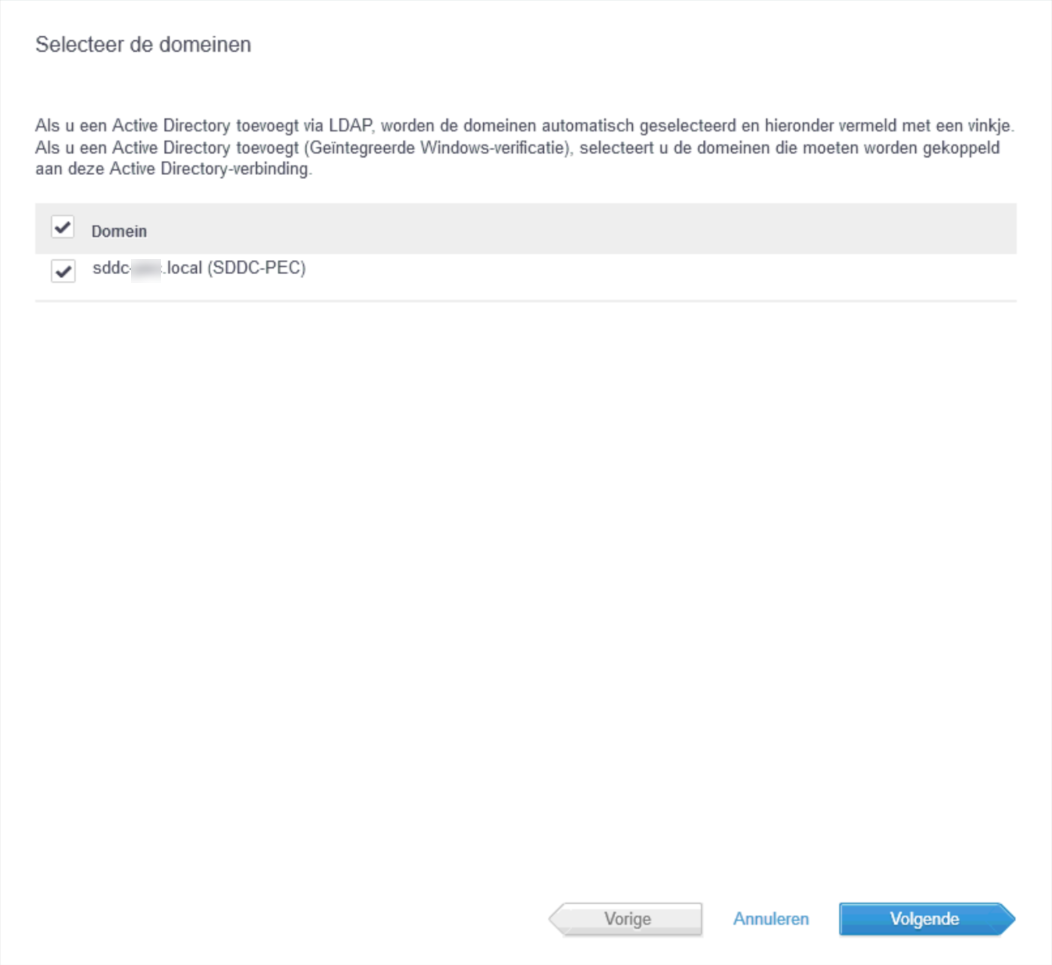
After the succesful connection with the domain controller, the option to select which domain(s) to select is offered:
And the option to select the information that is synchronised:
(I kept this default).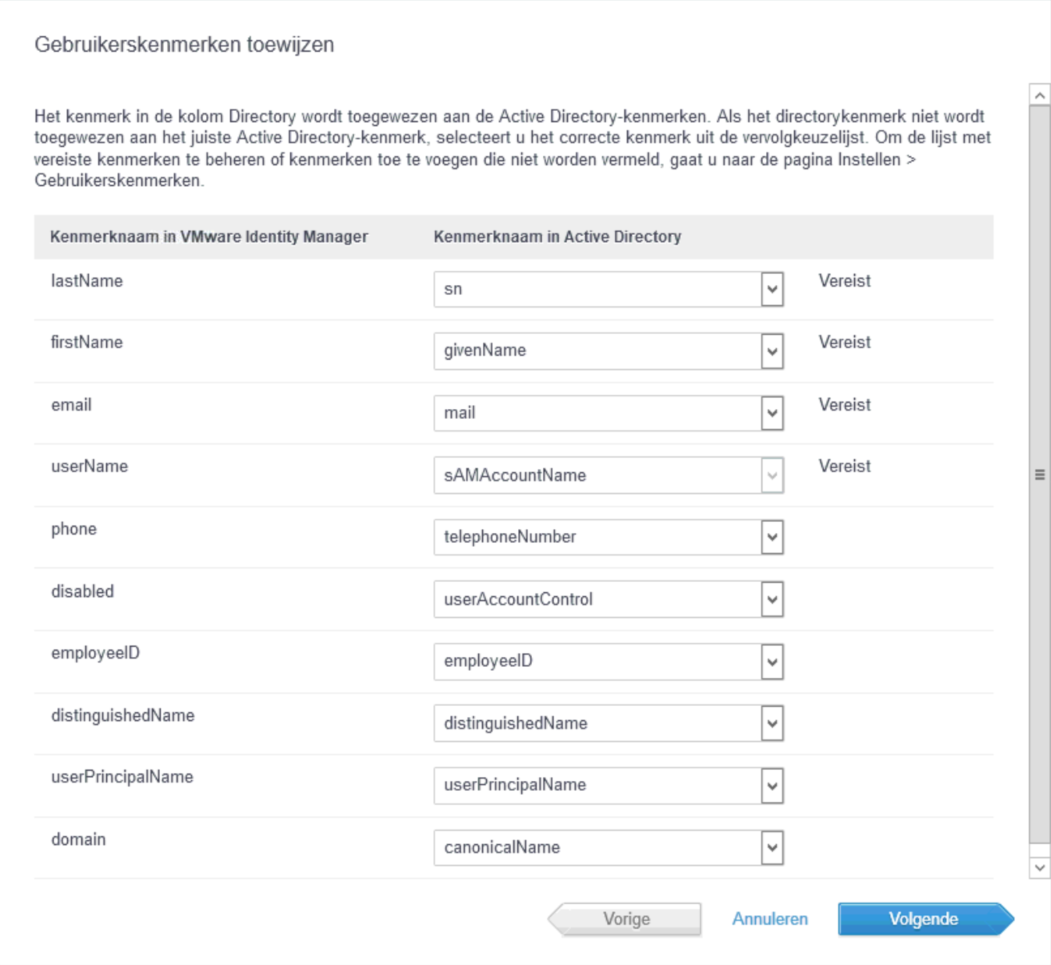
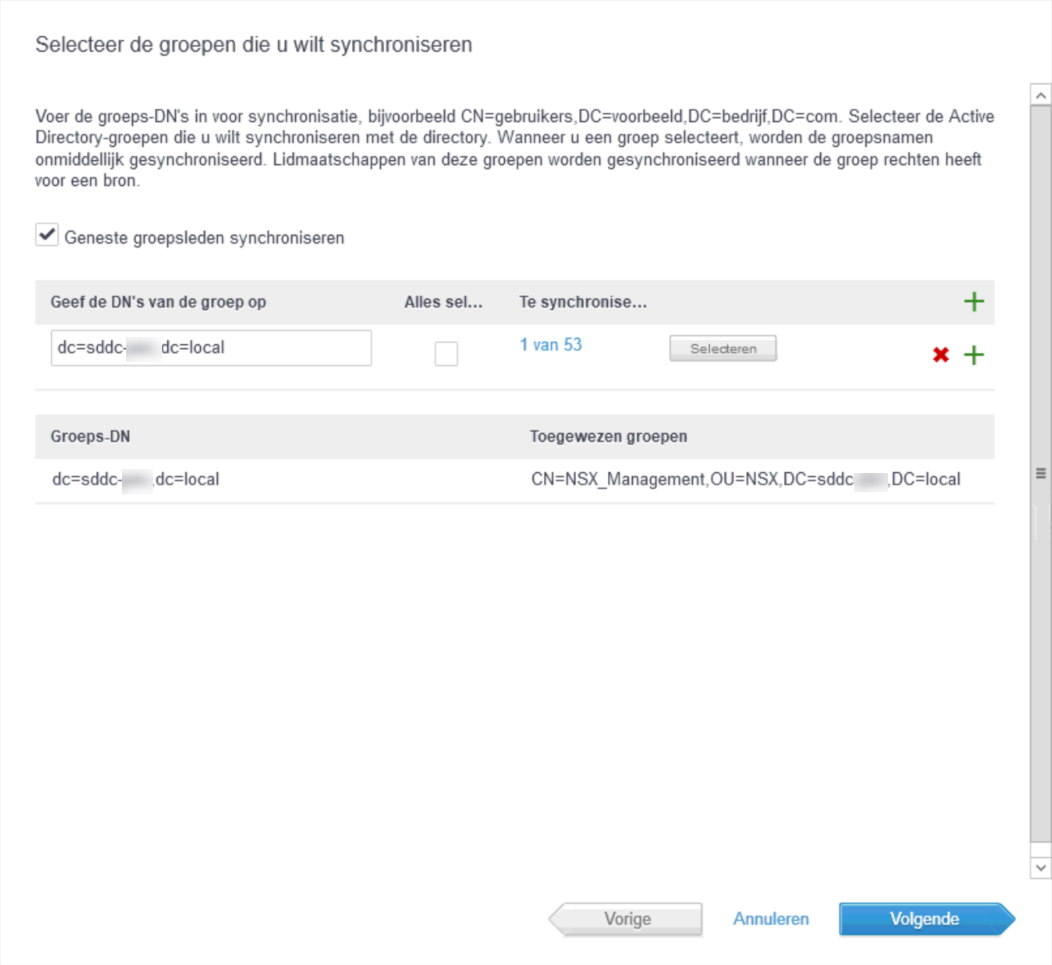
Then it is time to select which group(s) will be synchronised. I created a specific NSX_Management group and have three users that are a member of this group:
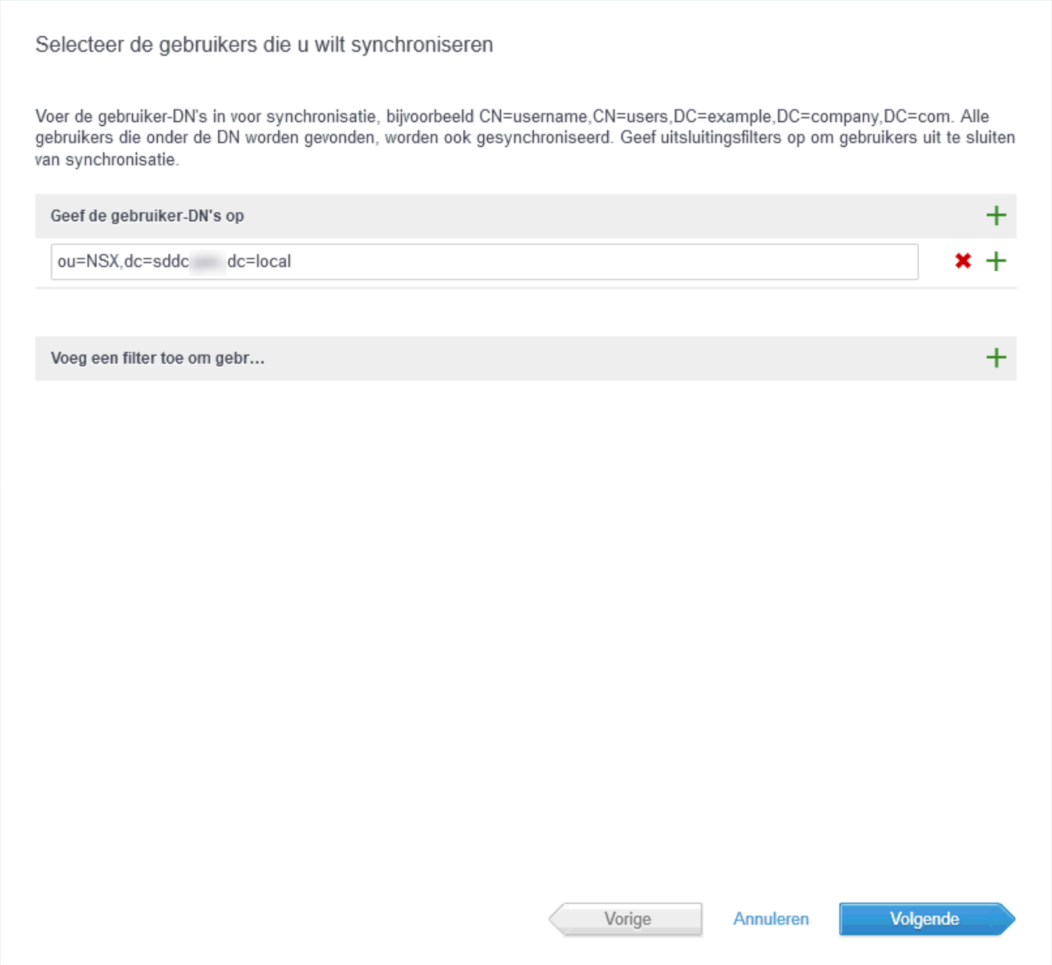
and select the users:
And finally, the wrap-up of the accounts and groups we are about to synchronise:
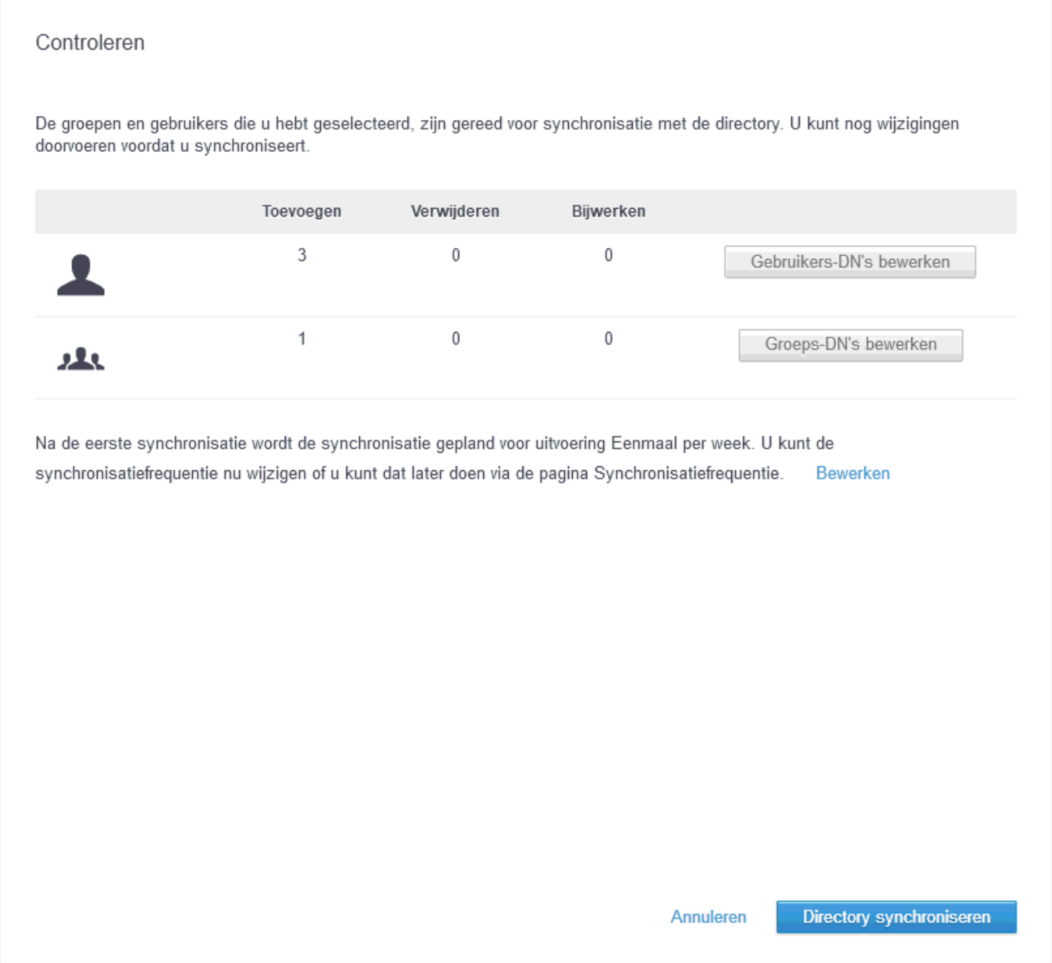
Dependent on the number of users and groups, the synchronisation might take some time, but in my small environment this is completed almost instantly:

So after this, the setup on the Identity Manager is almost complete. We do need to add an application so we can configure NSX-T to connect to this appliance though. For this, we need to go to:
(and for the English-speakers I apoligize for the fact that the screens are in Dutch ;)):
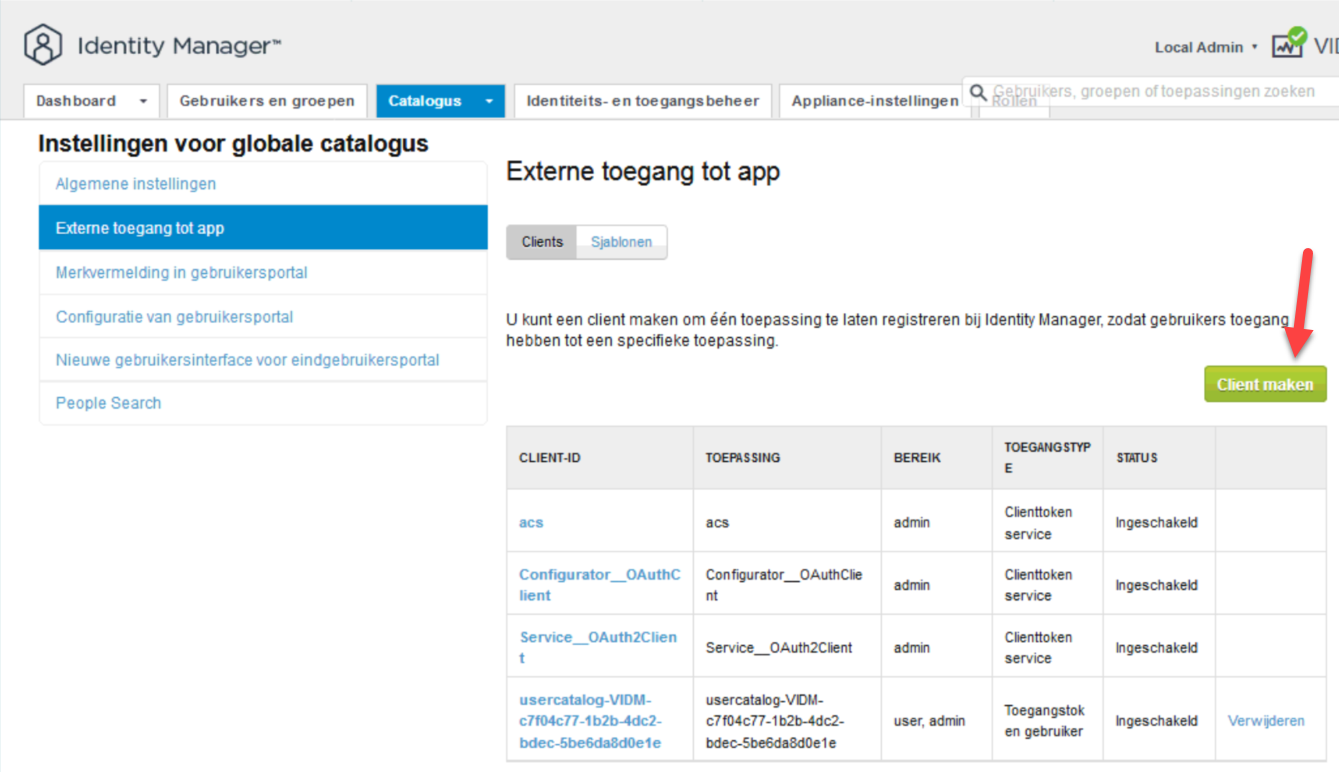
and create a token, to be used in the NSX Manager: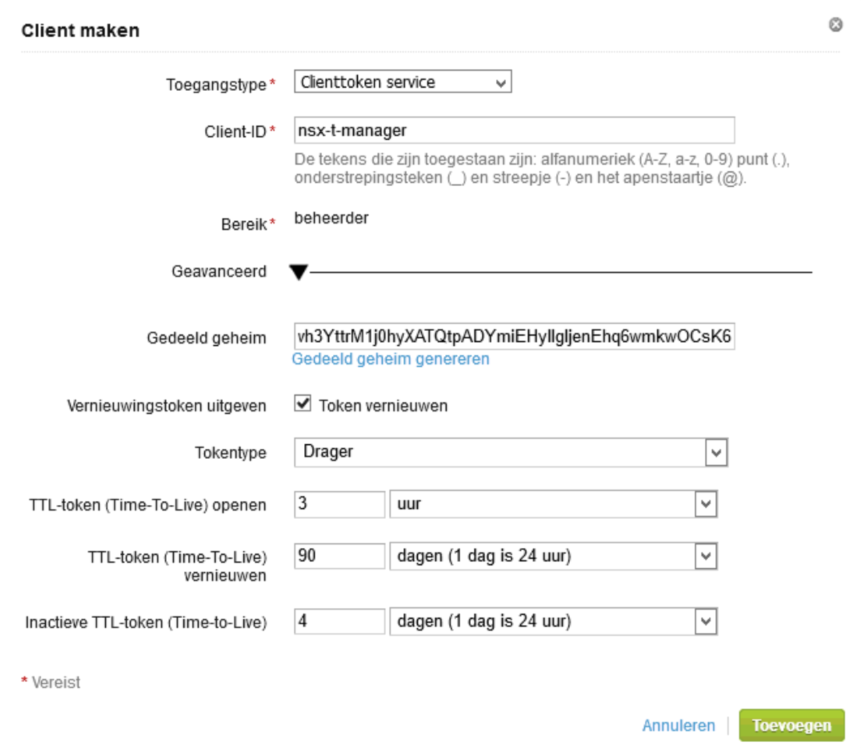
Last thing we need to collect, in order to connect our NSX-T environment to the vIDM, is the SSL-thumbprint from the appliance. To do this, we ssh into the appliance and perform the command:
openssl1 s_client

-connect <FQDN of vIDM host>:443 < /dev/null 2> /dev/null

openssl x509 -sha256 -fingerprint -noout -in /dev/stdin
(from: the NSX Documentation).
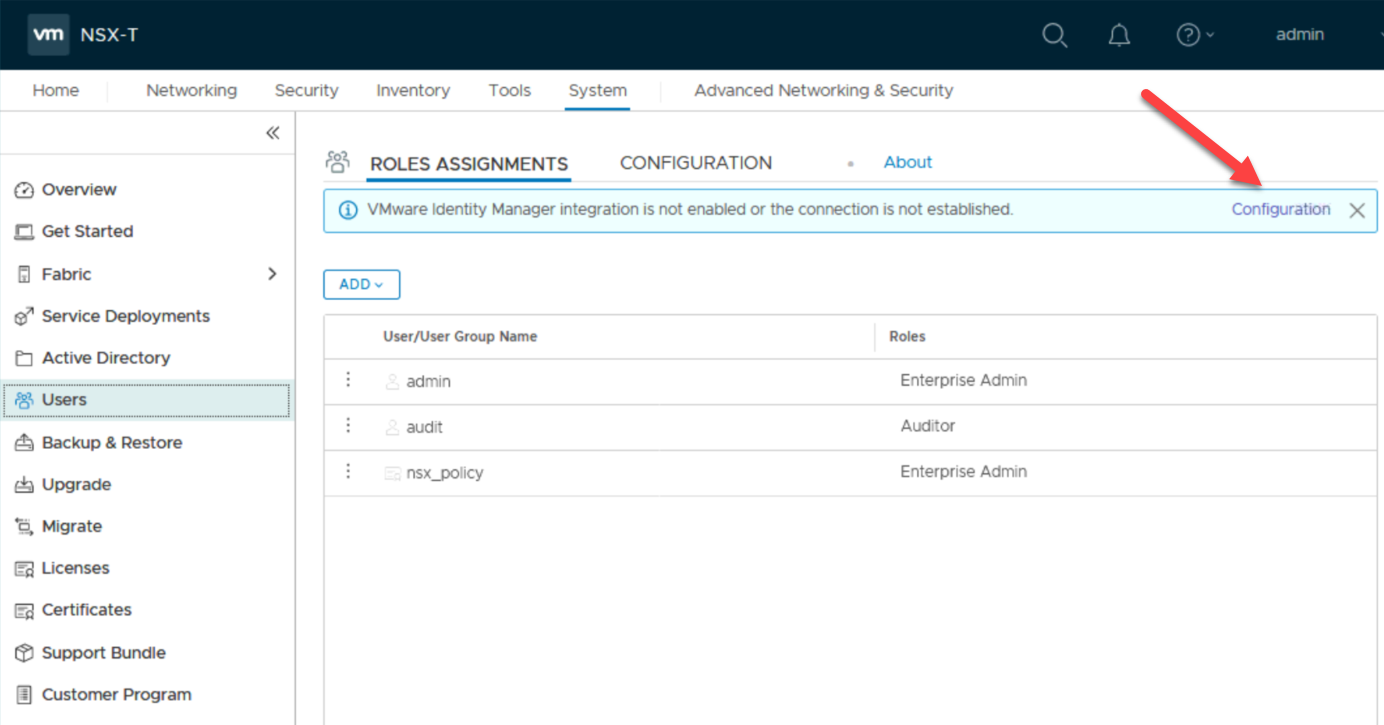
So now, let’s head over to the NSX Manager and configure the connection to the vIDM from there:
There we fill in the required information, including the just generated “shared secret” (in Dutch that is “gedeeld geheim”, so you know where to find it in the screen (but you probably already figured that out yourself anyway ;)).
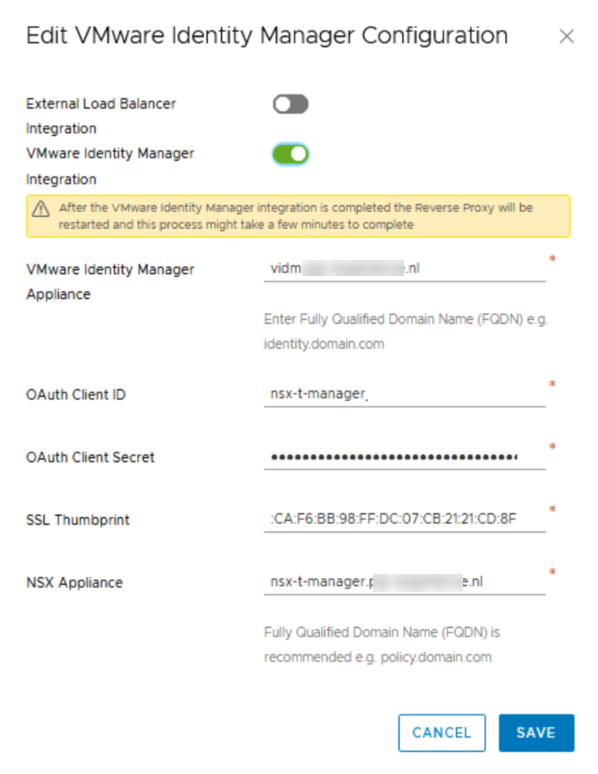
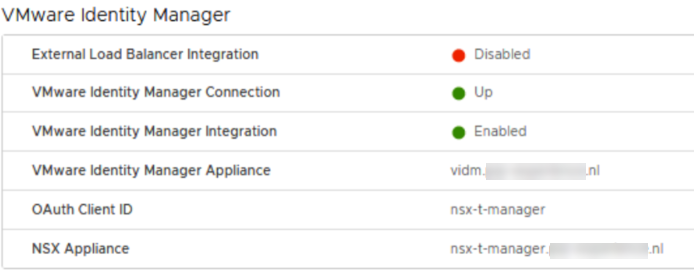
And when we save this configuration and look at the status, we see that the connection has been made succesfully:
After all this work, it is finally time to select which user can administer NSX-T and through which role:

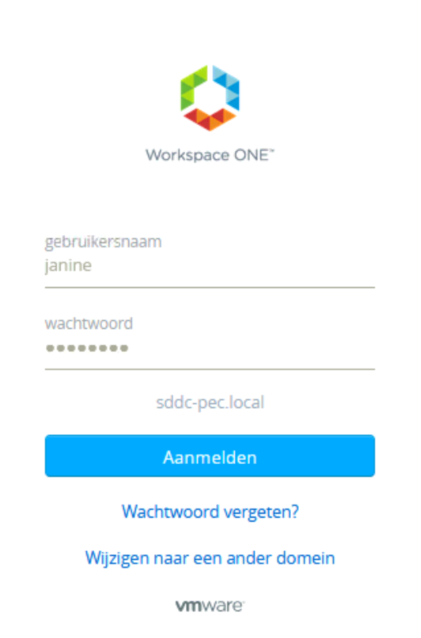
And when this is done, we can put this all to the test and log in as user Janine, who has Enterprise Administrator rights. When we go to the NSX Manager, we get the login-page from the vIDM appliance, which shows that the integration has been succesful:
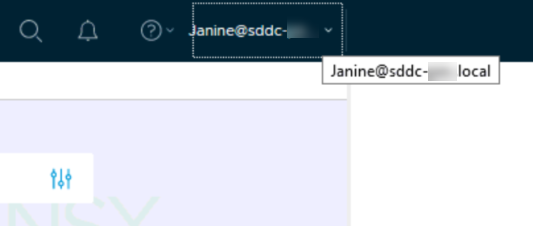
And we can see the logged in user:
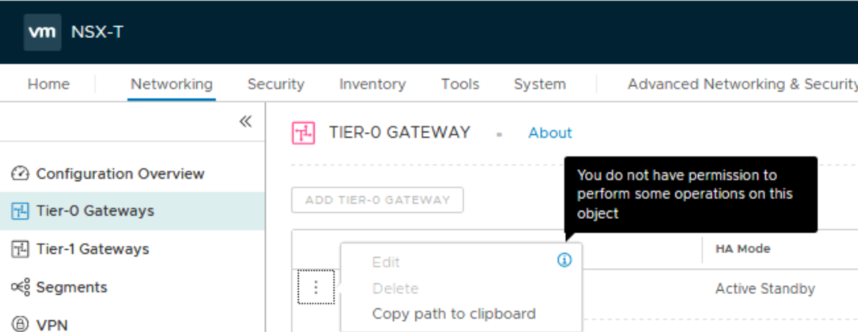
And when we log in as Ben, who is our Security Engineer, we can view Tier-0 stuff, but we are not allowed to touch it:
It is still possible to do a local login, with the following syntax:
https://<NSX-T_FQDN/IP>/login.jsp?local=true
2 thoughts on “Integrating NSX-T with Active Directory for RBAC (through VMware Identity Manager)”
Thanks for the guide.
Is the license required for VIM ?
Seems a bit annoying that vmware has not included AD based authentication to the manager as standard
No, you don’t need a license for VIM, with NSX-T. I agree with the AD-based authentication, that should be included. Hopefully it comes in a future version, but I have no idea if this is on their roadmap.