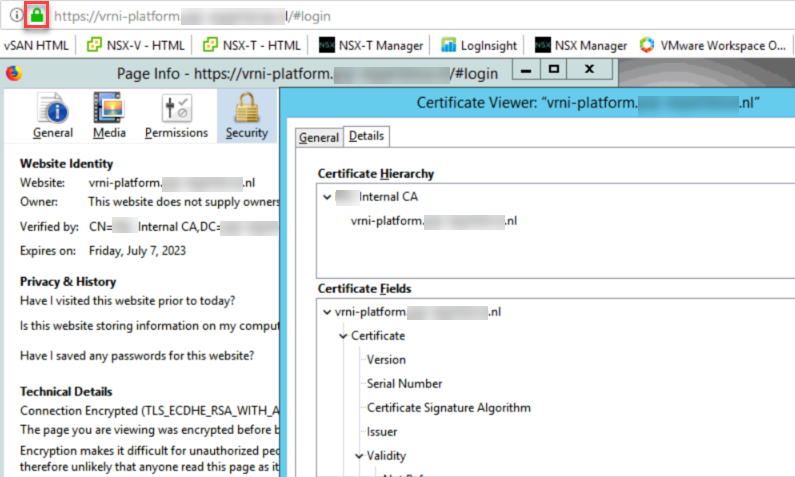
Install a signed certificate for vRealize Network Insight
Within our demonstration environment (the PQR Experience Center), we are running a multitude of SDDC-products from VMware. Most of them have been signed by a CA-based certificate, but today we found out that our vRNI server is still running with the self-signed certificate.
Time to change this!
I have looked at the procedure at https://kb.vmware.com/s/article/2148128, and created some screen shots to accompany the procedure.
First of all, I logged in with ssh on the platform-vm. I used the username “support”, which is the default ssh user.
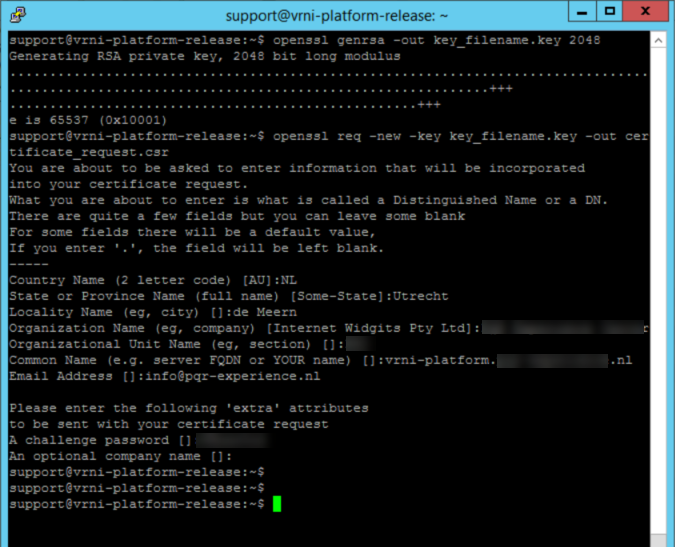
With the first command:
openssl genrsa -out key_filename.key 2048
we create a key-pair which will be used for the certificate. With the second command:
openssl req -new -key key_filename.key -out certificate_request.csr
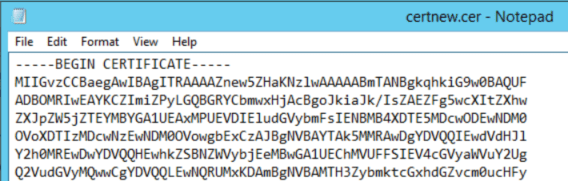
we create a request in a format that can be put to a CA. The content of the file, looks something like this:
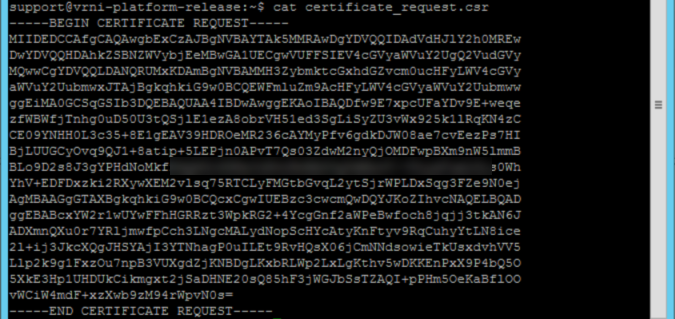
(I blurred out a small piece, to make sure it is not useable anywhere else ;)).
After this, we can go to a CA and create a certificate based on this request. In our case, this is a MS-CA.
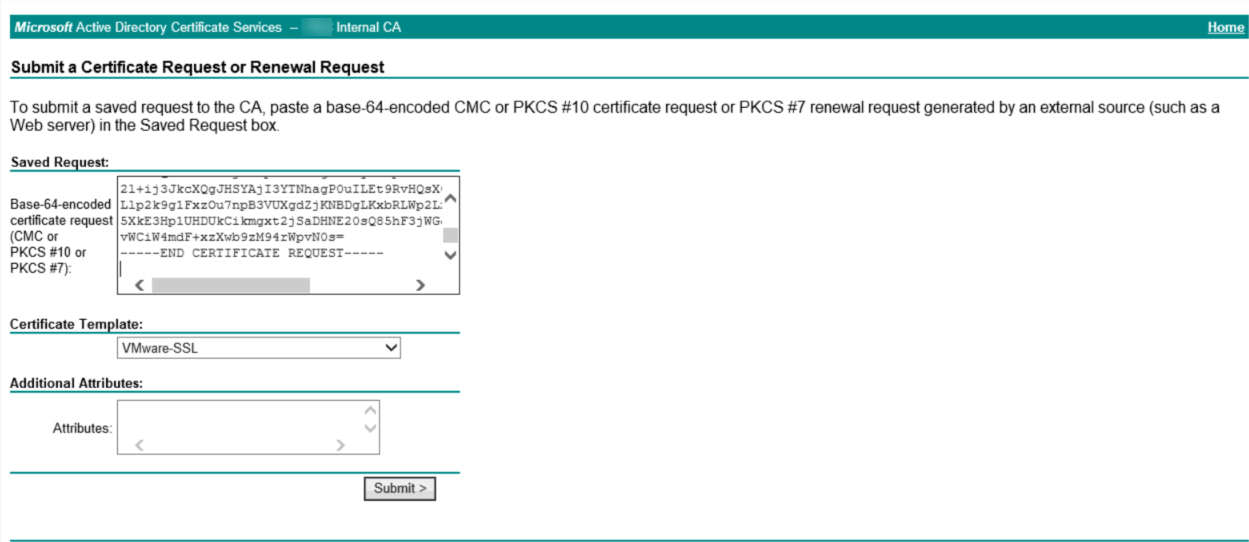
When we click “Submit”, we can download the file, which contains a signed certificate based on the request that was put in:
This is just the certificate for this machine, but in order to make sure that also the complete path of the certification is included, we need to create a file which contains the complete path of the certificate, in the correct order. So we have to create a file, which is comprised of a maximum of three certificates, in the following order:
- The machine certificate
- (The intermediate certificate)
- The root certificate
Since we used the root CA directly, we don’t have an intermediate certificate, so the file is only comprised of two certificates
Which looks something like:
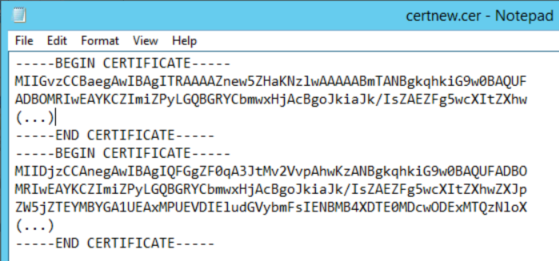
(for readability I truncated the certificates).
When this is created, we need to place the certificate-files (both the signed file and the key-file which was created in the first step) on an sftp location:
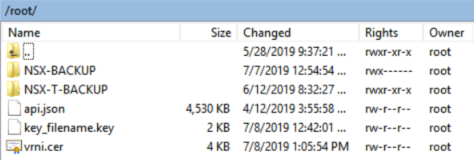
(I used the server that I backup both my NSX-V and NSX-T installations to).
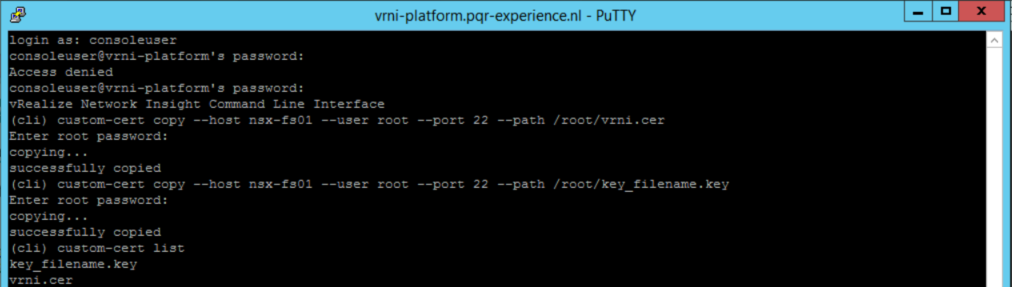
To access the correct tooling, we have to log in to the vrni-platform appliance, as “consoleuser”:
If there is a custom certificate already installed, we can remove it by using:
custom-cert remove
but since this is not the case in our environment, we can skip this step. We have to download both the .key file and the .cer file, by issuing the following commands:
custom-cert copy --host nsx-fs01 --user root --port 22 --path /root/vrni.cer
custom-cert copy --host nsx-fs01 --user root --port 22 --path /root/key_filename.key
after that, we can check if the files are present and recognized, through the command:
custom-cert list
In the console, this looks something like this:
And after all this, we can enable the new certificate:
custom-cert apply
![]()
And, as the proof of the pudding is in the eating: