Upgrade NSX-T to version 2.5
In this blog, I will be documenting the upgrade process of NSX-T to version 2.5. The first step in the upgrade process is to make sure that all versions of other components that I am running are compatible with version 2.5. To find this out, I use: https://www.vmware.com/resources/compatibility/sim/interop_matrix.php#interop&175=&2=
This will show me the versions that are compatible. Below vCenter and NSX-T:

and the same table is available for ESXi and NSX-T:

With the same result, which was to be expected (but better safe than sorry). Since I am still running 6.7U2 (planning to upgrade to U3), it is okay. If I wanted to start with the upgrade of vSphere, I would have had issues, since my NSX environment is still on 2.4.1.
In my test environment, I am running a single NSX-Manager (to spare resources). The upgrade starts with the download of the upgrade bundle, a so-called mub-file. After the download from VMware has completed, we need to upload the bundle into NSX-T:

It will begin with showing us a nice long ELA, which we, of course, read completely before selecting the checkbox that we fully agree (or something like that, I didn’t read it as you can imagine ;)). Next up the start of the upgrade:

It will update the Upgrade Coordinator that is responsible for the next steps.
The next step of the upgrade is a precheck, to make sure that all is well. There I got some warnings, that triggered me to do some housekeeping:
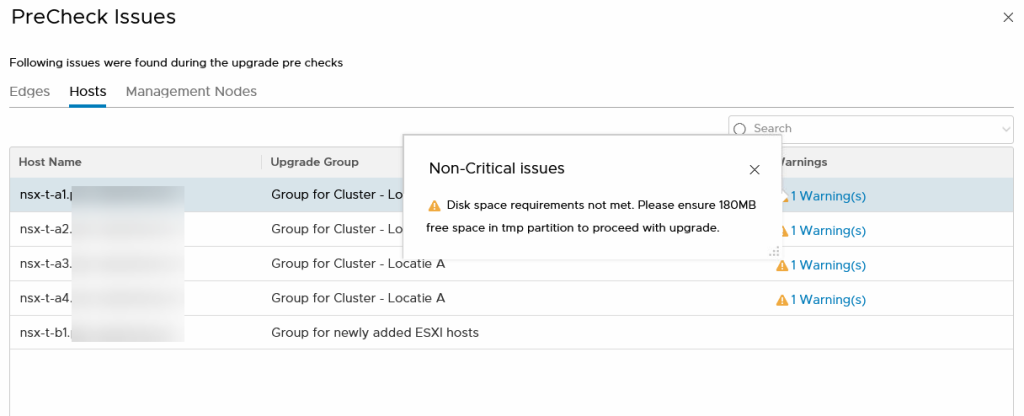
Looking into the issues, it showed me that 4 hosts had a /tmp partition that was a little low on free space and that the upgrade could fail as a result of that. Nice warning beforehand, to avoid a failed upgrade. So we had to address the issue.
The tmp partition in my environment is apparently a little full, which is, in NSX-T environments a known issue, on which there is a KB-article: https://kb.vmware.com/s/article/74574. This is an issue within 2.4, which will be resolved in 2.5.
Following this article, I chose option 2, since we are running a vSAN nested host, without any other storage, so we had to reduce the amount of space the NSX-T logging uses. The commands in the KB article will reduce the number of log-files that NSX stores on the ESXi host, in my case clearing enough space to be good to go. After doing this on all hosts, the precheck finishes without further issues:

So we click on the Next button to proceed with the actual upgrade:

First step in the upgrade process is the upgrade of the Edge Nodes. We can select which Edge Node Cluster we upgrade, if we want the upgrade to happen Serial or in Parallel. Also if we want to pause after each group, or not. The upgrade starts with the push of the Start button (surprise!):
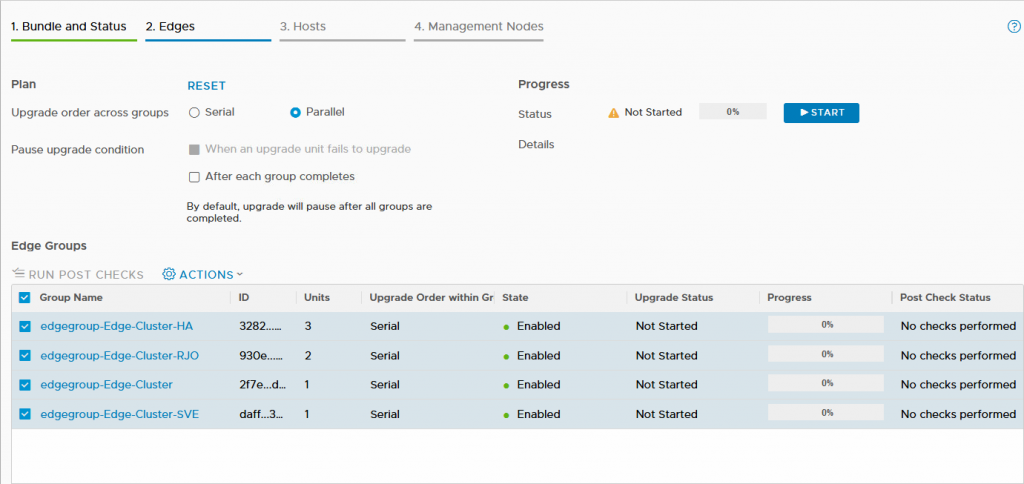
In order to see the details of the upgrade, we can select the group and we can see some additional information:

When upgrading Edge Node Clusters it is very important to be aware of the redundancy that is in place. When the Tier-0 North-South traffic is not properly configured for redundancy, the upgrade of the Edge Node on which it runs, will result in a network-outage.
After the successful upgrade of the Edge Nodes:

we can continue with upgrading the hosts:
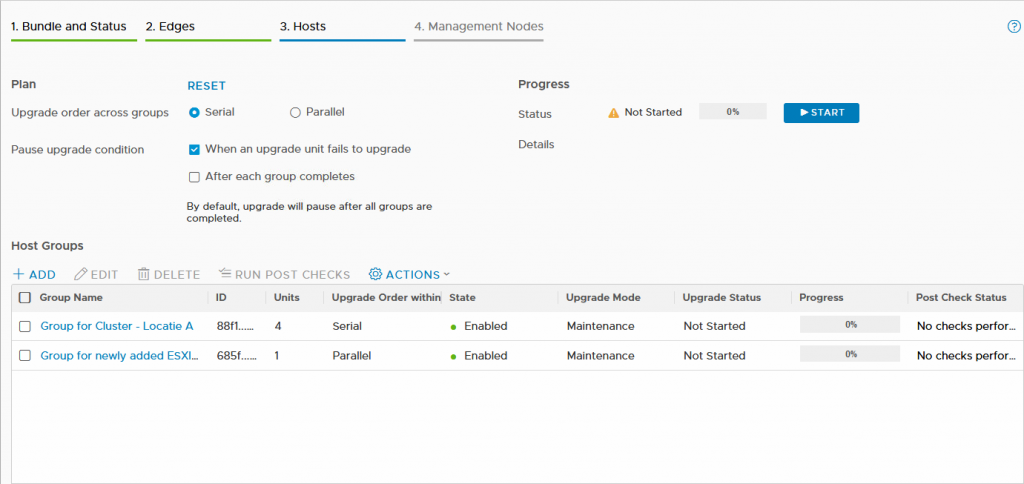
In our environment, we have two cluster, which are both managed by the same vCenter server. One of the clusters consists of four hosts, the other of one host. We can again determine if we want to upgrade the groups (clusters in this case) in parallel or serially.
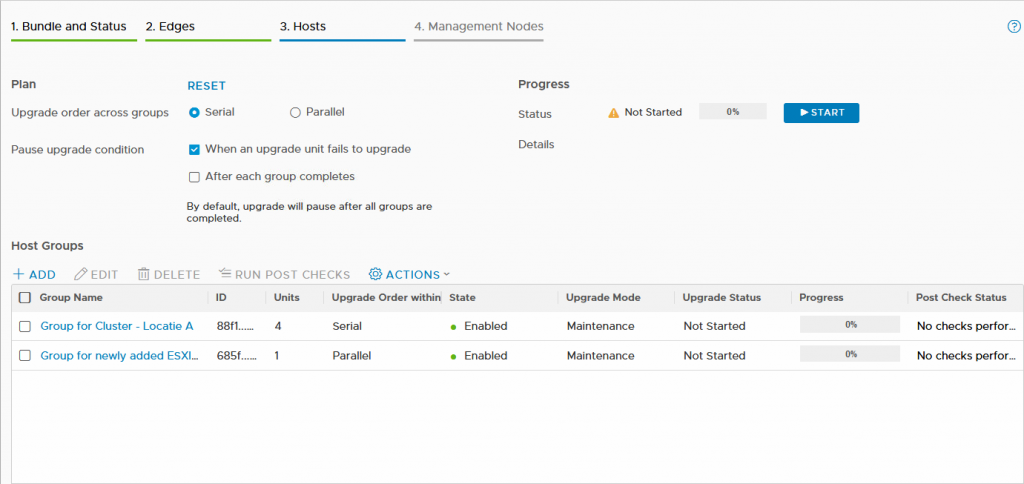
The upgrade of the hosts will be done by putting the host in maintenance mode. There will not be a reboot, but the hosts will have to be evacuated.
After all hosts have been upgraded, we progress to the last step in the upgrade process, the upgrade of the Manager(s). In our case, just one, but in normal environments, this will have to be three nodes.
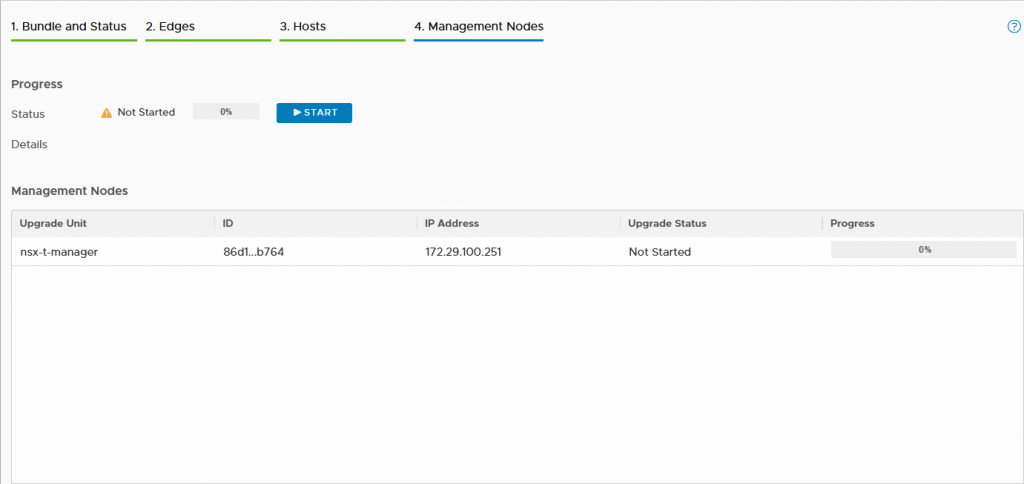
When upgrading the management plane, it is important to realize that nog changes need to be made to the environment, because this may lead to errors:

And when the upgrade of the NSX Manager(s) had finished:

we can finally go on and use some of the great new NSX-T 2.5 features.