Migrate VM’s with Nutanix Move
I’m following a course to get myself certified on the Nutanix Tech and one of the topics I ran into, was migrating with Nutanix Move. So I thought, besides do the module, I would also try it out for real. So I started with downloading and installing the Move appliance on my Nutanix cluster:
I am using the following sequence:
- Download Nutanix Move
- Create Image
- Deploy Appliance as a VM
- Add enviroment
- Create a migration plan.
- Prepare VMs
- Migrate VMs
Download Nutanix Move
Well, that is easy enough. Just go to: https://portal.nutanix.com/page/downloads?product=move (if you have an account, with the right permissions) and choose the version you want. In my case, I chose:
Create Image
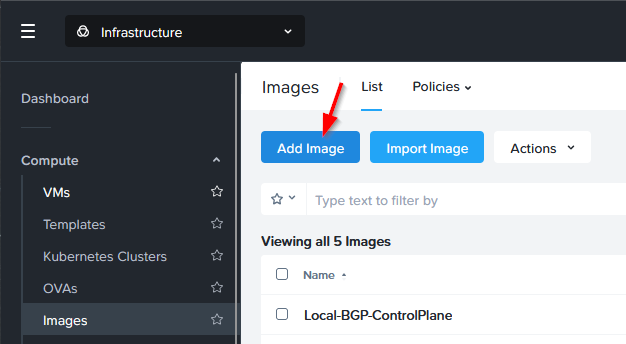
Next step is to upload the download file and create an image within Prism:
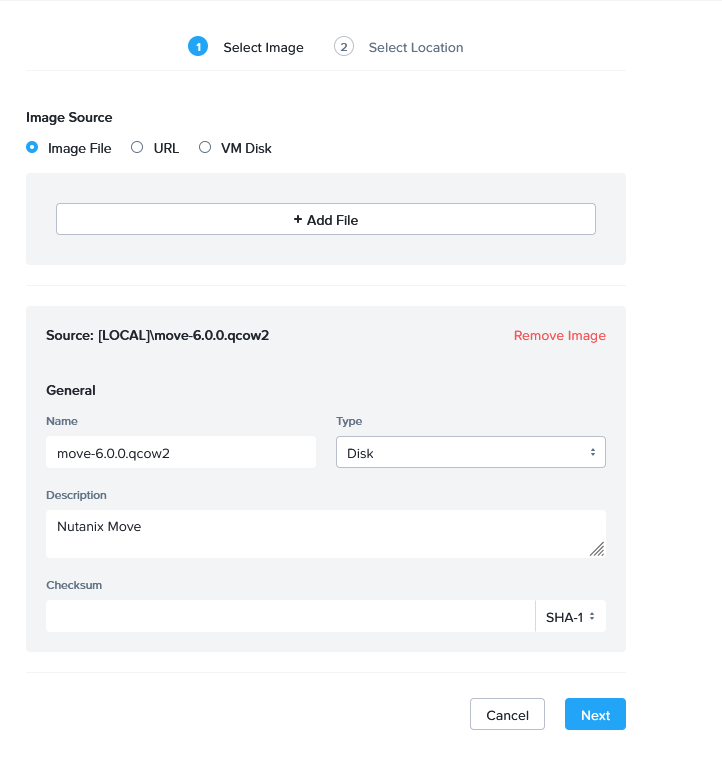
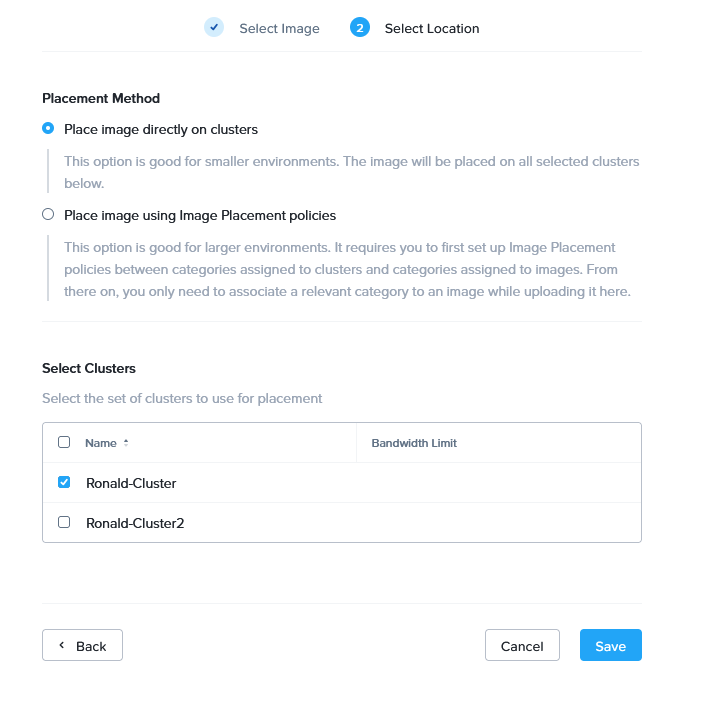
And Save. This will upload the image with which we can create the VM.
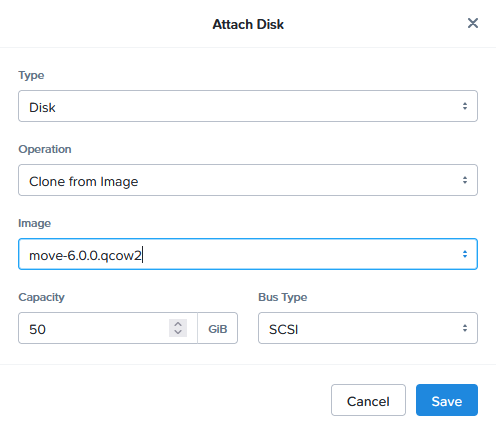
Deploy Appliance as a VM
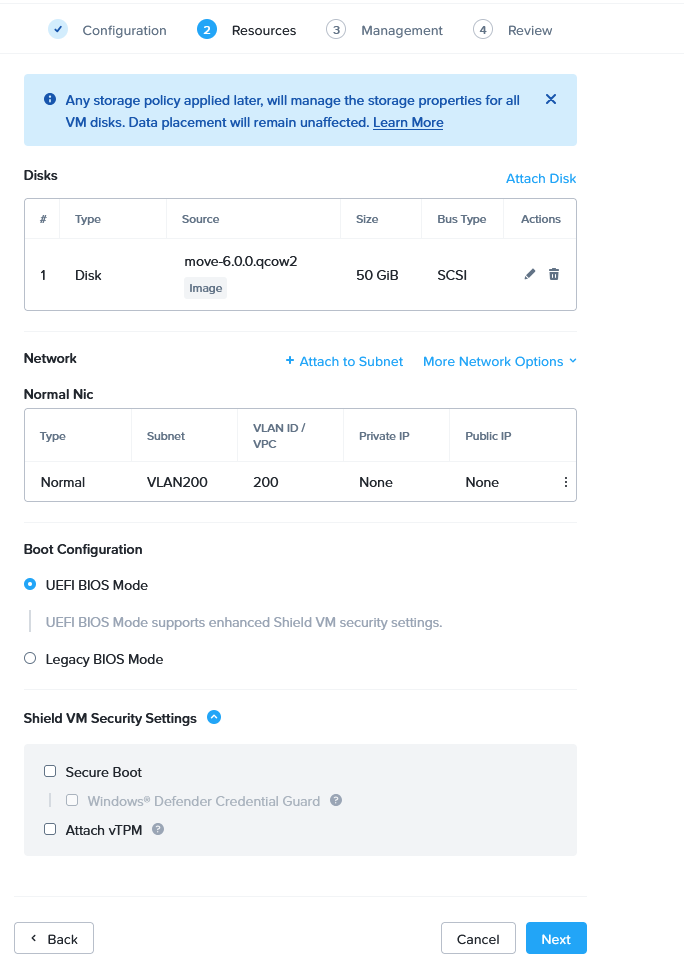
Note that the added disk is a copy from an image, that is done through this option:
And the VM is connected to VLAN 200 (that lives in the same network as the Management components of the Nutanix environment). This is my choice, it can live anywhere where there is the right connectivity to Prism and both source and target environments.
The rest of the menues are left default, so the VM is created and powered on. It will receive a DHCP address, being 172.16.200.61. I will add a reservation to this address for this appliance and register it in DNS.
Then, I can access the appliances, through the web-console (after accepting the EULA and setting the password):
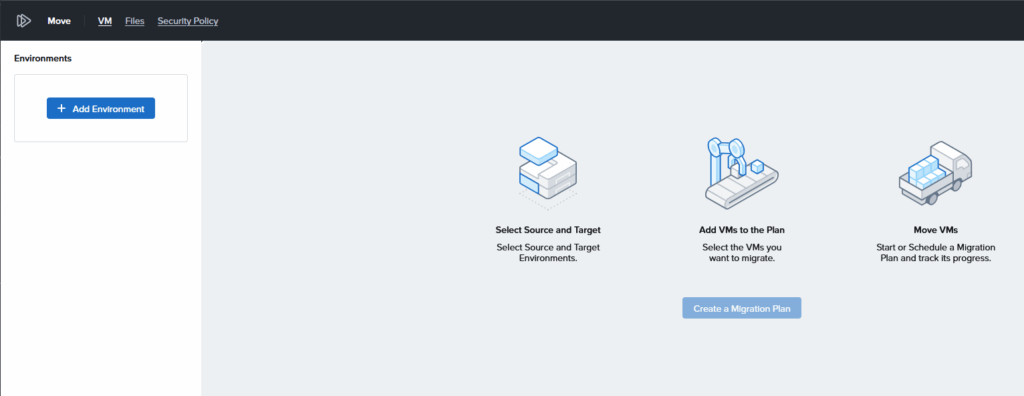
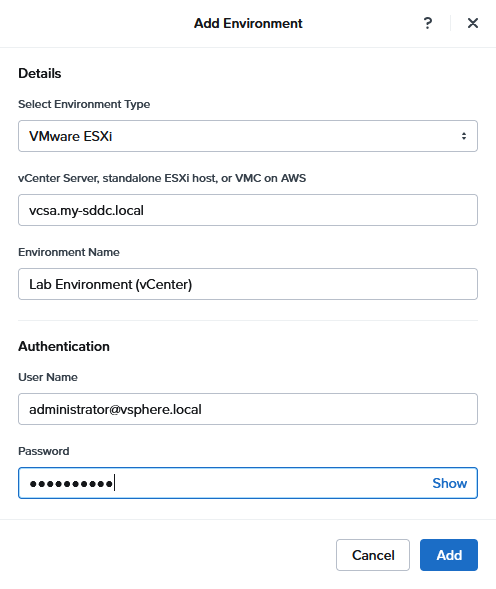
Add enviroments
We are starting with the first environment, that will be the Source. I am connecting it to my vCenter Server that is hosting my lab environment:
One thing that needs to be done, to this environment is upload the VDDK:
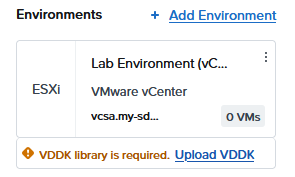
This is necessary to migrate VM’s from an ESXi source. So we click on the link and select the VDDK we need (in our case, we have an 8.x environment, so we choose the second one):
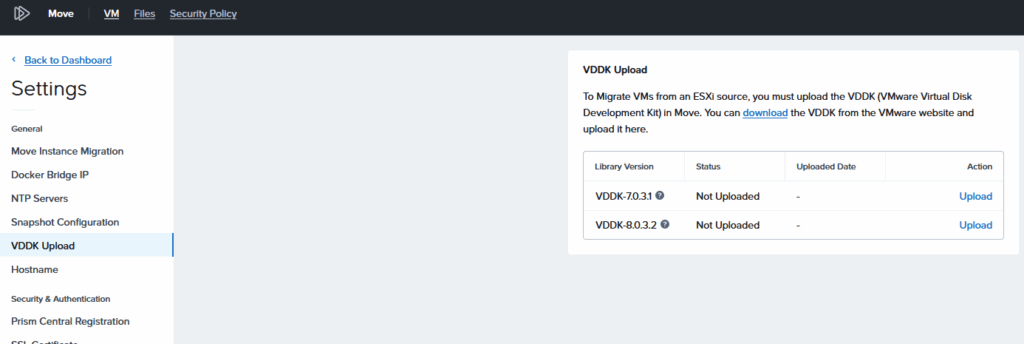
The file itself can be downloaded from the Broadcom Portal (https://developer.broadcom.com/sdks/vmware-virtual-disk-development-kit-vddk/8.0). A valid login is required. The Linux version is needed.
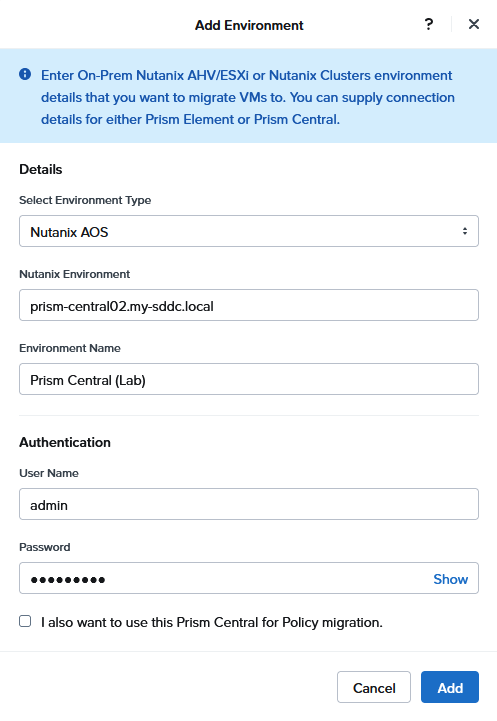
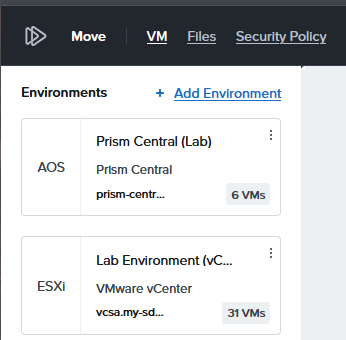
Second environment to add, is the target environment, that will be Prism Central:
It did take some effort to get the inventory for the vCenter Server, because when I inventoried that server, I got an error message:

It has to be said, my vCenter Server is “suspended” on a regular basis, because I shutdown my lab regularly (and I don’t want to wait for a complete restart), so this might be the reason for that error. Anyway, restarting the vCenter Server solved the issue and I can see:
Create a migration plan.
Time to start a migration plan. I have decided to (hot) migrate a couple of vm’s that I have running on my vSphere environment. Two Linux VM’s (based on Linux Lite (Based on: Ubuntu 24.04.3 LTS): https://www.linuxliteos.com/download.php) and two Windows 2019 Server VM’s.
The VM’s are running VMware Tools and not a lot apart from that. But for this test, that should suffice. They are all connected to VLAN200 or 210 (one VM per OS per VLAN), which are also available in my Nutanix environment.
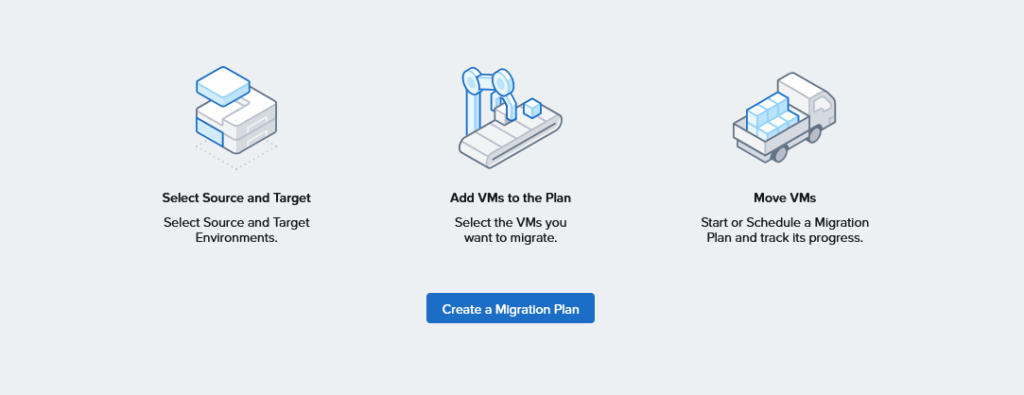
So, I create a new Migration Plan:
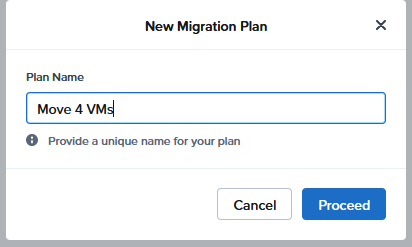
Give it a name.
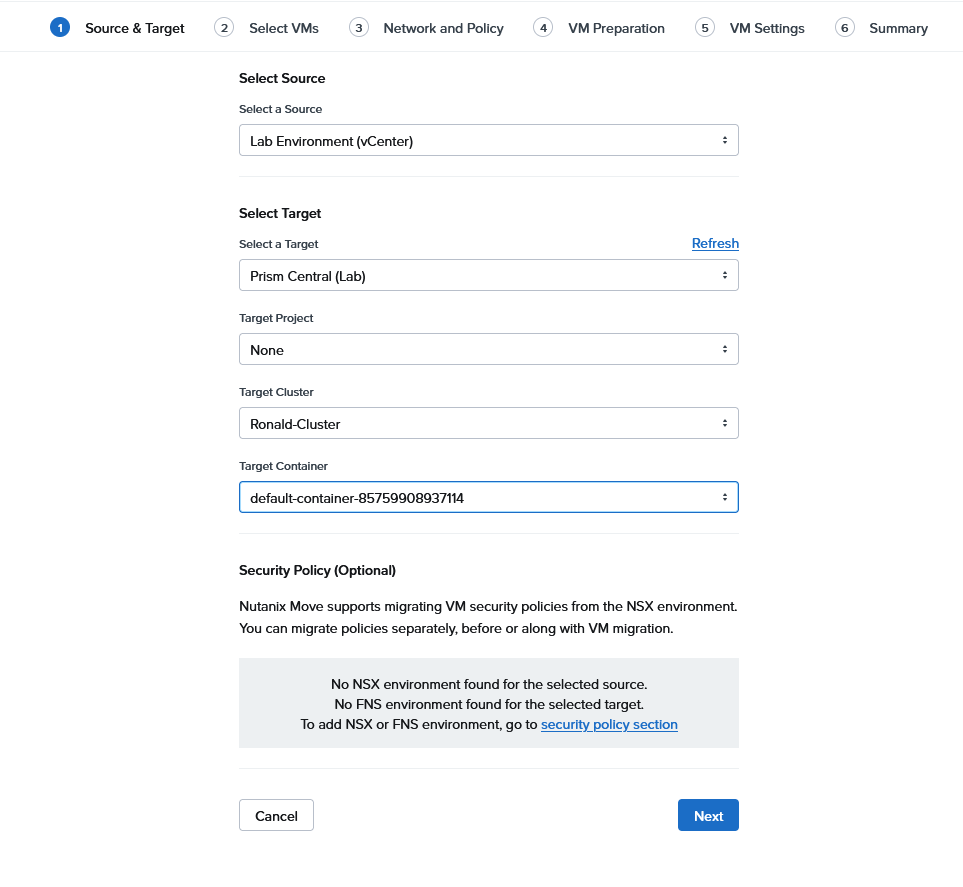
And select the source and the target (including the clustername and the storage container):
I select all the VM’s I want to migrate (you can filter on name and click “plus” to add the VM to the list):

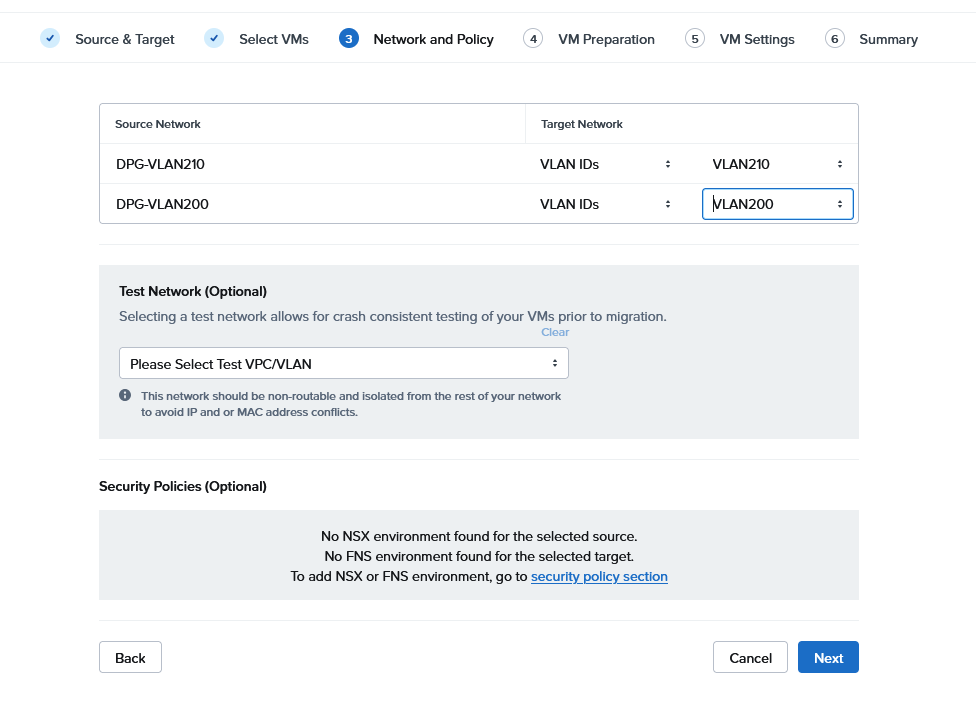
Select the network-mapping:
Prepare VMs
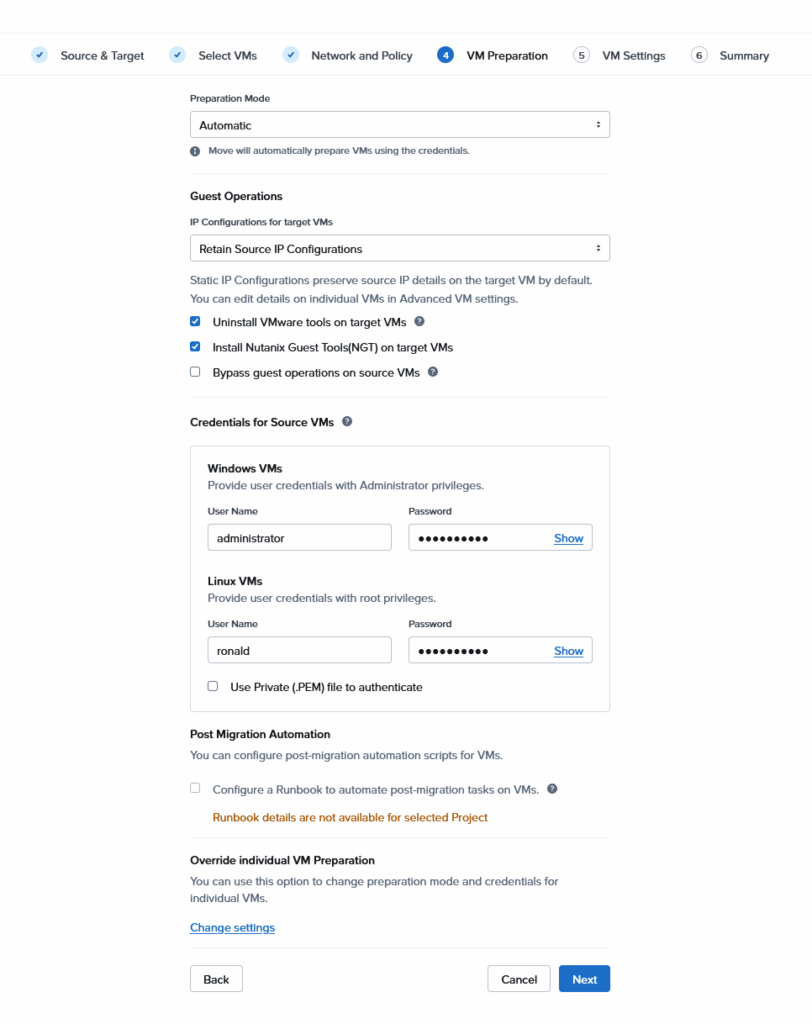
Then the VM’s have to prepared (this is still part of the process to create the Migration Plan):

And after “Next”, a second screen:

And, after another “Next”, it will give us this summary:
If there is an error, for instance with credentials, you will get a chance to repair that. After all is succesfully tested and validated:

the plan is started.
Migrate VMs
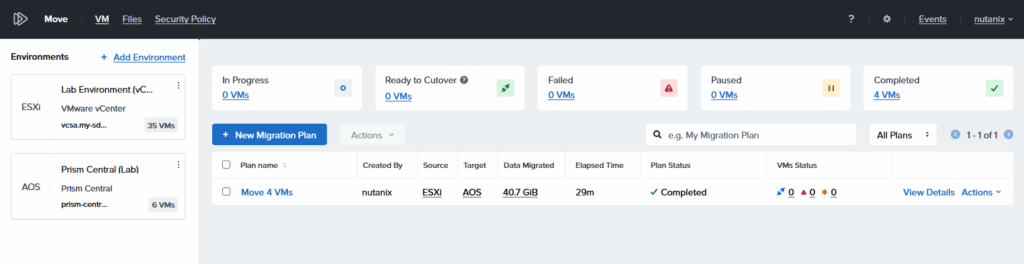
We can follow the status of the migration, step by step:
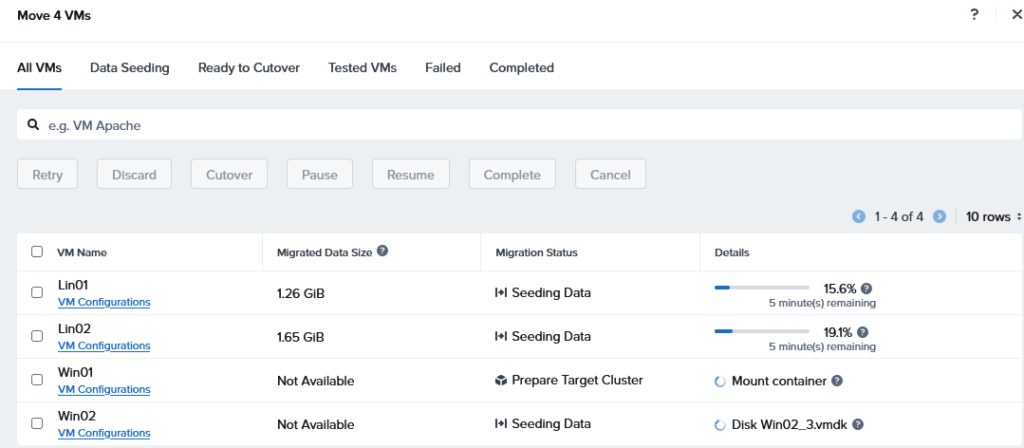
In the tabs on the top, we can select the different statusses of the VMs migrating. When all data has been migrated, the status will change to:
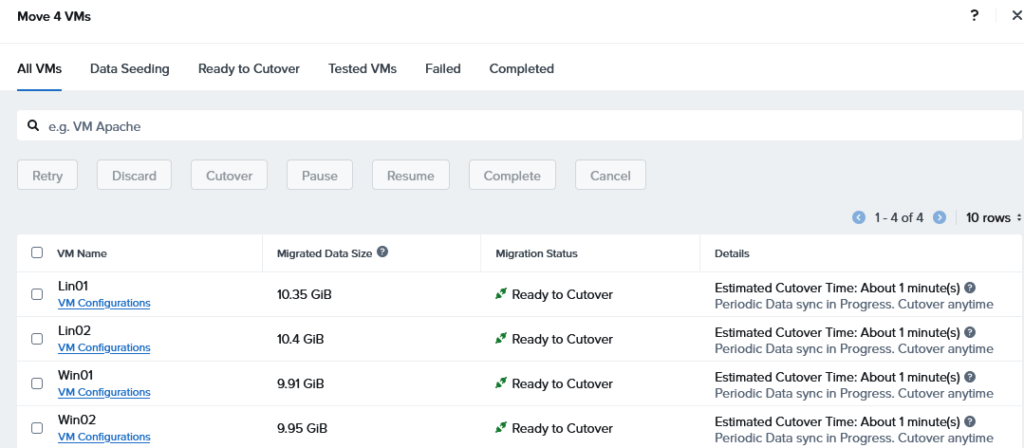
We can then select the VMs we want to cutover:
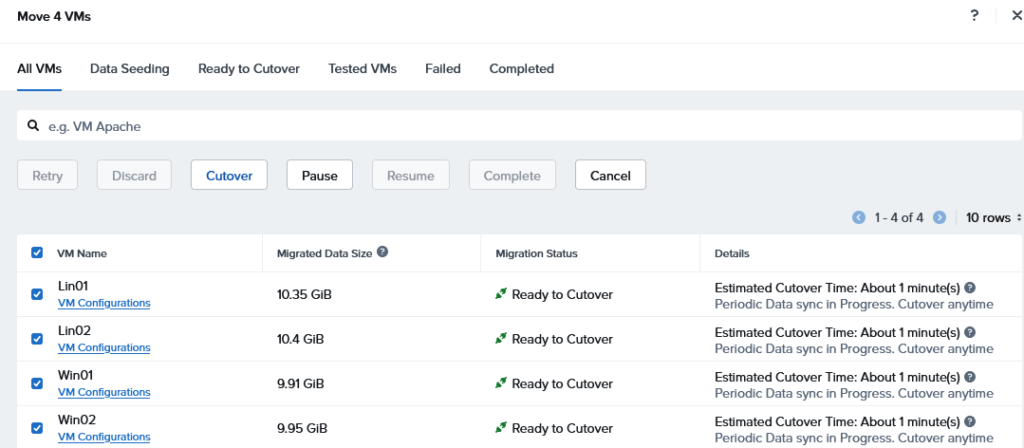
And click “Cutover”. We get a final warning:
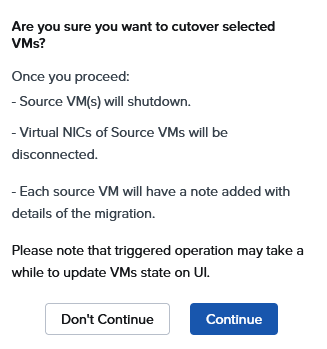
And when we click “Continue”, the actual cutover takes place. It shows what is happening:

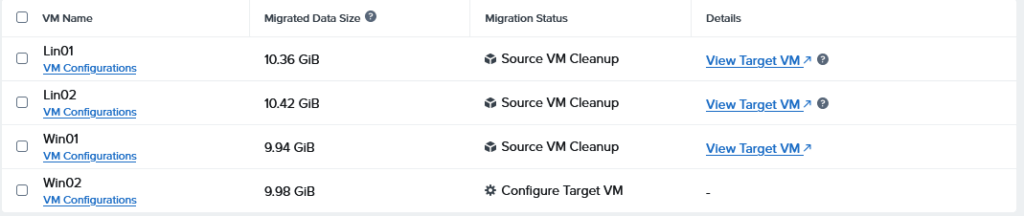
The final screen in Move also shows the progress:
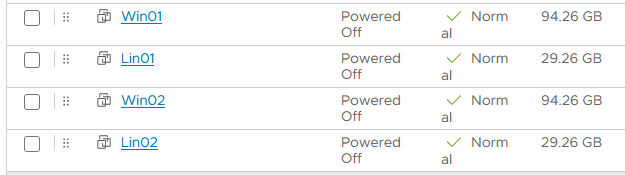
And we see the VMs appear in Prism Central:
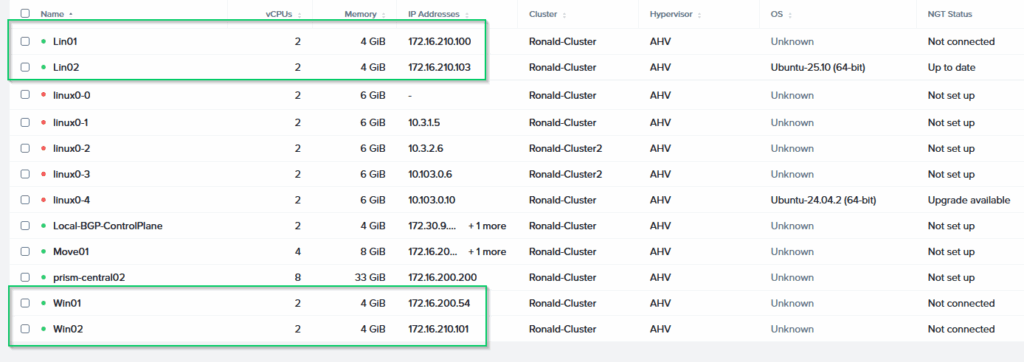
(where I can also see I forgot to change the connection of the second Linux VM to VLAN 200 :). I can login to the VM, ping the internet and see the file I created on the desktop:
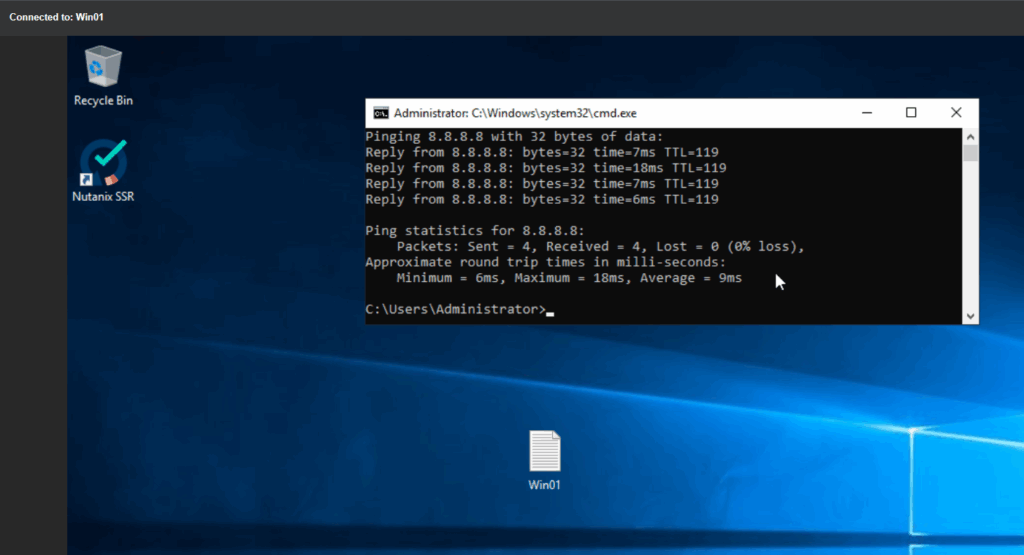
So, the VM is running on Nutanix, and the “old” VM is availbale on vSphere, just in case:
(but disconnected from the network).
All in all, a pretty easy “Move” from vSphere to Nutanix.