Migrate NSX for vSphere to NSX-T
As you might know, I use a test/demo environment from my employer. In this environment, I can demo the VMware SDDC products for customers or colleagues. Since the start of the environment approx. four years ago, I had a demo around NSX for vSphere, but as you know, the product has been announced to go end of support in 2022 and there will be no more development on it.
Also, VMware and my company (PQR) advise customers who start on their Network Virtualization journey, to go with NSX-T unless there is a very specific reason to use NSX for vSphere (although I have yet to encounter such a reason with the current status of the product).
Since I have a nested NSX for vSphere environment and already quite a lot of customers who are running this version, and might be looking for information and insight into the migration from V to T, I thought I’d go and migrate my own demo environment for the sake of self-study.
I am running the latest version NSX-T (2.5.1) and the second to last version of NSX for vSphere (6.4.5). Within my NSX for vSphere environment, I have the following functionality in place:
- Microsegmentation
- Logical Switching
- Logical Routing
- Load Balancing
- Bridging
In the guide to migration (https://docs.vmware.com/en/VMware-NSX-T-Data-Center/2.5/migration/GUID-7899A104-2662-4FC9-87B2-F4688FAEBBBA.html, I can see that migration of all of the above is possible, except for the bridging stuff. So I’ll probably have to do that manually after the migration is complete.
Enable Migration Coördinator
The first step of the migration is enabling the migration coordinator. This is not enabled by default (which makes sense, from a resource perspective). It is not possible to enable this in the GUI, we have to go to one of the NSX Managers and enable it by command. This is described on the Migration page within NSX-T:
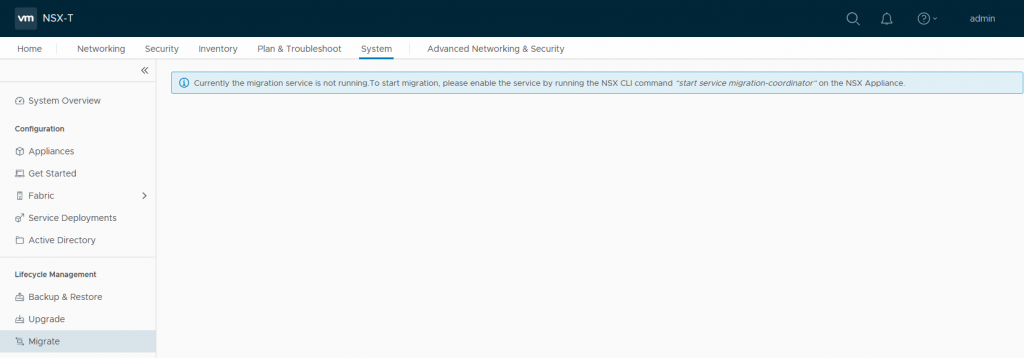
So we do what is described.

And check to see the current status:

which we can also see in the GUI after a refresh of the page:
So before moving forward, we have to pre-deploy an Edge Node. The thing is, you do need to deploy the EN from the OVA and not from the NSX-T Manager. If you deploy from the manager, you have to configure the networking for NSX-T and you don’t need to do that, because the migration will have to be able to do this.
You deploy the ova, which is downloadable from the VMware web-site. The steps for deployment can be found here: https://docs.vmware.com/en/VMware-NSX-T-Data-Center/2.5/migration/GUID-7C6BB623-DEF6-420D-8E4E-18DA75C0EDD8.html. Important to know is that the VM can not be put on the environment that you are migrating.
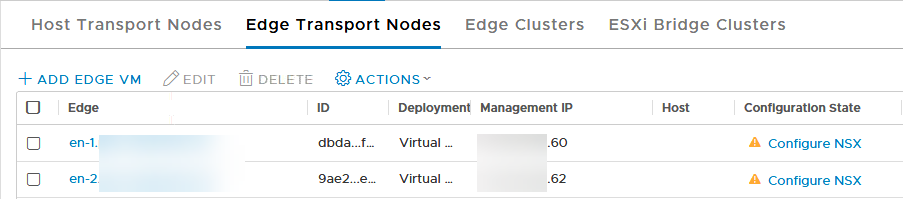
After the deployment, you connect the EN to the NSX-T environment:

and we can verify this in the GUI:

The “Configure NSX” state means that it still needs to be configured, but that is something that will be done by the migration process.
Because we are using HA, we need another Edge Node, so we do the same process again.
But after that… We need an IP Pool to be used later on. So after we configured this, onto the Migration Process!
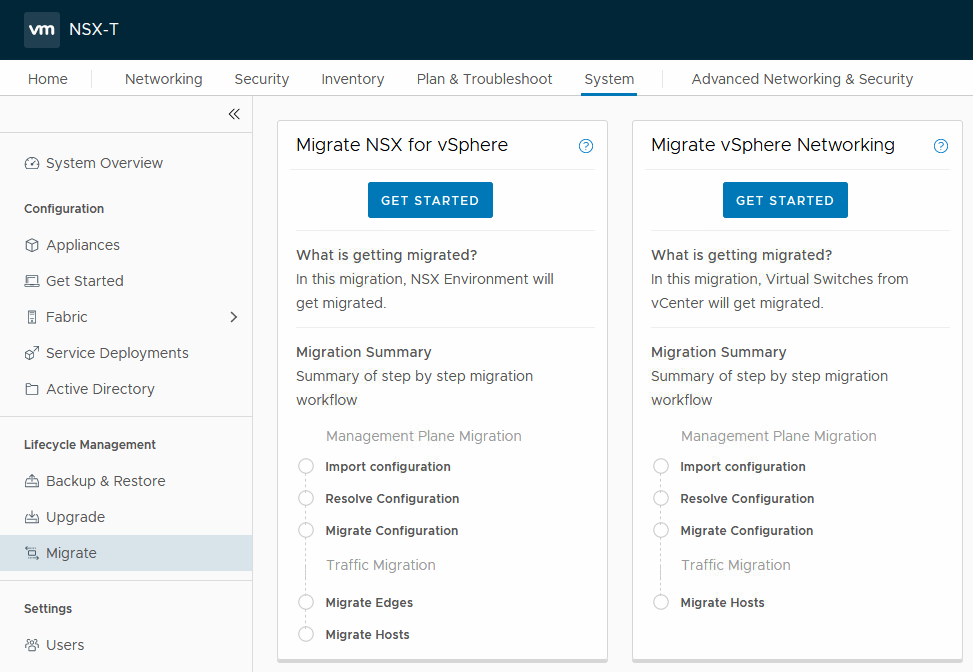
So time to start, by using the first option “Migrate NSX for vSphere”, by clicking the relevant “Get Started” button.
The first step is to connect to our NSX for vSphere environment:
We have to add the Compute Manager of the NSX for vSphere environment (which in our case is not already present) then we can go and connect to it:
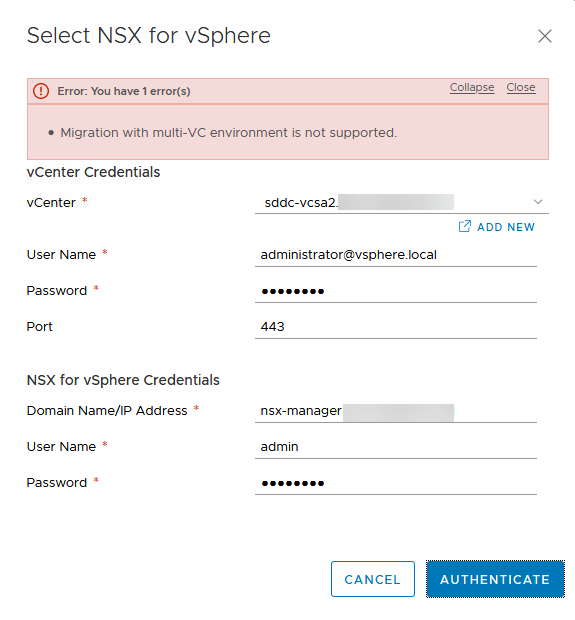
So the first error of the day (and I knew this would come) had to do with the fact that cross-VC migration is not supported. If it will be in the future, I do not know, but for now, we have to address the issue.
In my demo environment, I do not actually use cross-VC, but I have configured my NSX Manager as a primary manager, to test out some stuff. Since I don’t need the cross-VC stuff, I can remove the primary role of my NSX Manager and redo the authentication:

This error was related to the fact that when I first connected my NSX Manager to my vCenter Server, I used the IP-Address of the vCenter Server instead of the FQDN. After changing the registration to the FQDN (which is pretty easy to do), all is well:
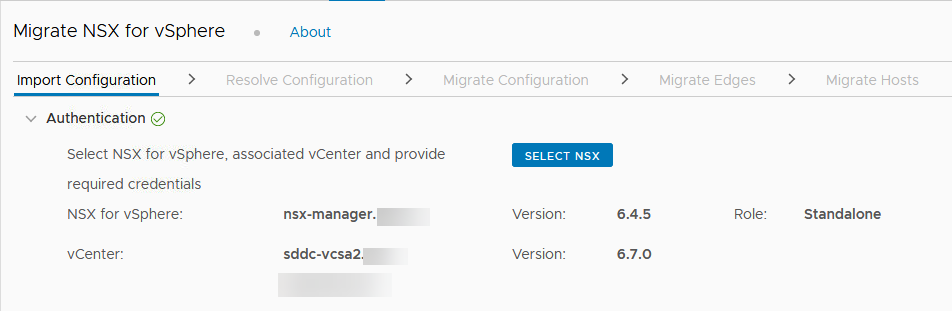
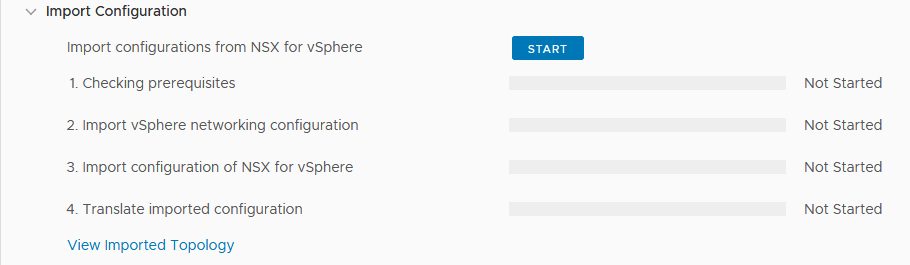
And we can start with the first step, checking prerequisites
After we hit start, we get the question if we want to import the configuration:
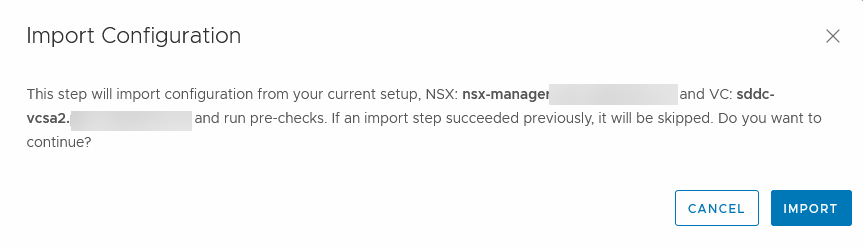
(which of course, we do ;)), so we click Import.
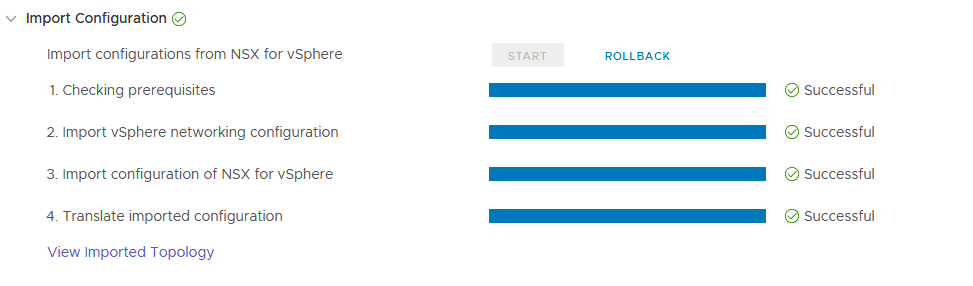
This will start all the tasks in the action “Import Configuration” We can follow the steps being taken:
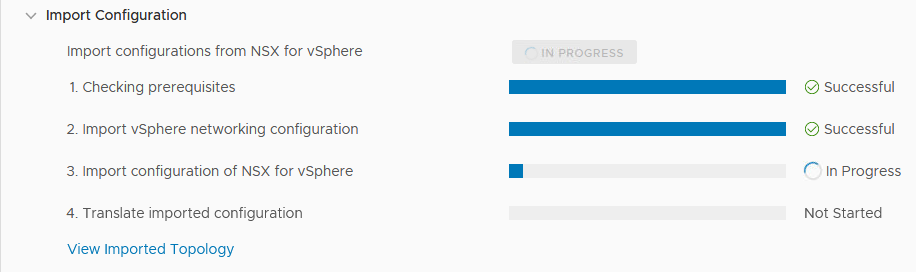
I have to say, I needed to disable the Load Balancing functionality on the ESG on V, because apparently, the migration doesn’t allow a combination ESG to be migrated. This does make sense, normally it would be something you would deploy a separate ESG for anyway.
I also changed the configuration where I didn’t use HA into one where HA is used, because in the supported topologies, HA is described, although I am not sure it will fail without HA, again, in a production environment, you would have HA or ECMP (without L4-L7 services enabled).
After all this, I tried my first migration. It didn’t succeed (but it wouldn’t have been fun if it did, now would it ;)). So I got an error message stating that my topology was not supported. The only thing I could think of was that I was not doing North-Bound BGP since I am not in control of the uplink-network. So I created a little diversion. I placed an intermittent gateway between my NSX-V environment and my north-bound environment, through another NSX-T environment (not the one I am using for this migration). After creating this additional connection, I set up BGP between the V and T environments and voila, the test for the topology went through:
Next up, we have 30 issues of which 4 are blocking, to fix:
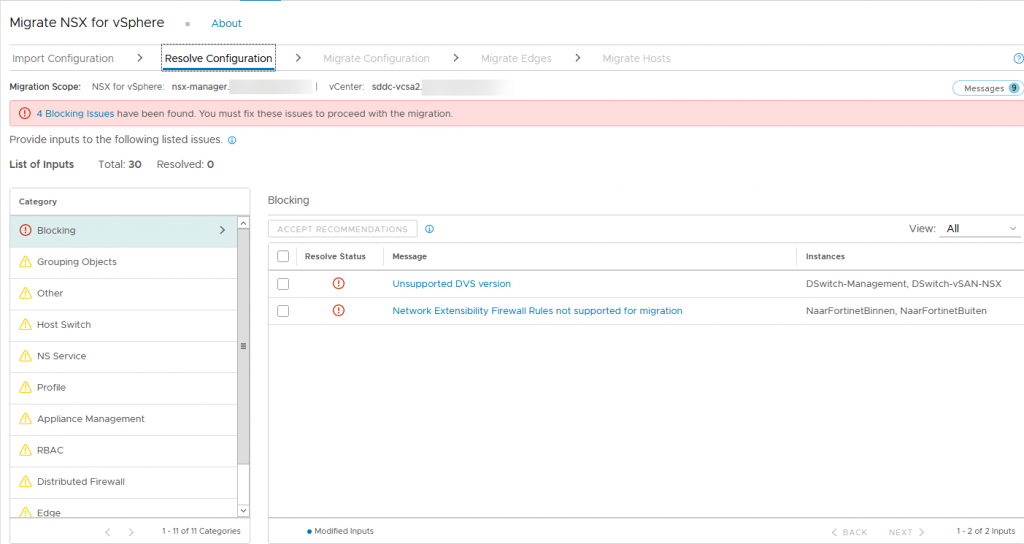
As you can see, I am using Fortinet in my lab environment for NGFW functionality. This is not a supported configuration, so we need to remove the rules (2). Also, the DVS versions (2) we have configured are not supported, but those can quite easily be upgraded.
This does mean, rolling back and restarting the migration. After solving the issues, we do just that:
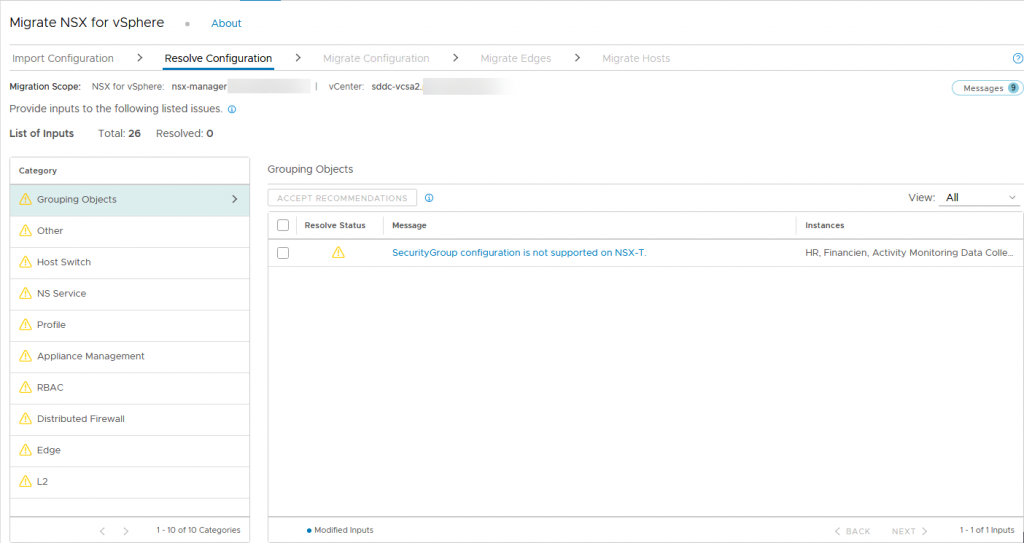
Still, a “few” issues to solve, but these are all non-blocking. They all come with recommendations or methods of solving the issue. Let’s look at a couple of them:
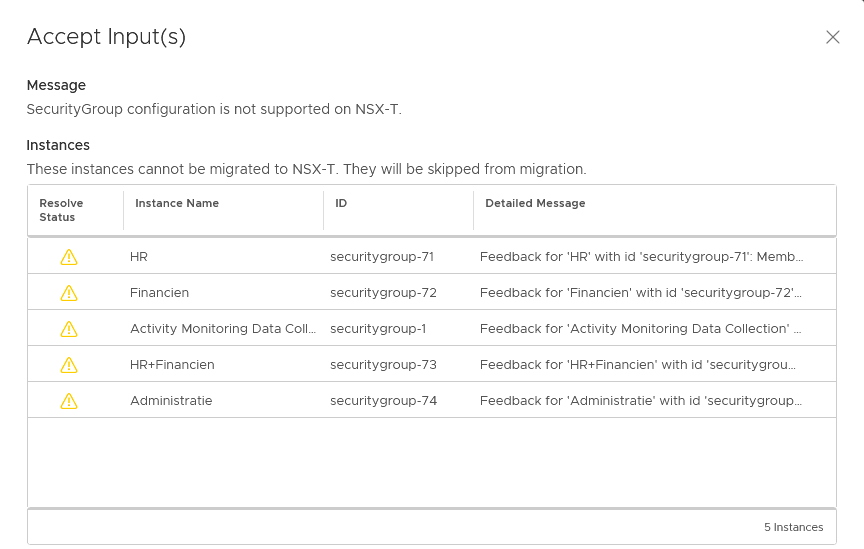
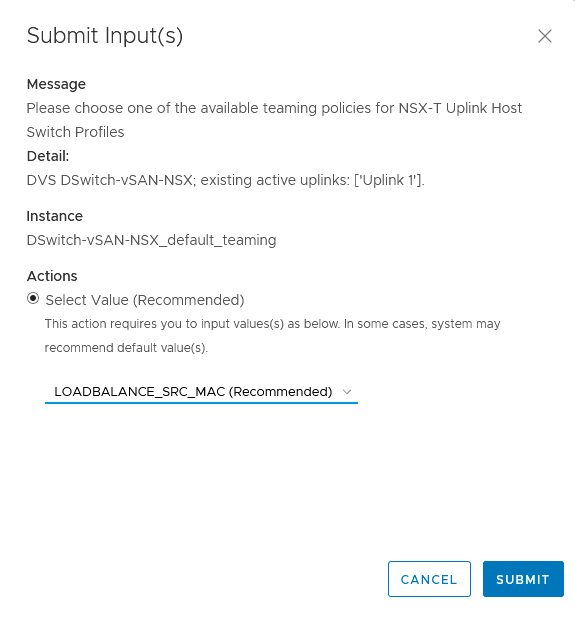
In most cases, we go with the default recommendation. Since it is a lab environment, no need to delve really deep, but when doing production migrations make sure to go through each one of the issues, understand the implication and choose the right resolution.
There are a couple of issues that need to be looked in a little deeper. For these, we need IP-addresses, VLAN-ID’s or equivalent information to go through.
Please note, when accepting the last recommendation and submitting it, the process will redo the check and new issues may arise. So you can only proceed when everything is green:
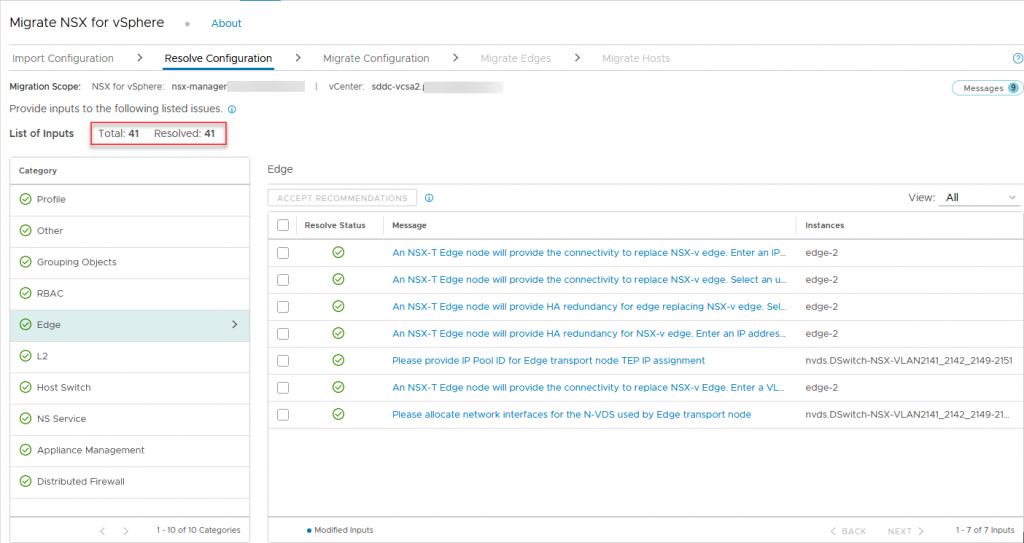
After accepting all recommendations and giving input on some of the required fields, all is good to go to the next stage:
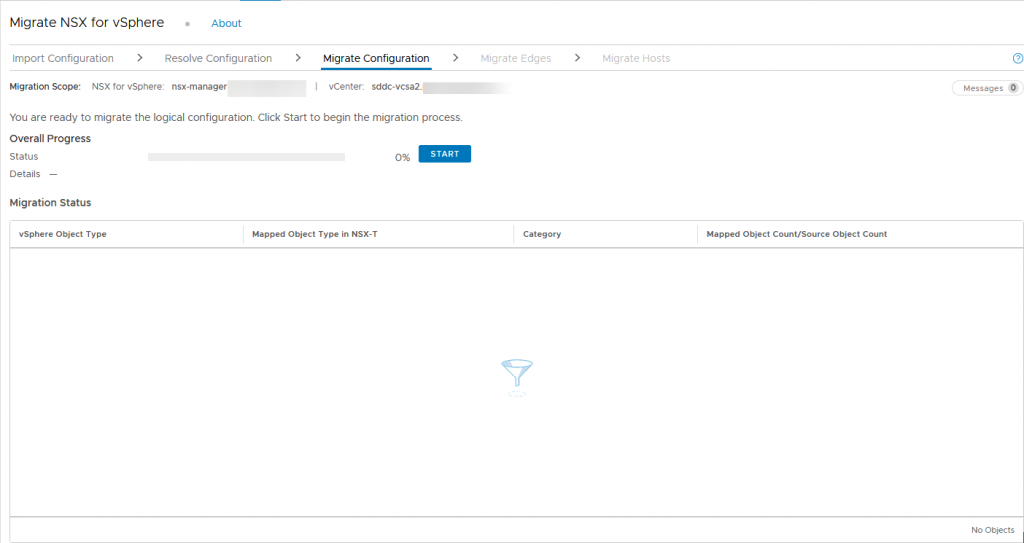
The actual migration will take place when we press “Start”. A good moment to make sure you have a backup in place, or (if you are running on a nested environment, you can go ahead and do some snapshots ;)).
But when that is done, we press

Of course, we get a confirmation message, just to make sure:
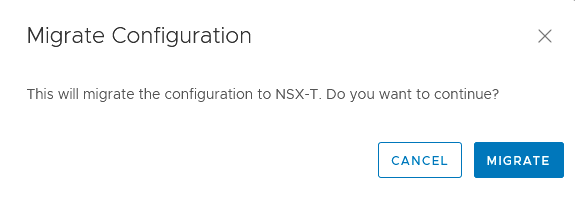
But after clicking Migrate, away we go…
First up, the migration of the Configuration. During the migration, we can see the table of the objects filling up and when the migration is complete, we can see everything that was created.
However, the first attempt failed. The message received was:
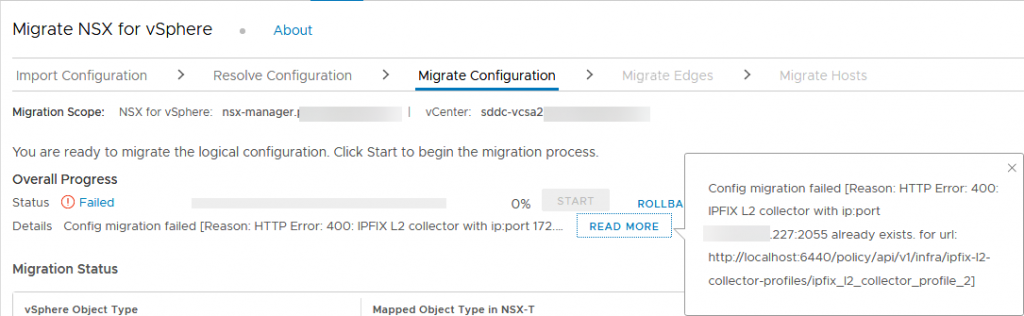
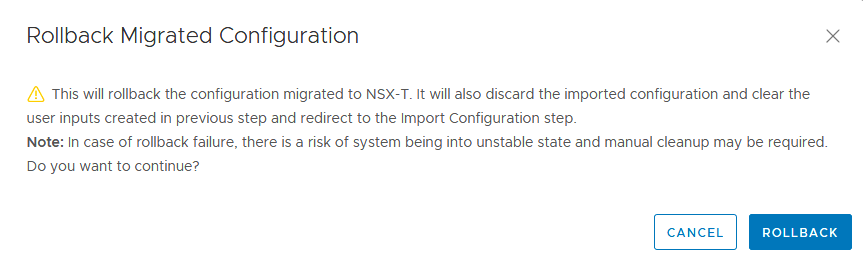
So we have to rollback (click rollback) and resolve this issue.
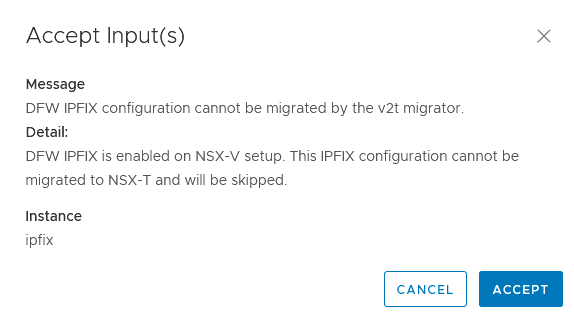
This error is related to the fact that I have three Distributed Switches, all with an IPFix configuration to the same NetFlow collector (vRNI Cloud). I removed the IPFix configuration on all three of them and retried. Because I use Network Insight from the cloud (see https://my-sddc.net/vrealize-network-insight-cloud-installation-and-configuration/) that’s the place I need to change this configuration. If I only changed the setting on the switches, it would come back (found that out the hard way ;)).
This time, all is well:
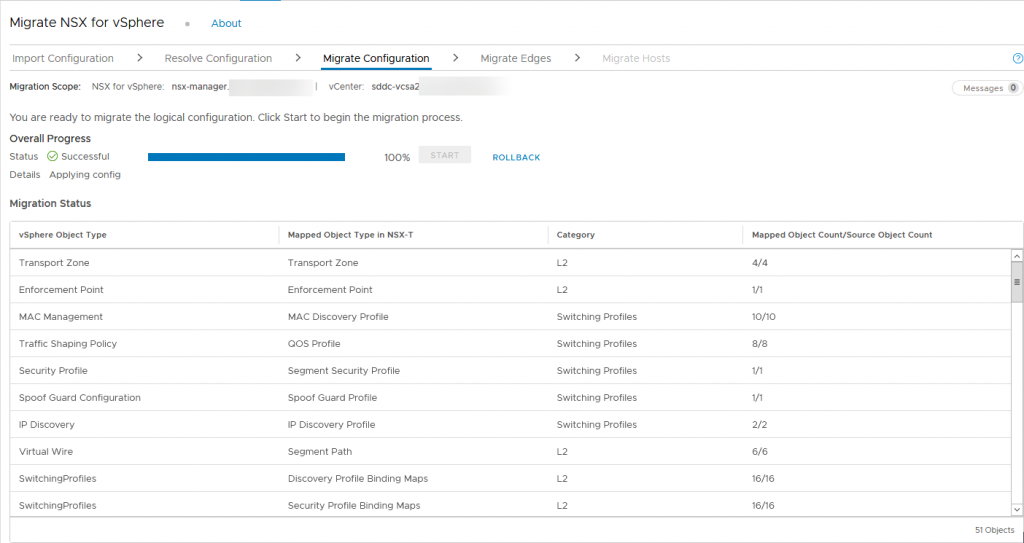
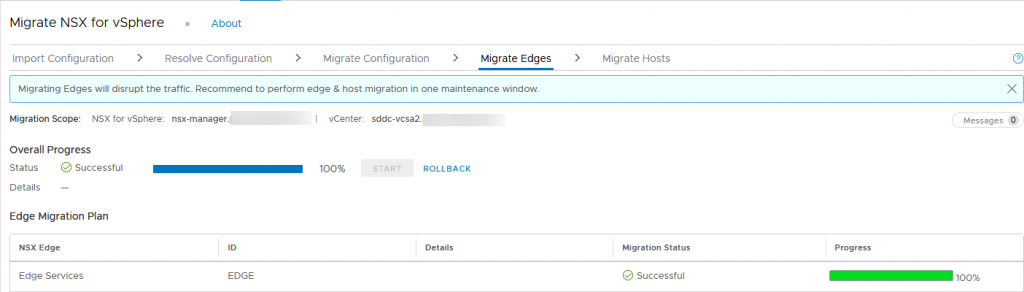
Next step is migrating the Edges (this is pretty straight forward, just click migrate and it will do what needs to be done):
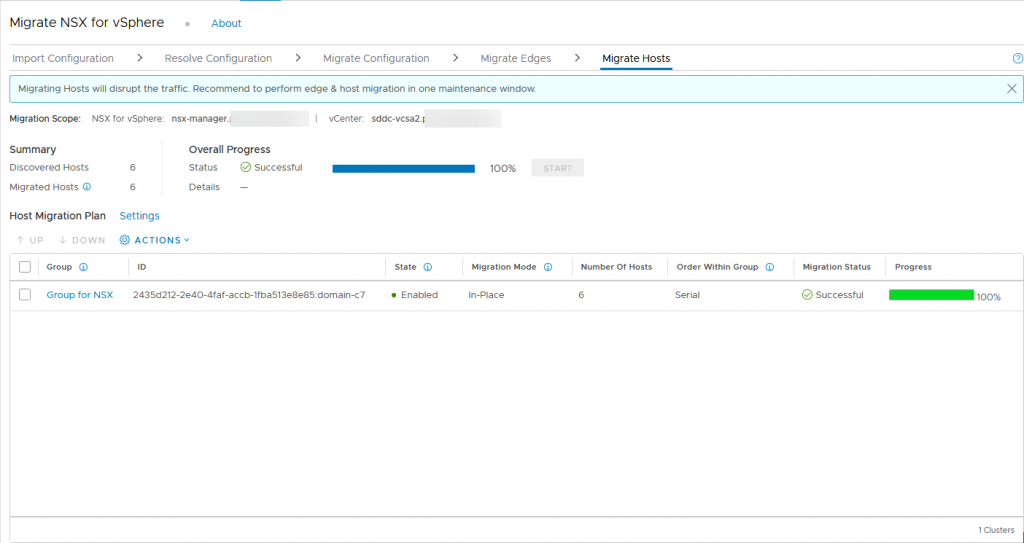
And finally, the hosts:
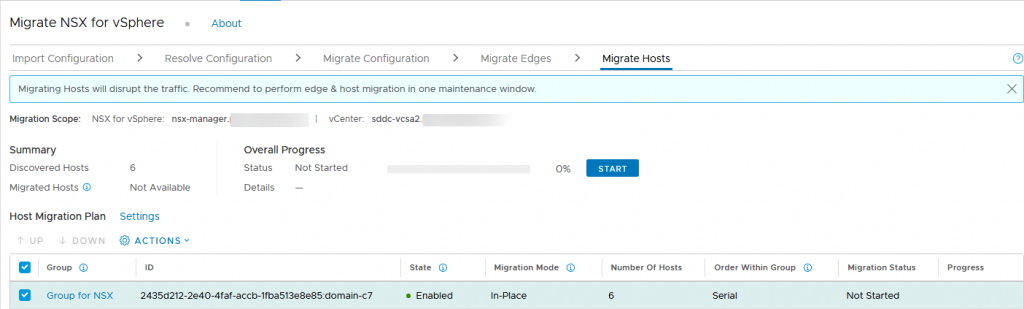
When migrating hosts, we can make a couple of choices. First, we can do a serial or a parallel migration per group and choose if we want to pause between groups. Since we only have one cluster (eg. one group) these choices do not apply.
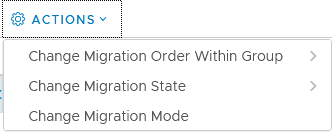
What ís relevant is the Migration Mode:
Here we can choose if the migration is done “In Place” or through “Maintenance Mode”:
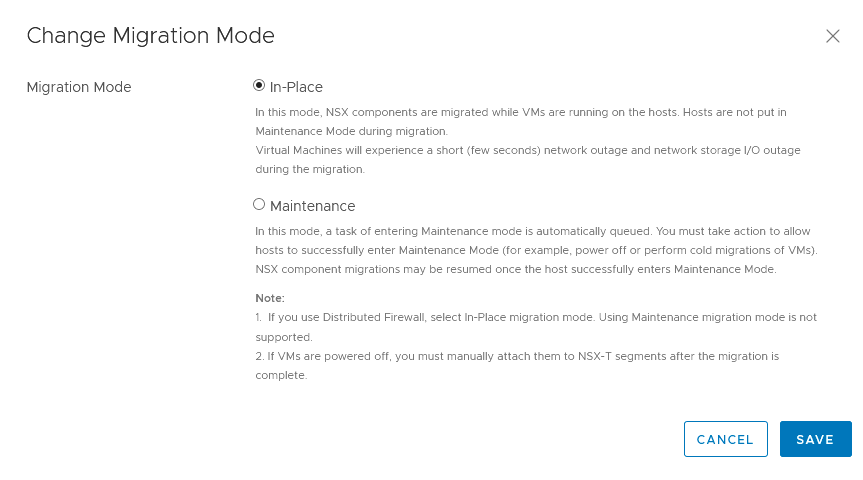
The difference is that an In-Place upgrade will be quicker but it will also lead to a short network outage, at the time of the switch from V to T. If using MM, than a host will be emptied before migration, which will lead to a lot of vMotions and normally no network outage.
I chose In-Place (also the default choice), because it’s a lab environment, but be aware of the consequences of the choice made here.
When pressing Start, we get a warning:
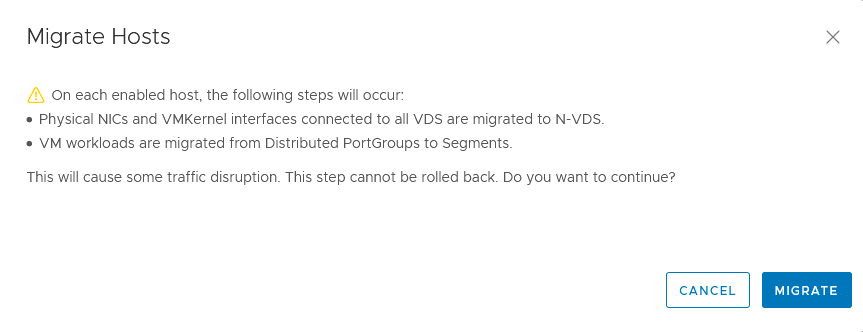
So we click Migrate to go ahead.
When I think of what must happen in the background to make this possible I must say I am pretty impressed by this action. It will have to maintain communication while migrating hosts from V to T, leading to a period in which both platforms must be able to co-exist. very For my small demo/lab environment, this might not be very complex, but when I think of large-scale NSX-V deployments, this is some impressive coding, scripting, and execution.
My migration stopped after one host, because of a vSAN error. I looked into it and found the error incorrect. I silenced the alarm and the migration went fine, after that.
When the migration was completed, all was well, but the vSAN Alarm is still present for all hosts. Something to look into, but for now, I close this (pretty long) blog, with the final pictures of the day:
And when clicking on Finish:
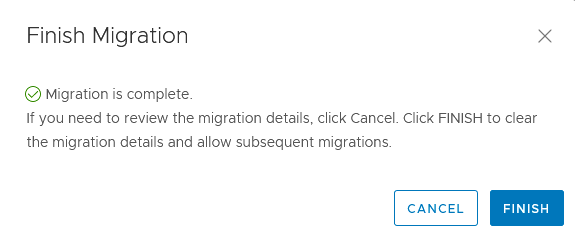
The next steps are testing the workings of the environment and (definitely important) clean up. That is for another day.
6 thoughts on “Migrate NSX for vSphere to NSX-T”
Hello Ronald
My understanding is that NSX-T has to be separate environment to move to correct? In another words You can not convert the same NSX-V into NSX-T ?
Hi, you need a clean NSX-T environment (three managers preferably), but the cluster can be migrated, so from V to T. You can connect a vCenter Server to both NSX-V and NSX-T at the same time.