Create a VLAN-based Cluster in VCF
One of my customers asked a question about why a VLAN-based Transport Zone was not added to a cluster when it was created through the SDDC Manager. After some looking into this, and with the help of our Engineering organization, we found out why that is.
In short, it needs to be defined as part of the deployment process, in the “Distributed Switch” section. It is not automatically added to a new cluster.
So a short blog about how to create a cluster that is enabled to use VLAN-based networks. I am using the GUI to do this, but it is also possible to do this through the API.
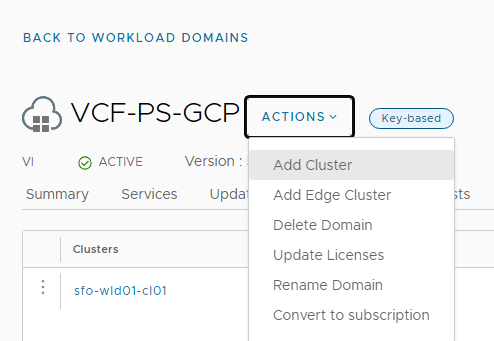
After commissioning the right hosts (this is documented here: https://my-sddc.net/creating-a-vcf-lab-on-top-of-vcd-part-2-workload-domain/), we start the deployment of a new cluster (in the right WLD).
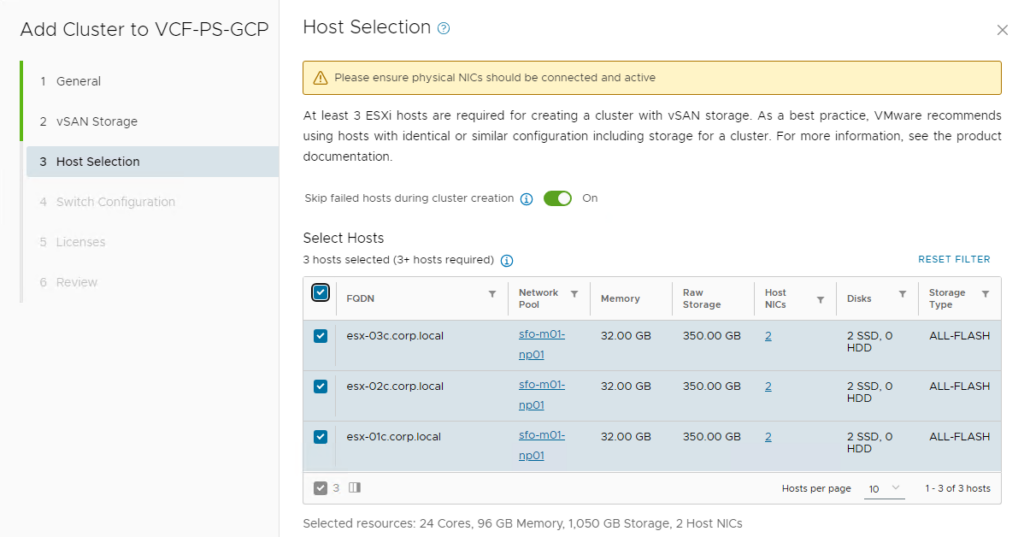
In this case, I have three hosts, that are vSAN OSA capable:

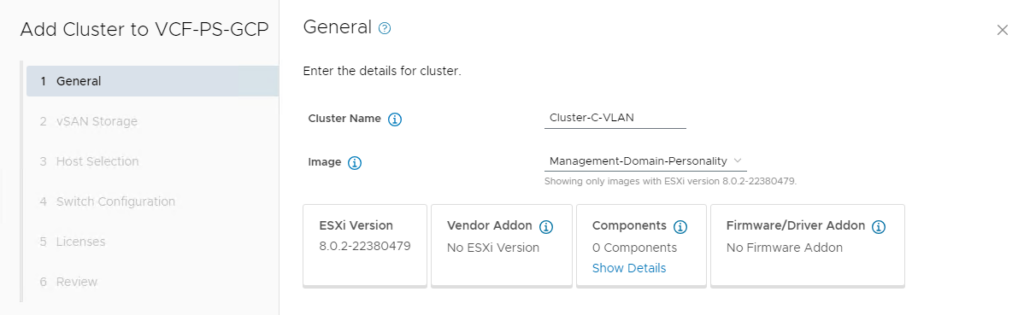
We define the Cluster settings:
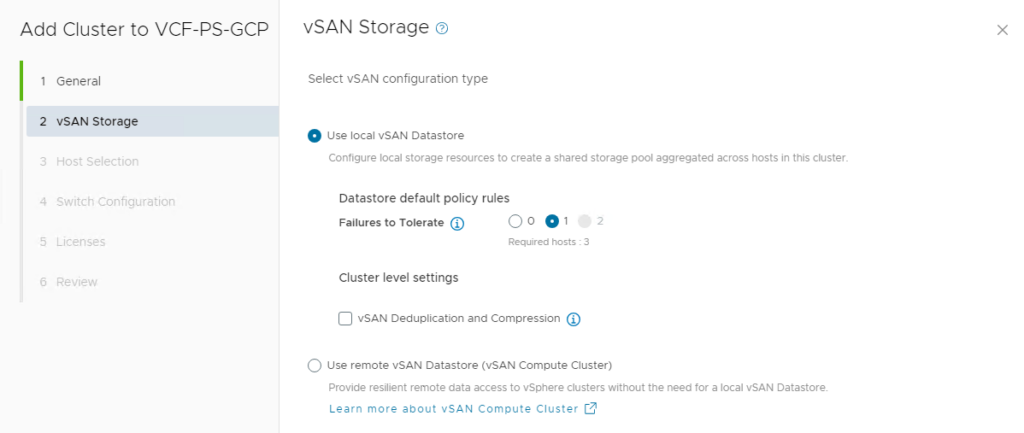
The vSAN Storage Settings:
Select the three commissioned hosts:
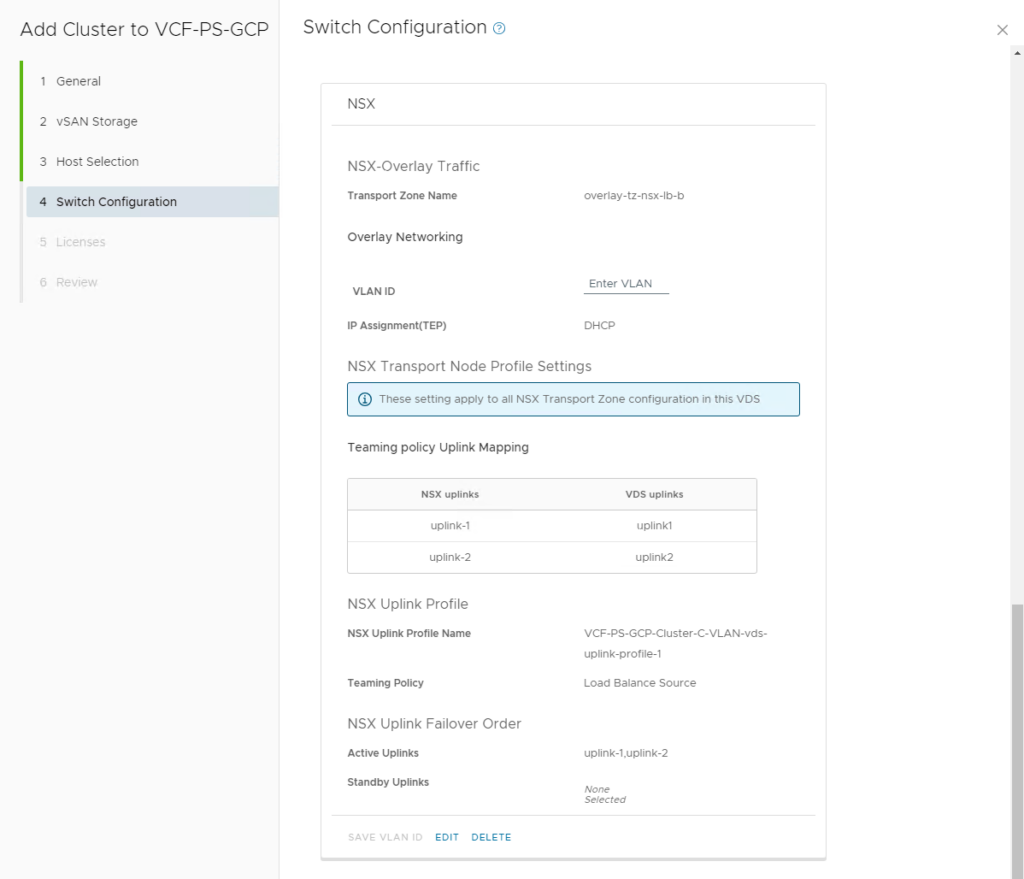
And then we come to the interesting part, Configuring the Switch:
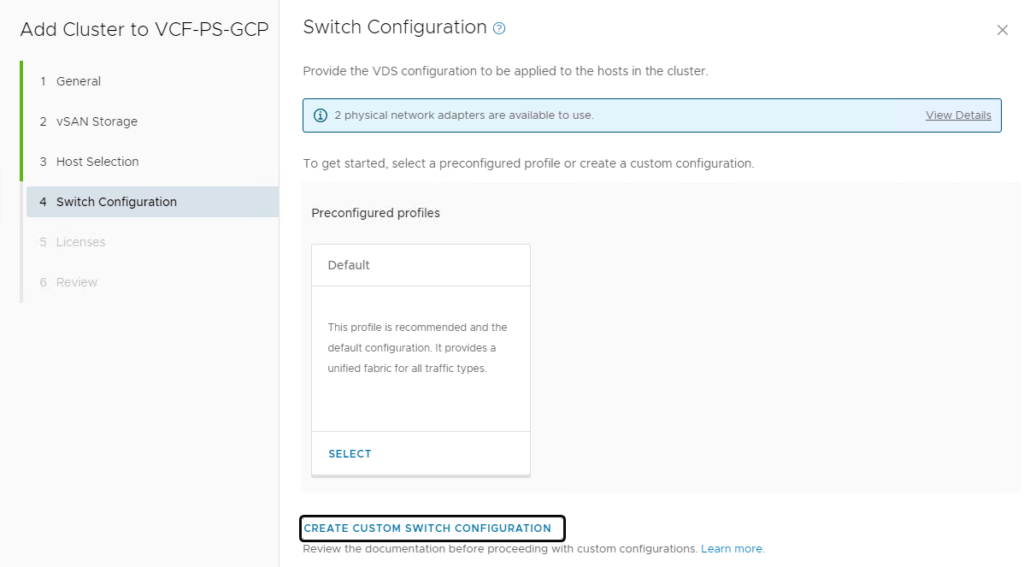
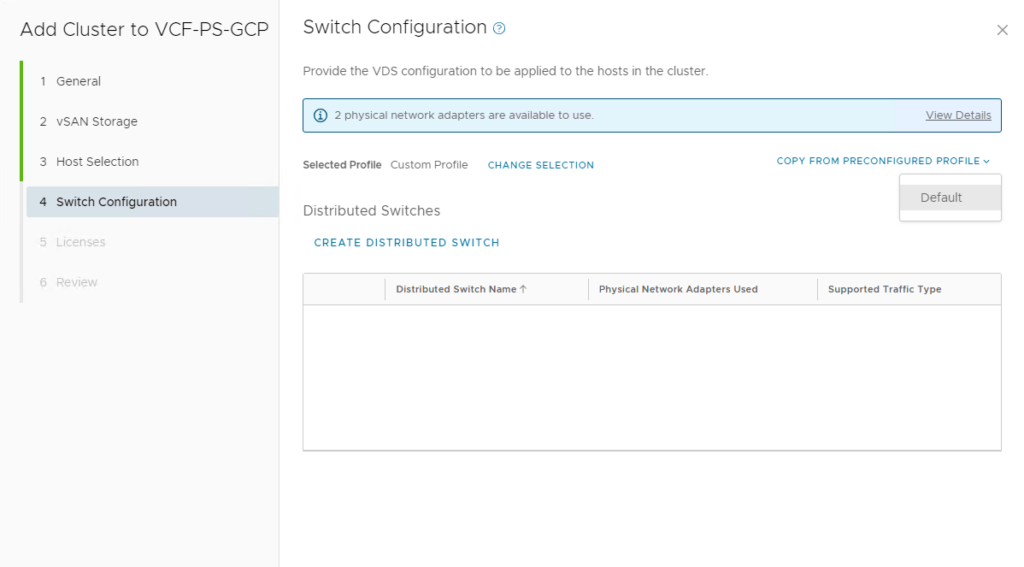
If we choose the “Default”, this will create a new Distributed Switch and all the right Port Groups. It will configure NSX in the default manner, but in this configuration, there is no VLAN-based Transport Zone created. So to get that VLAN-based TZ, we have to create a “Custom Switch Configuration”. So we click that line and on the next screen, we copy the “Default” switch configuration. We could start from scratch, but in this case, it is easier to start from the default and adjust it to our needs.
So we Edit the Distributed Switch:
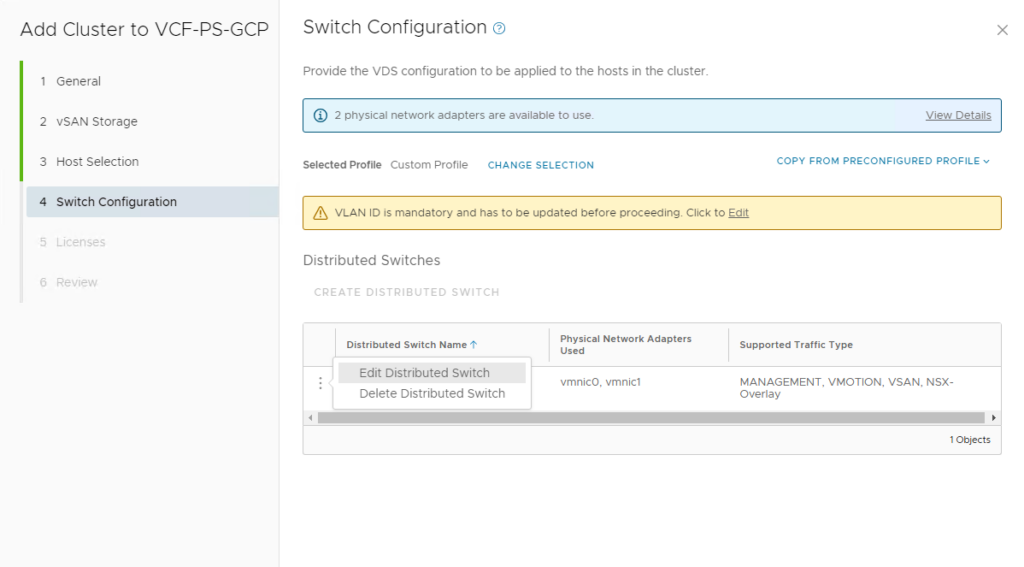
The main focus for this change will be in the NSX Section of the Distributed Switch:
So we click on “Edit”.
Then we see that the default setting for NSX-VLAN is unselected, so we check the box:
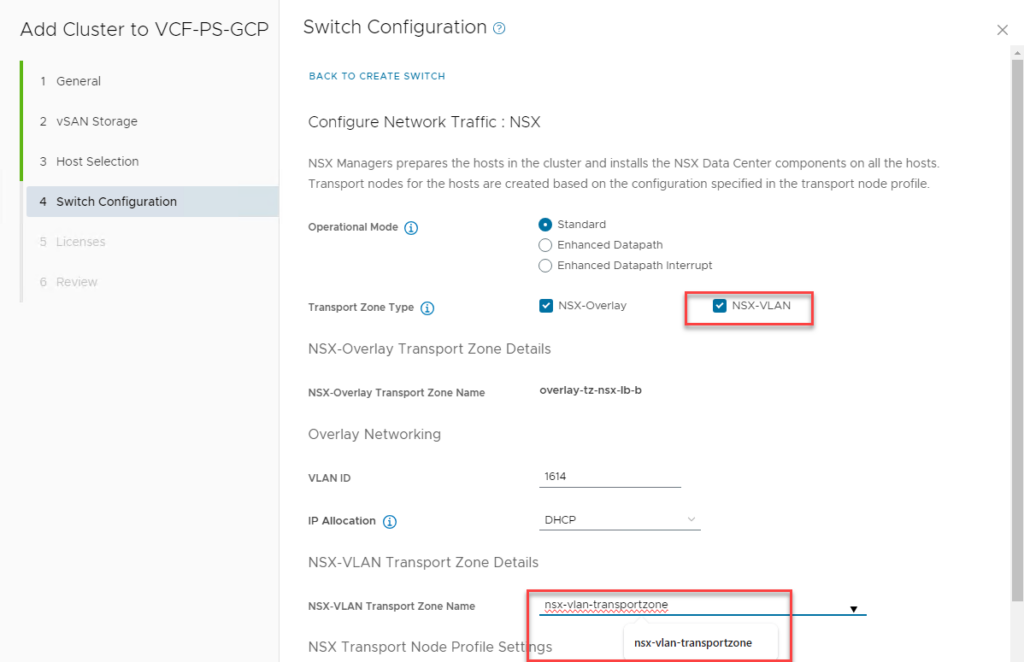
We select this and then configure the name of the VLAN-TZ. This can be a new name or an existing one if one was already created. In that case, it is visible in the Drop Down Menu.
We then Save the NSX part of the Configuration:
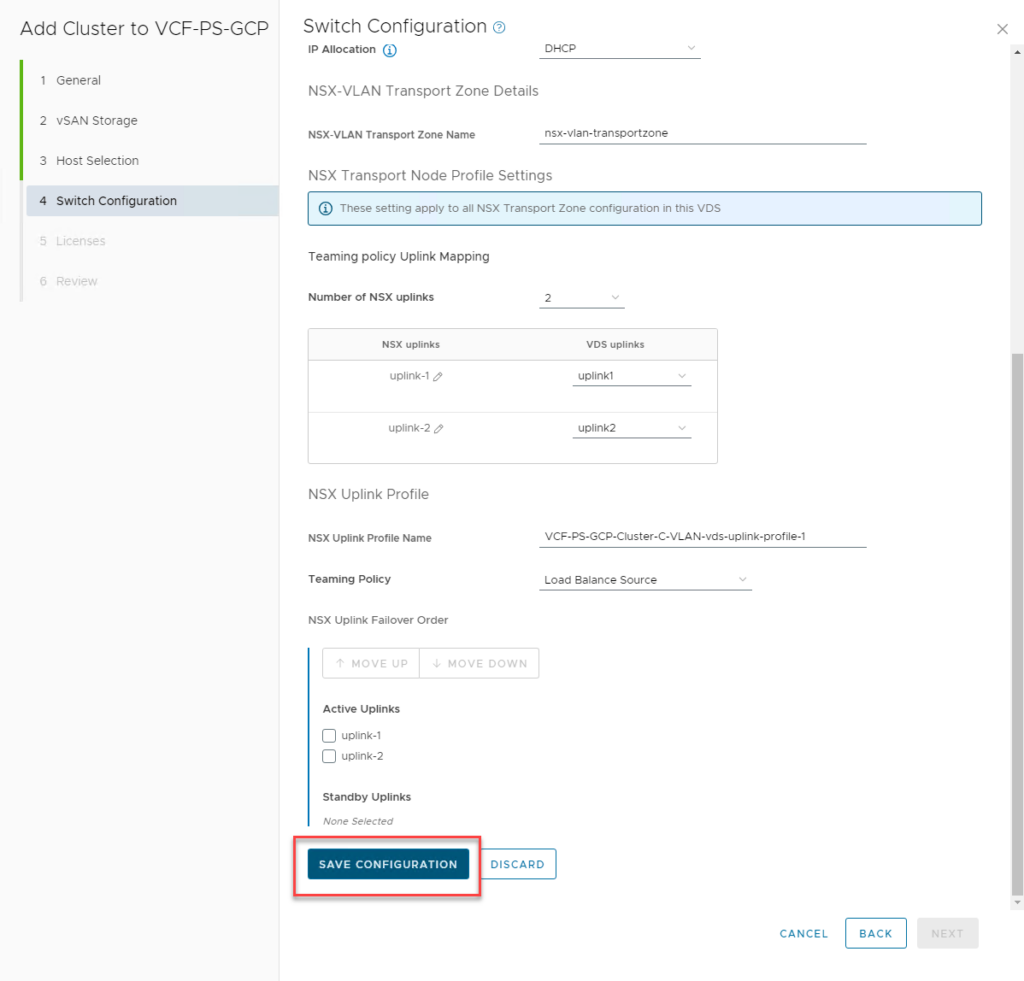
And subsequently, Save the Distributed Switch and go back to the Swith Configuration screen.
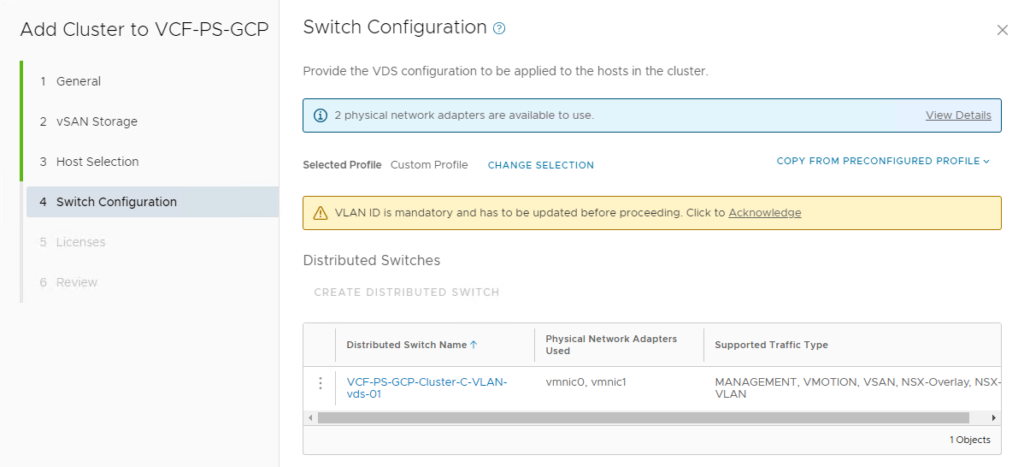
Here we acknowledge the fact that we have defined the right VLAN ID and move forward to Licensing:
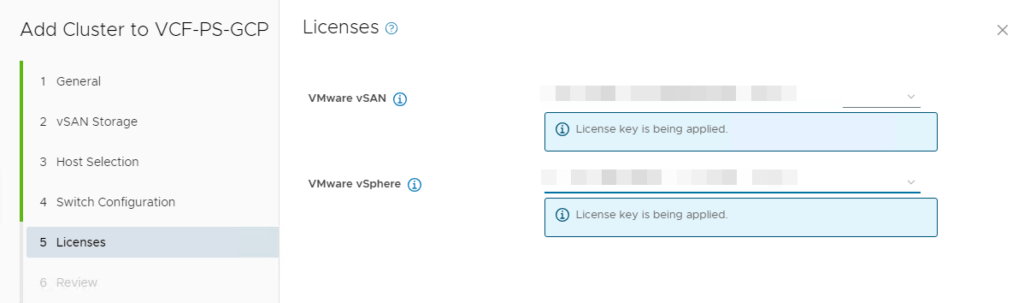
We then select the right licenses:
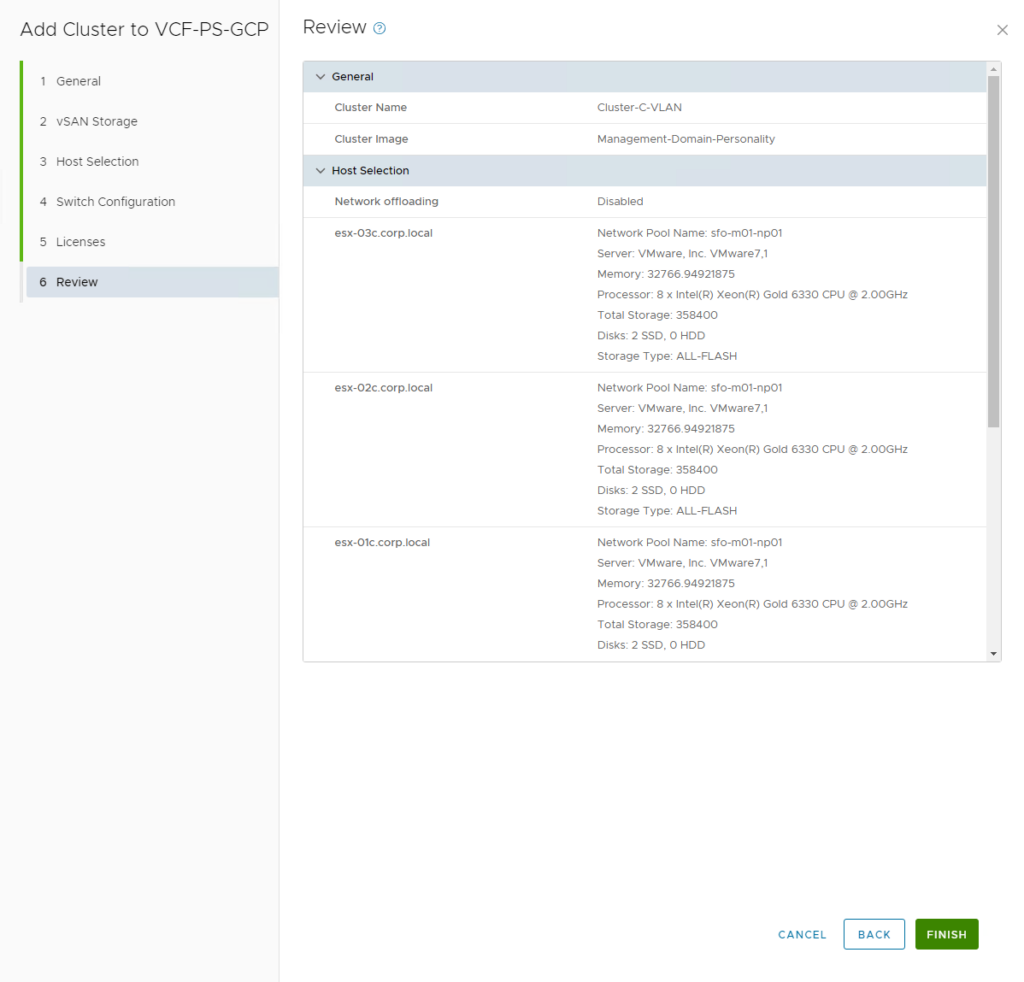
Click Next to review all the information, before submitting, by clicking Finish:
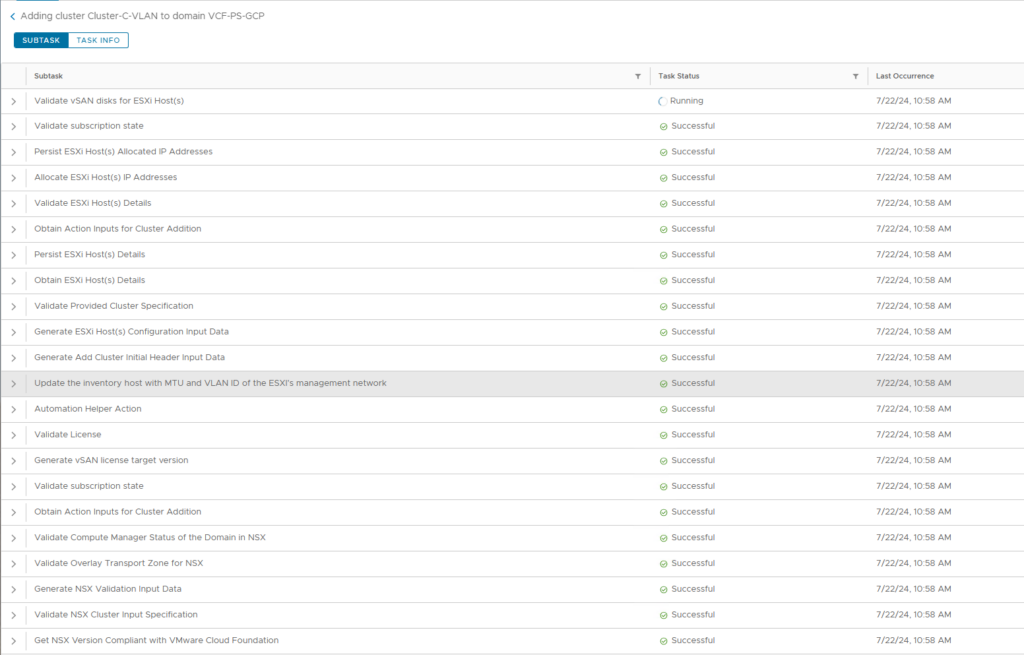
This will start the process of creating the cluster:
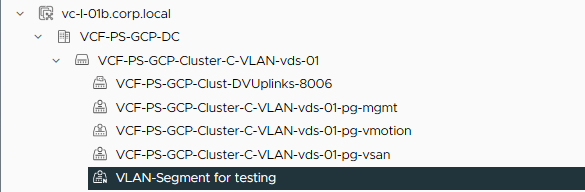
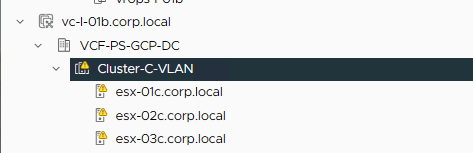
And after all these tasks have finished succesfully, we have a new cluster:
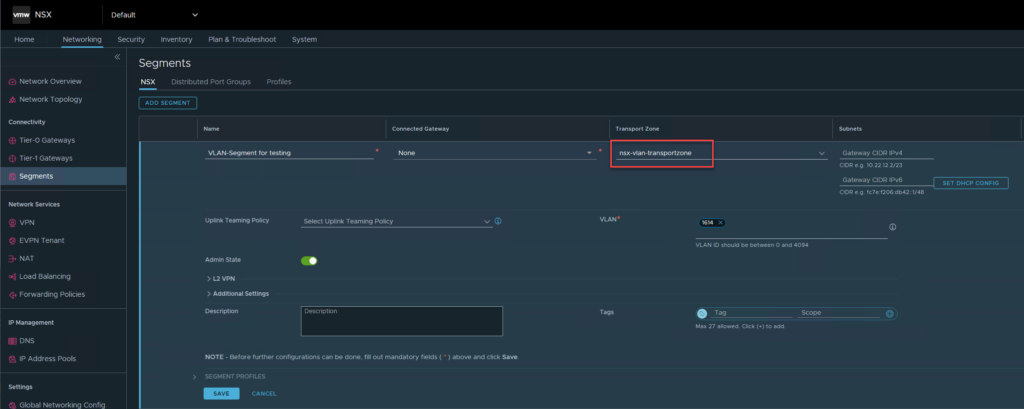
And when we create a VLAN-based Segment in NSX, connected to the VLAN-TZ we have selected for this cluster:
We can see it being added to the Distributed Switch of this (newly created) cluster: