VCF on VCD: VMware Identity Manager
After deploying Aria Suite LifeCycle Manager (although it was still called vRealize then), we go and deploy VMware Identity Manager (vIDM).
For this we have a couple of requirements:
- Installation media
- IP Address
- Certificate
First, we have to populate the ASLCM with the correct product. For now, we are just going to download VMware Identity Manager 3.3.7. For this, we go to:
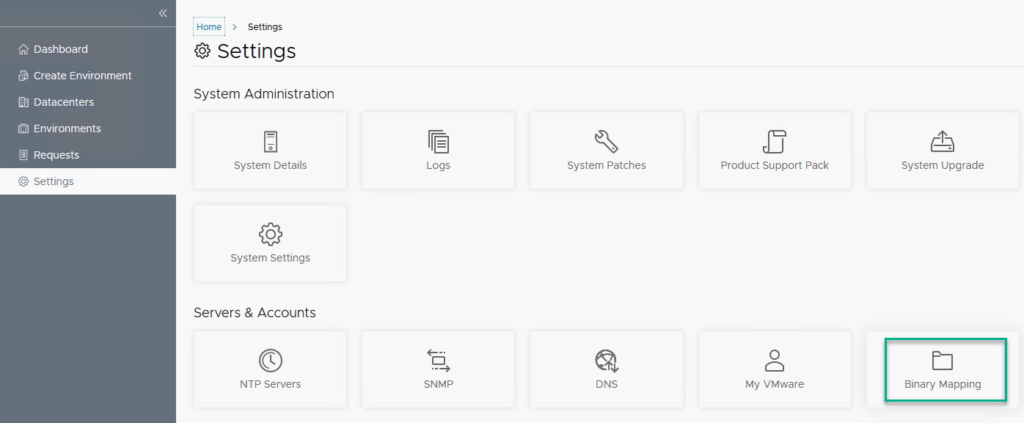
(there are more boxes to the right, but for the sake of grabbing the screen, I omitted those).
And click on Add binaries:
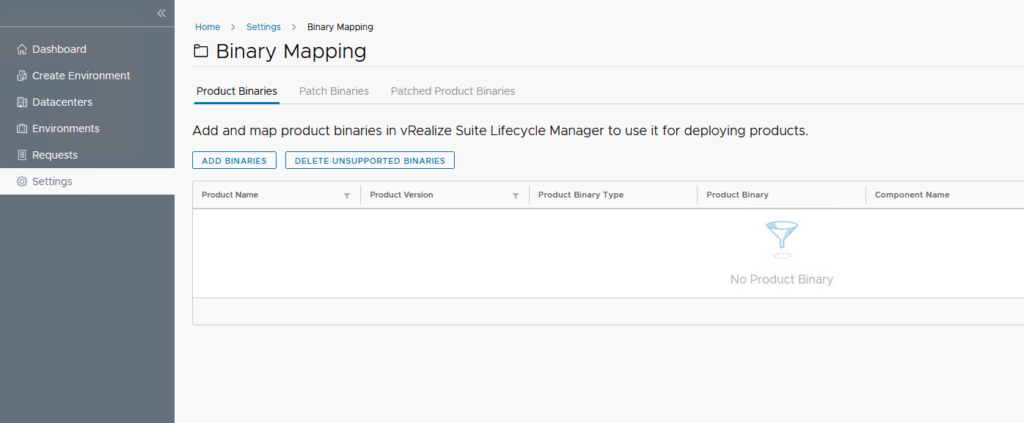
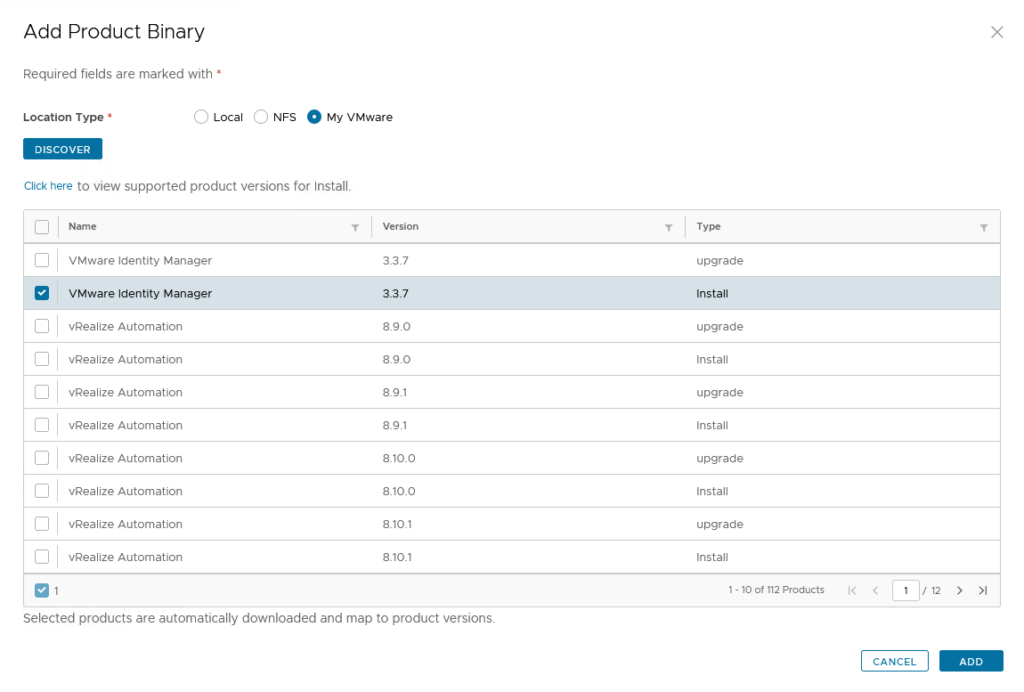
Select “My VMware” and click “Discover”:
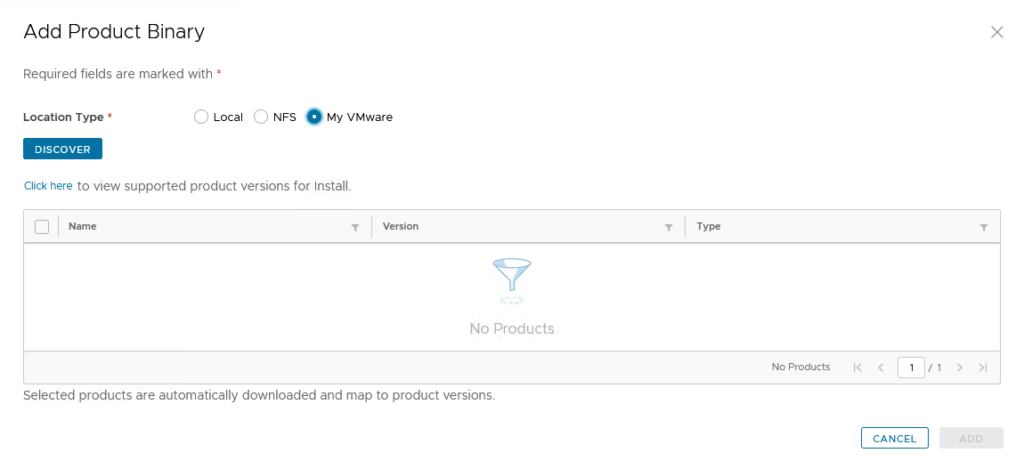
this will populate the list of available products. From there we select the right product (VMware Identity Manager version 3.3.7, install) and click “Add”:
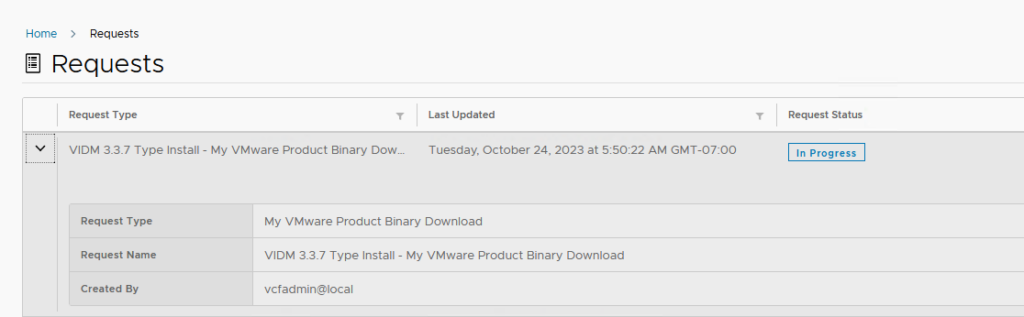
Now we can check the request:

And wait for it to finish. When it has, we can go deploying. Unfortunately, in my environment, this download fails. It seems to be related to the account information I have used, so in order to overcome this hurdle, I have added the OVA, from a manual download to the “/data/myvmware” folder on the appliance and chose:
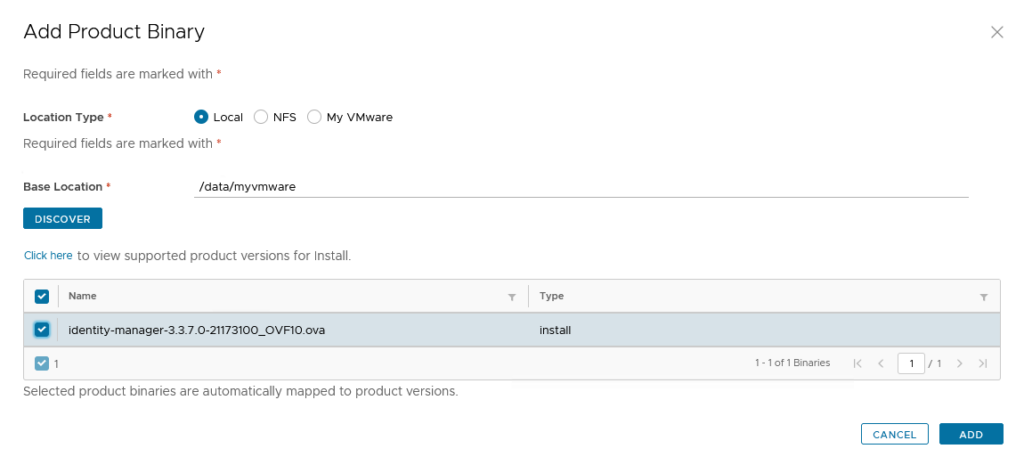
and added the vIDM OVA to the environment.
Next up, is choosing and registering an IP address. Please note, the IP address for this appliance is on the created X-Region network, based on the following:

So I choose 172.30.202.12.
Next up is creating a certificate. We can of course use a self-signed certificate or we can change the certificate later, but I would like to have the certificate available beforehand. So we create a certificate through:
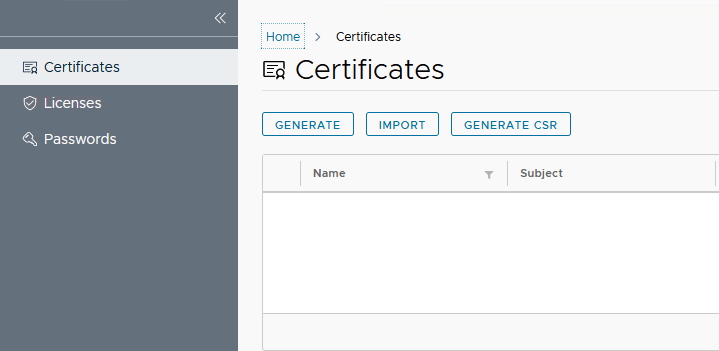
Click on Generate CSR first and fill out the information:
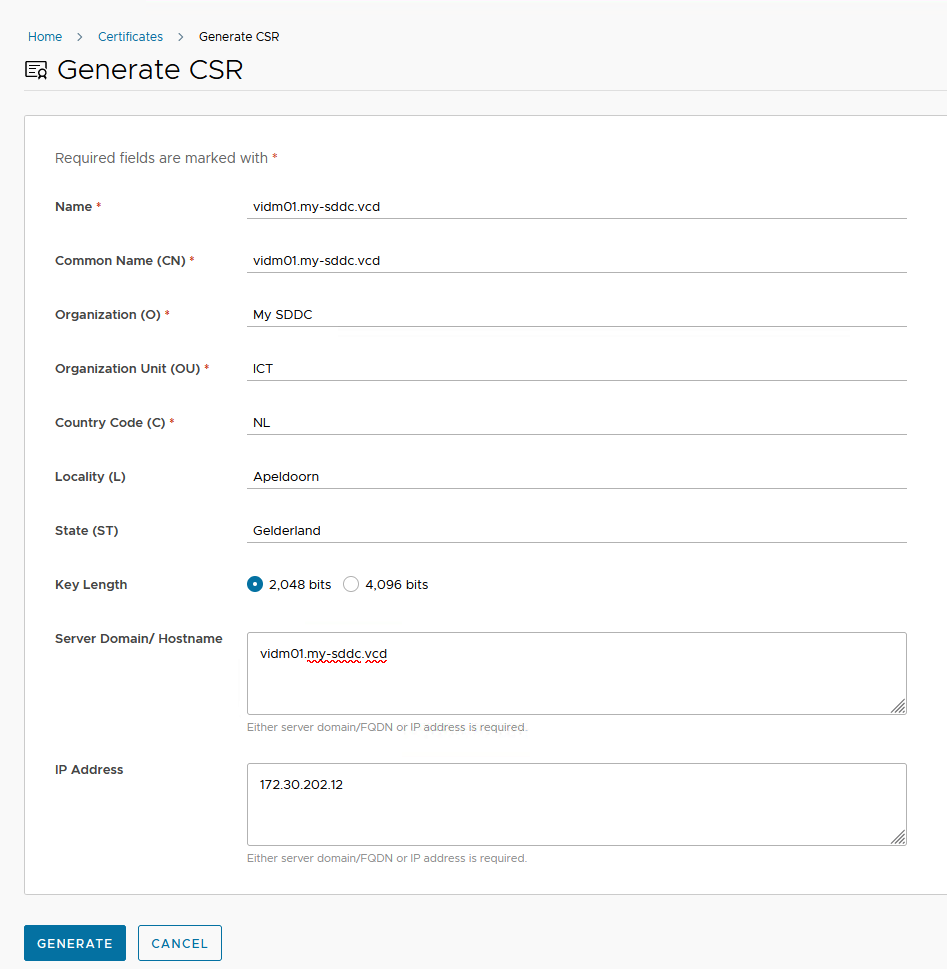
and click “Generate”. This gives us a .pem file, which contains both the request and the private key:
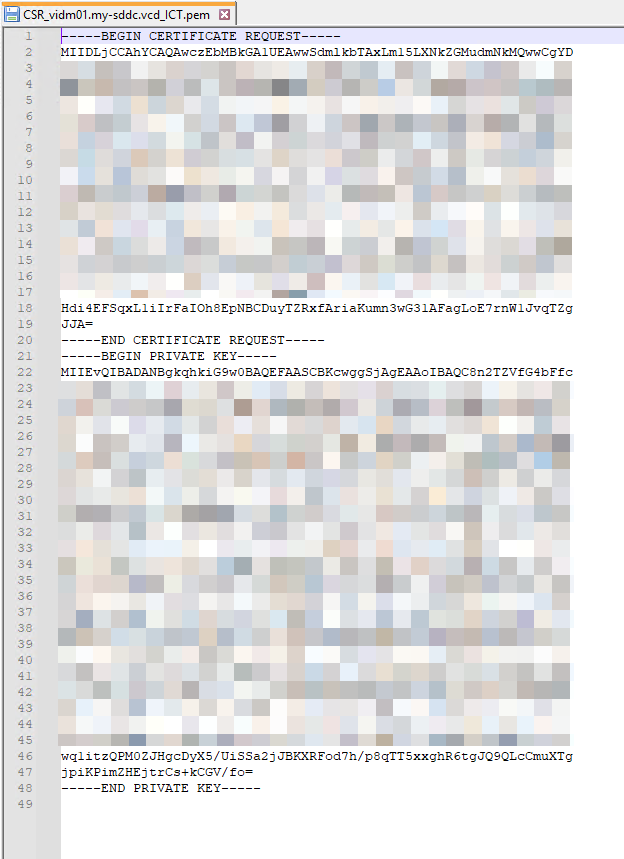
With this information, we go to our CA on https://dc01.my-sddc.vcd/certsrv and fill out the CSR (Request)

and request the certificate.
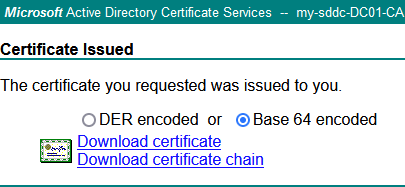
We then download the chain, in BASE64 format:
We go back to our LifeCycle Manager and put the generated certificate chain ánd the private key in the right boxes:

and click Import
and this leads to a valid certificate:

Now we can really start deploying.
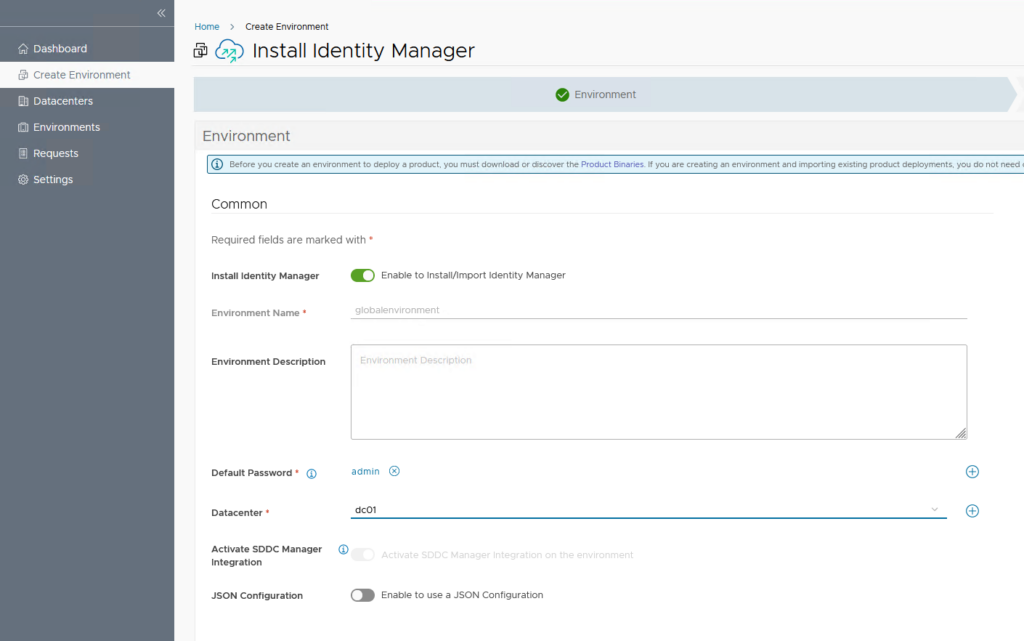
This will also create the “globalenvironment”:
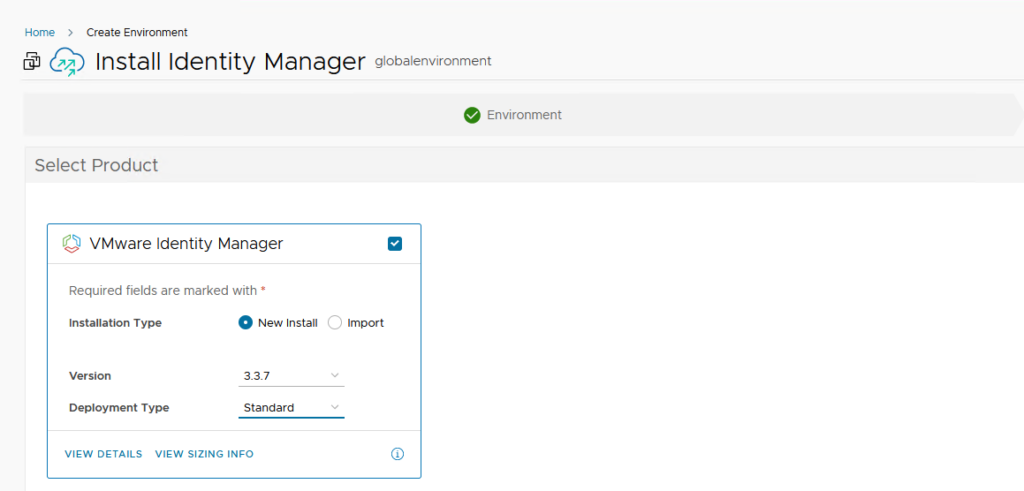
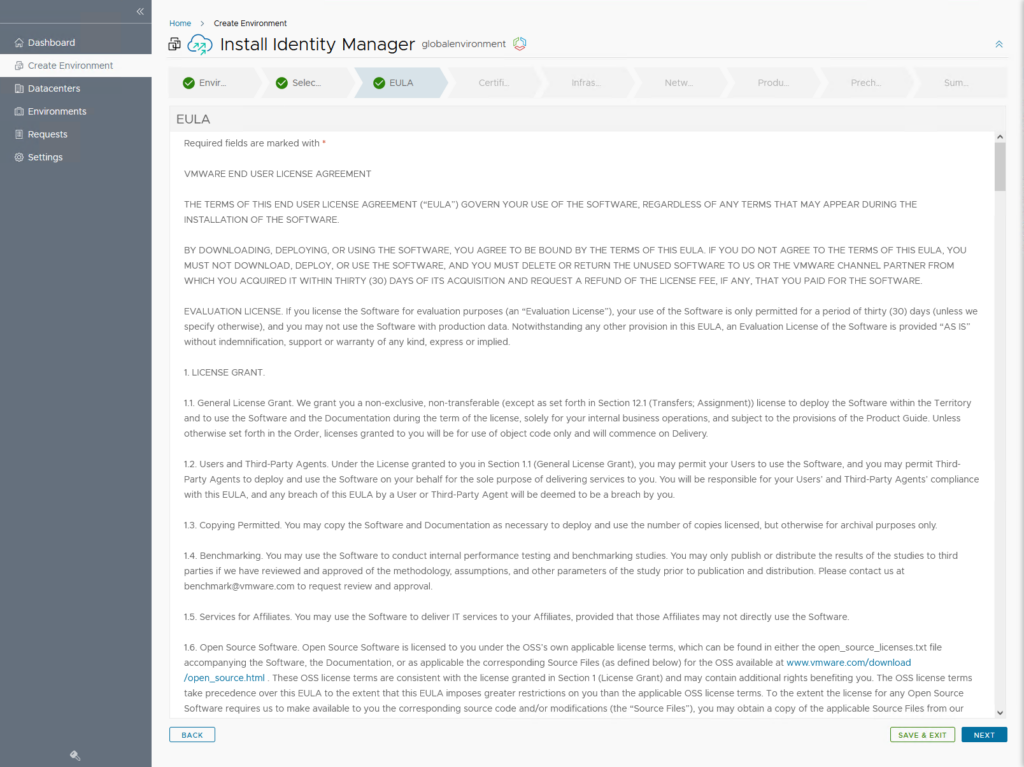
We select the right product (the checkmark next to VMware Identity Manager) and accept the EULA:
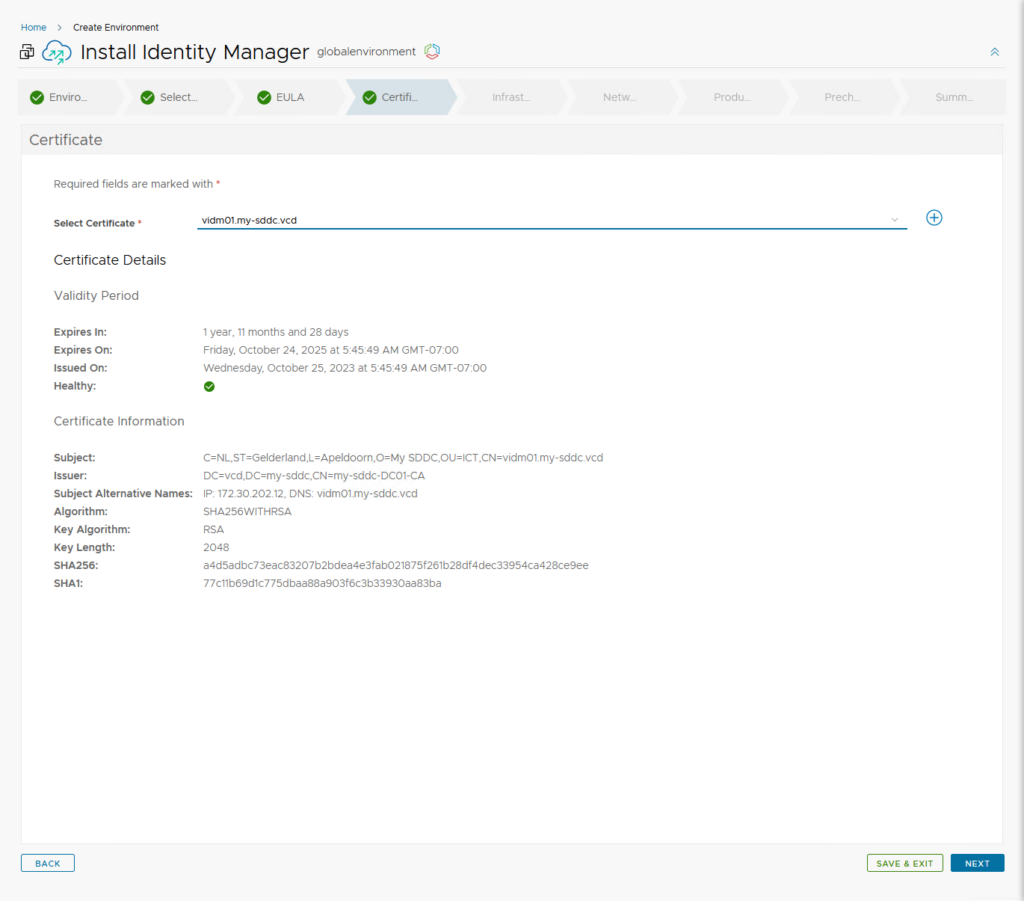
Then we choose the created certificate:
In the next screen, most of the information is already filled out:

The “Network” is especially important here, make sure this is on the right network, for the IP address that is in the certificate.
In the next screen, even more of the information is prefilled:
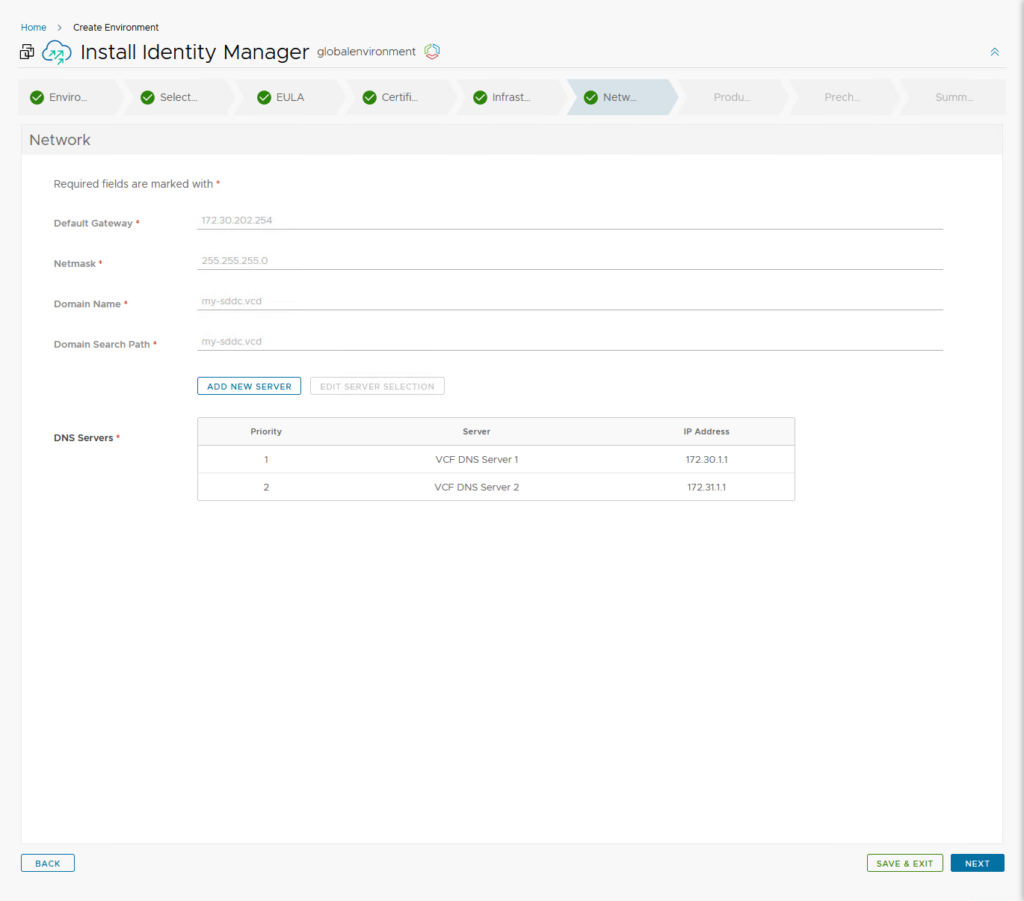
We can add DNS Servers, but that is basically it.
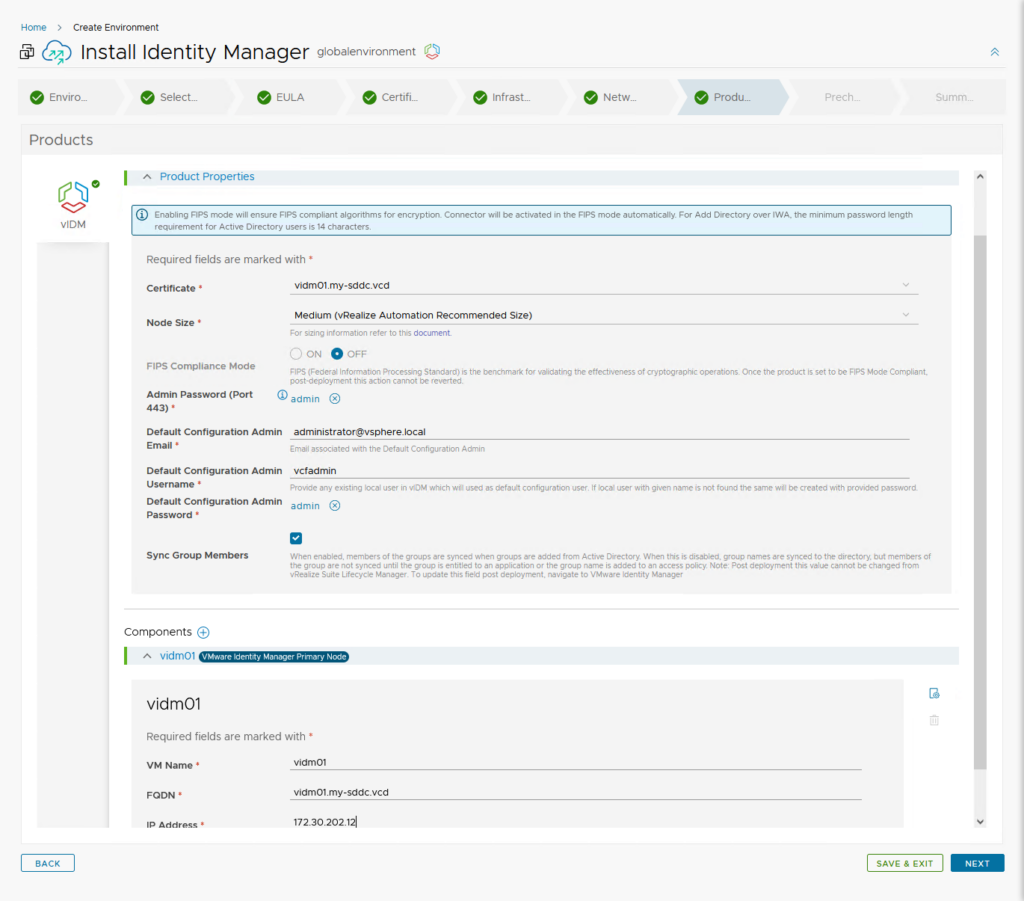
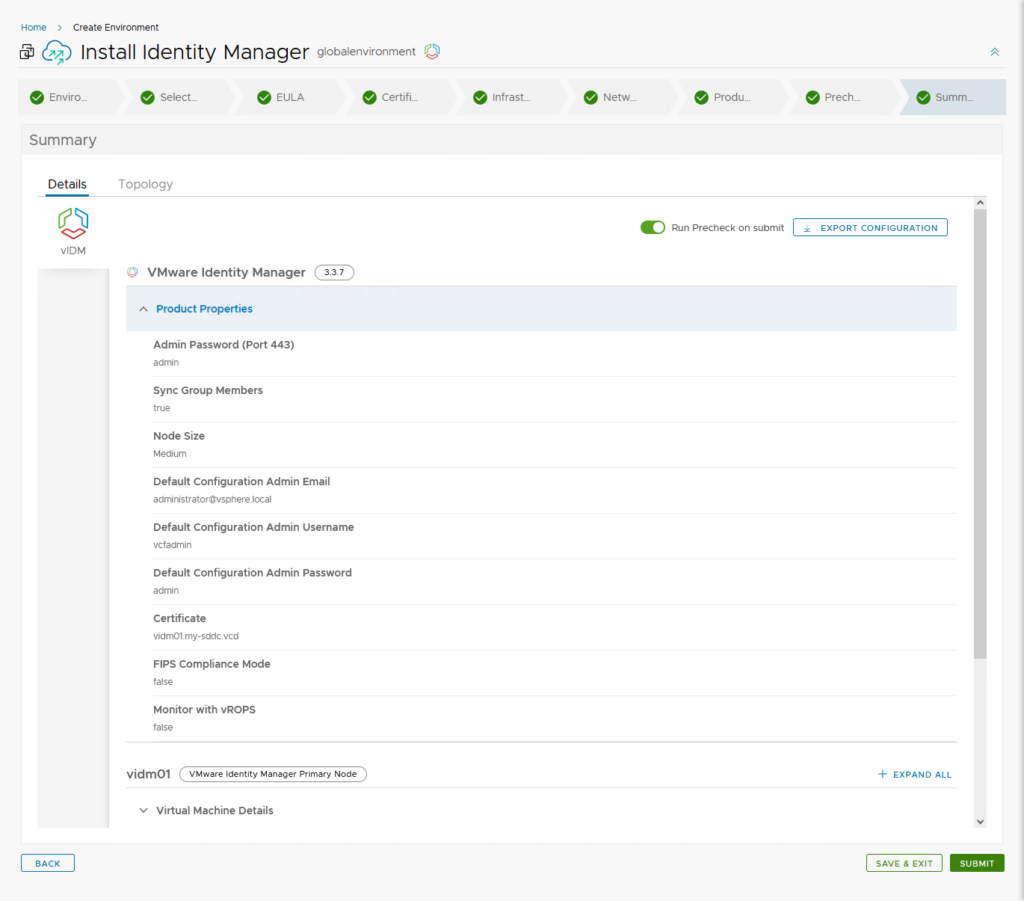
In this screen, we select (among others) the size. Since I will be deploying vRealize Automation eventually, I will choose a medium appliance. The VM / FQDN and IP address was already explained. For my default configuration admin username, I choose vcfadmin, since that seems as good a username as any, and I already have that in use for the LifeCycle Manager appliance.
We click Next and run the precheck, which tells us if all information is filled out correctly and when it proves to be the case, we click Next:

and after a final check, we can submit:
Which will start the Request. We can follow this in the “Requests” screen:
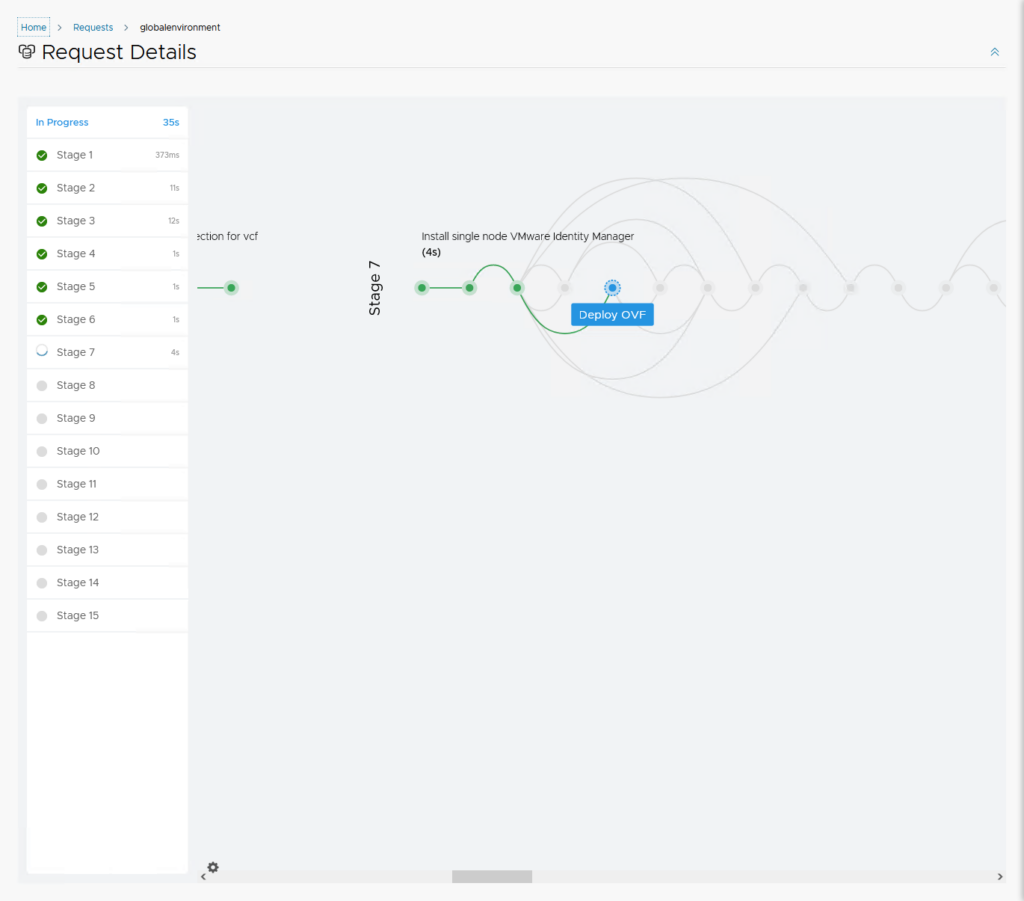
(I love these screens, especially when they are all green :)).
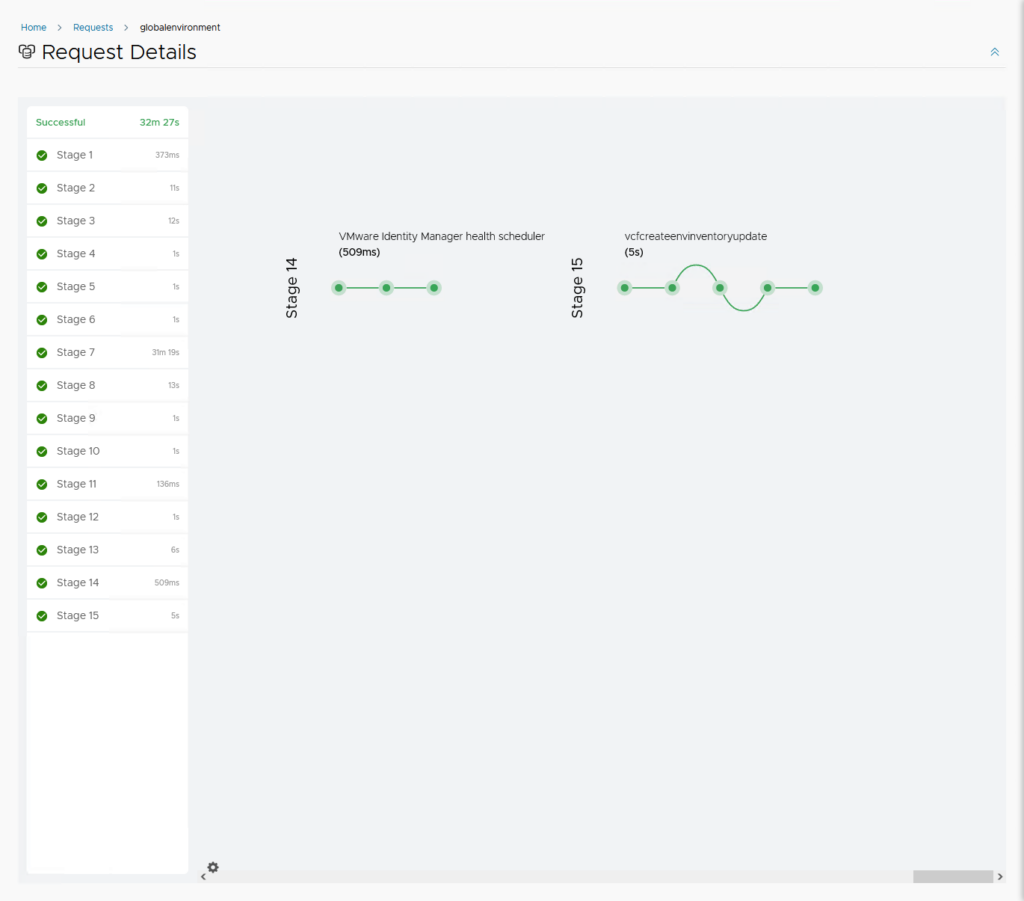
And after a little over half an hour, it completes successfully:
Now, the proof of the pudding is in the eating, so we see if we can find the vidm01.my-sddc.net and log into it, also note the certificate is valid:
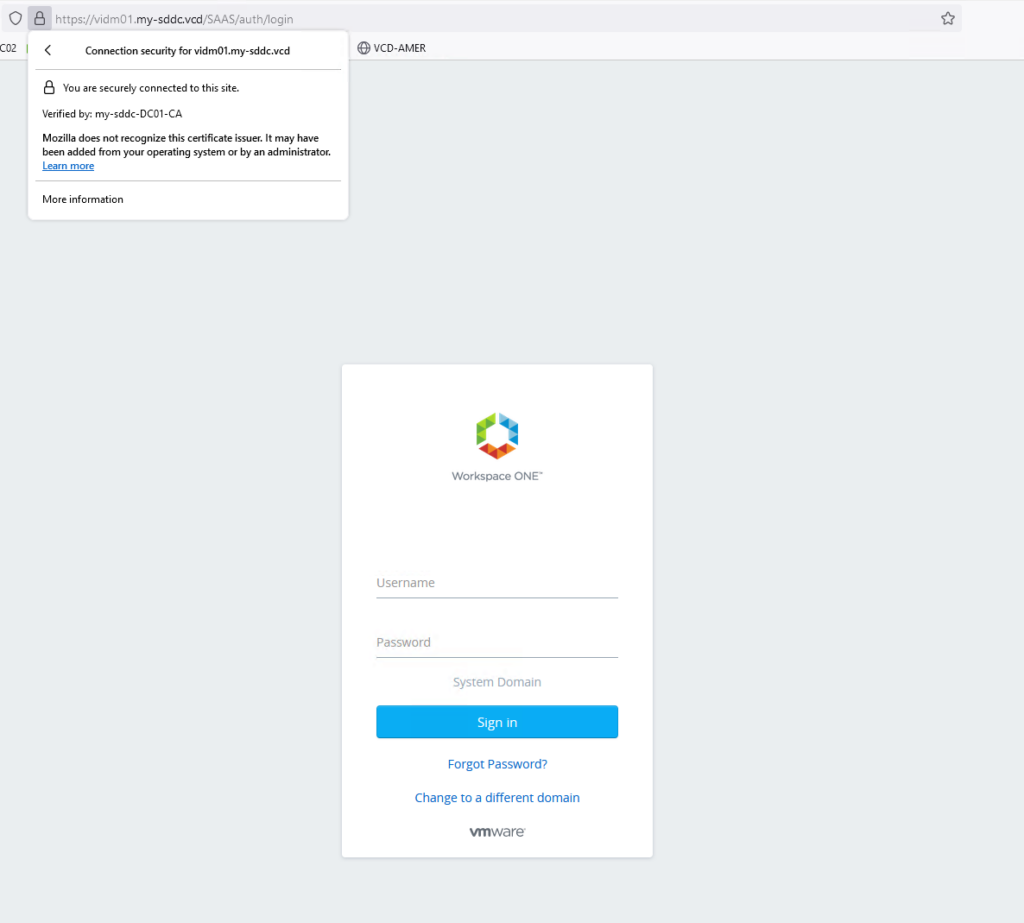
And when we log in, with our vcfadmin credentials, we have a pristine environment:
and when we go to the Administration Console, we can start configuring vIDM. But that is for another blog.

One thought on “VCF on VCD: VMware Identity Manager”