VCF on VCD: Upgrade to VCF 5
Normally I am not that much into “step by step” upgrades of any kind, but since VCF 5 dropped today, I thought, maybe show how incredibly simple upgrading is.
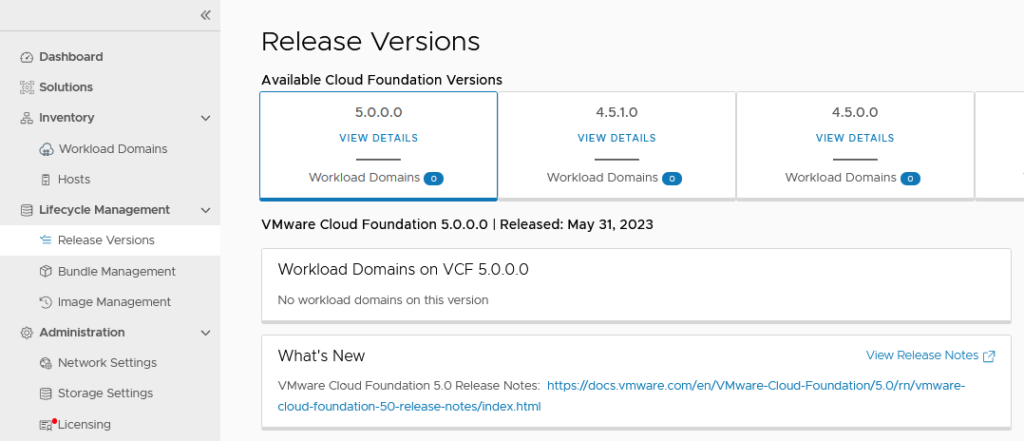
So first of all, make sure that you see the version within “Release Versions”:
Then we can go and download the necessary components, in “Bundle Management”:
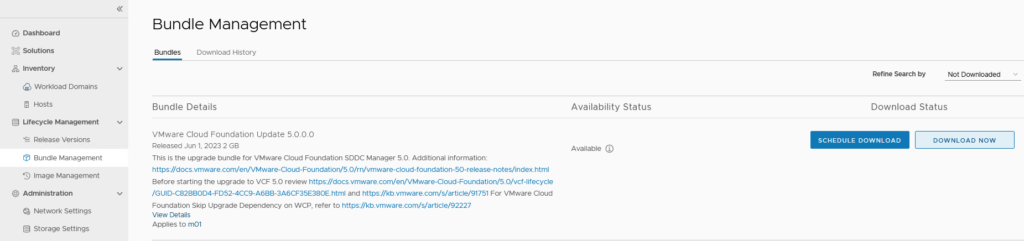
There we download all the necessary bundles:
- VMware Cloud Foundation Update 5.0.0.0 – Upgrade bundle
- VMware Cloud Foundation Update 5.0.0.0 – Configuration drift bundle
- VMware Software Update 5.0.0.0 – NSX 4.1.0.2.0
- VMware Software Update 5.0.0.0 – VMware vCenter Server 8.0U1a
- VMware Software Update 5.0.0.0 – VMware ESXi 8.0U1a
Once the bundles have downloaded, we can start the updates. First step is doing a Precheck, to make sure that the WLD is ready to be upgraded:


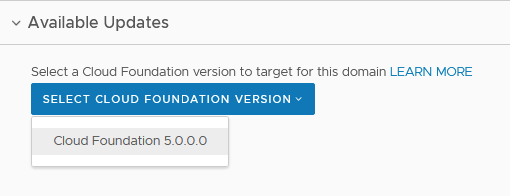
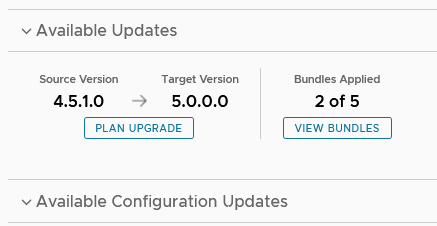
After this, we can select the correct version to update to:
And start the first update, the update of SDDC Manager:

It will show an informational page, during the upgrade:
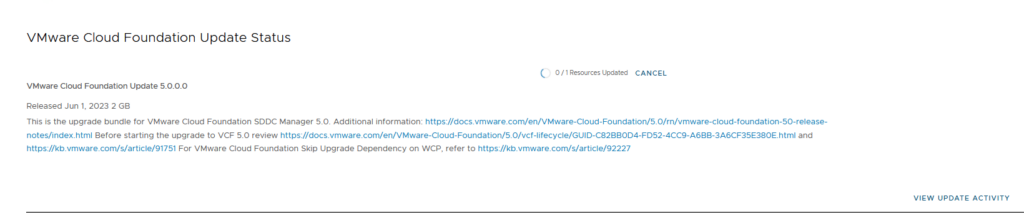
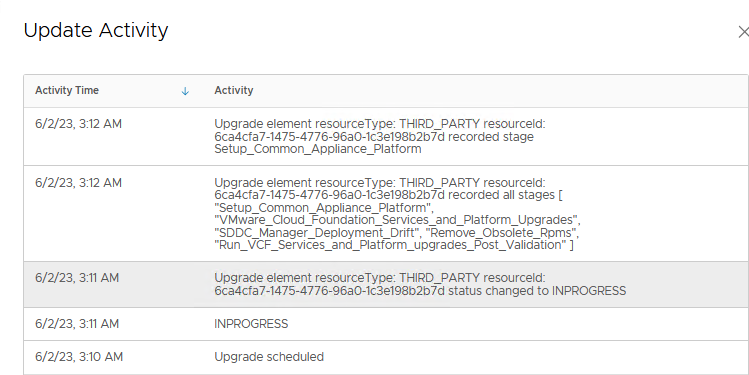
(with additional details to be found when clicking “View Update Activity”):
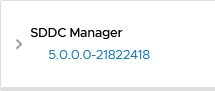
And after it has finished updating, we have an SDDC Manager on 5.0:
Next step is to apply the drift bundle:

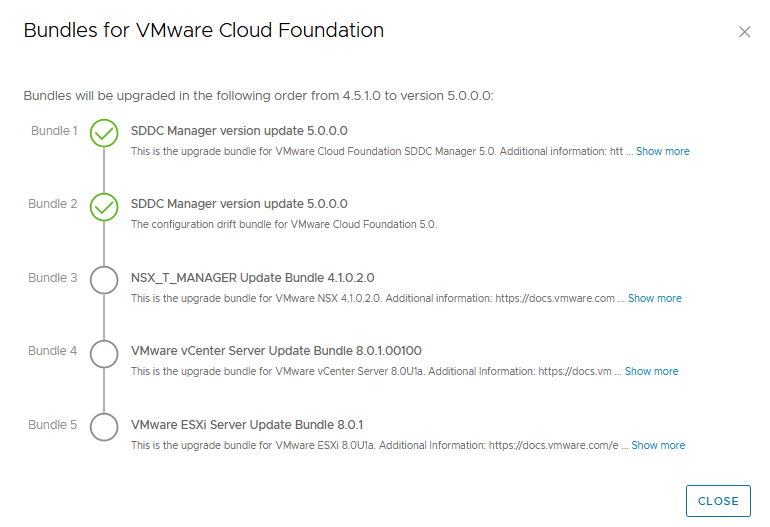
We can also see what the status is of the complete Upgrade path by clicking on “View Bundles”:
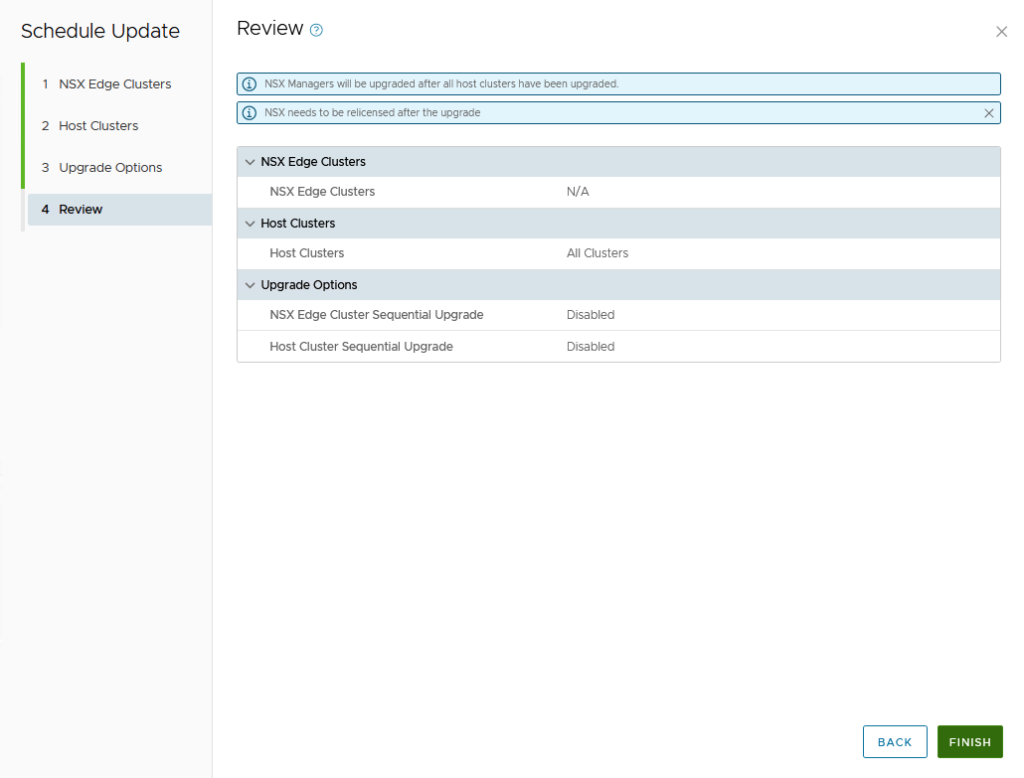
Then the NSX upgrade:

Which will ask a few questions, depending on the environment (for my environment they are not that difficult to answer, I still have to do some networking stuff in there :)):
It does take some time, but in my environment, after roughly 4 hours, the update is completed:

And the NSX environment is upgraded to version 4:
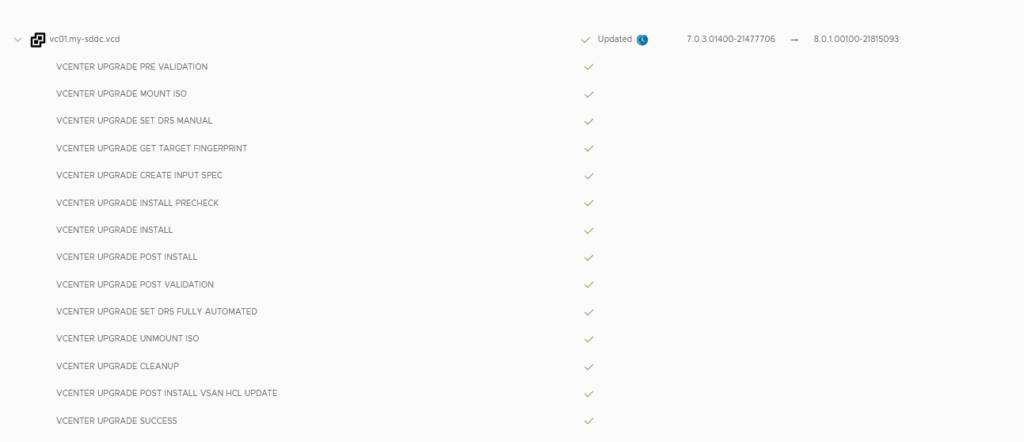
Next up: vCenter Server:

Again a couple of fields to fill out, like a temporary IP-address for the appliance, during the upgrade, but not a very difficult upgrade.
After that has finished:
The next step is to do the upgrade to the hosts:

Again, a few questions to answer (or leave default):
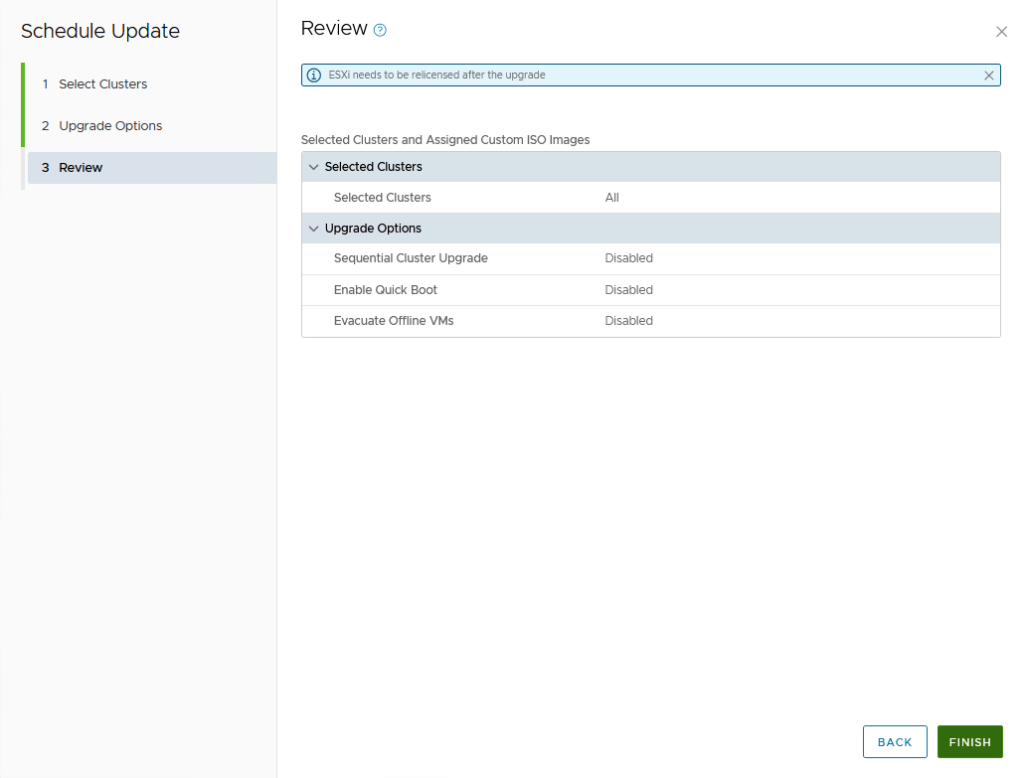
and away we go!
But pretty soon it fails:
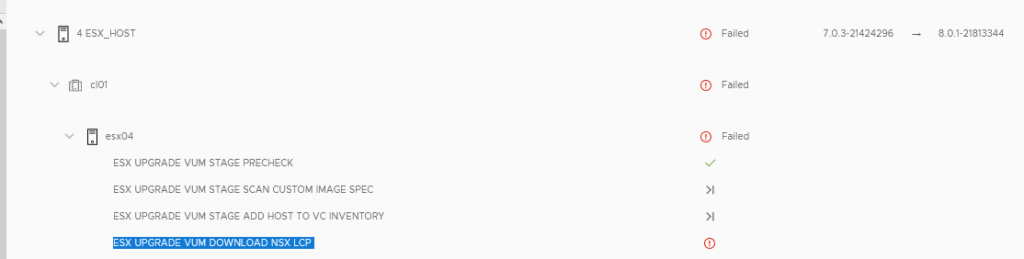
I did notice that the NSX Managers had a service that was not started “Monitoring” (and also that they were very heavily using resources for CPU and Memory). I restarted each of the appliances and after they were restarted, the service was started (but the resource usage was still very high).
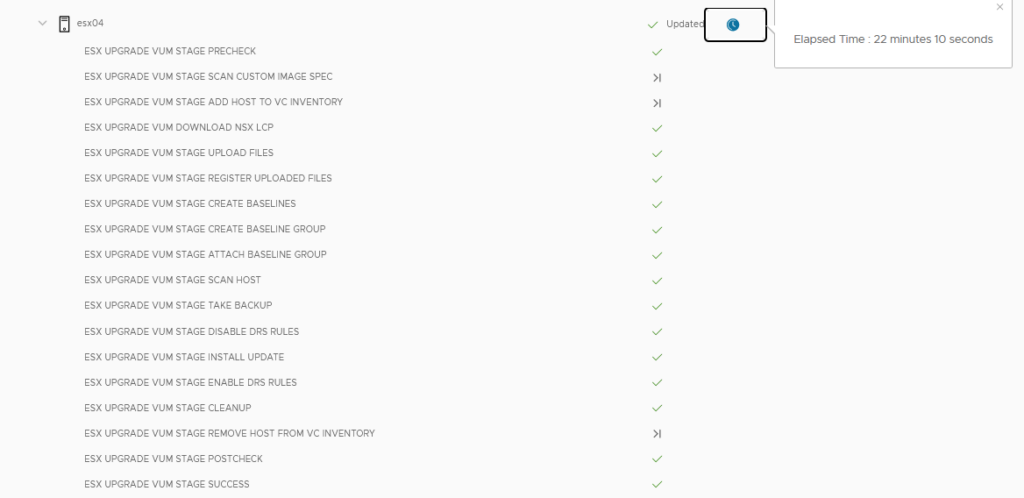
I retried the upgrade and this time it passed the NSX LCP part. And after roughly 22 minutes, the host completed:
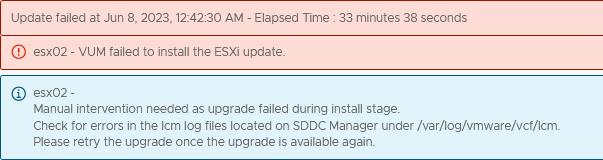
After this, the other hosts were upgraded, but I received a failure at the third host. There I got the message:
Manual intervention needed as upgrade failed during install stage. Check for errors in the lcm log files located on SDDC Manager under /var/log/vmware/vcf/lcm. Please retry the upgrade once the upgrade is available again.
I tried to find the errors in the logs, but wasn’t able to find those easily. What I did find was that the installation of ESXi 8.0 had concluded and the host was healthy in the cluster. Before trying anything else and going with a comb through the logging, I tried to put the host in maintenance mode and do a reboot, and after that was done, the installation continued automatically and finished succesfully, for this host. The last host in the cluster then does the same. This time the method I tried before, did not work. What I did was reset the previous host from “ERROR” state to “ACTIVE” state, by using this blog: https://www.vsam.pro/sddc-manager-doesnt-want-to-start-or-retry-an-update-vcf-3-10/ (note, this is NOT SUPPORTED) and rebooted the appliance.
After that, the upgrade of the hosts completes successfully:
Final activity that is left is applying the Configuration Updates:

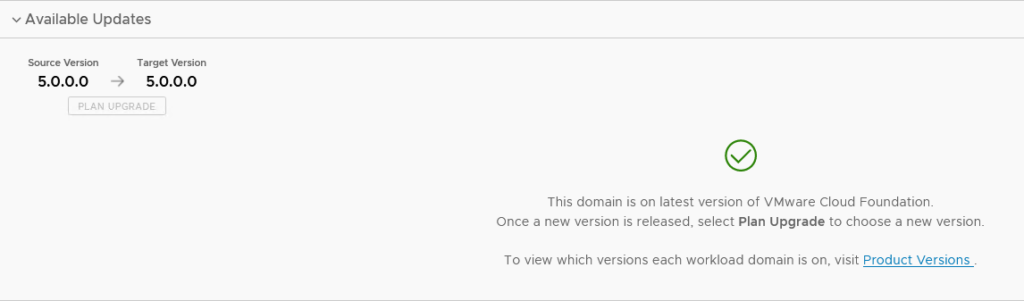
Clicking “Apply All” and see it finish in a few seconds and then it’s all done.
All in all, it took a little under a week (but I didn’t have a lot of time available during the workweek :)).